FLECK 2850 Control Valve Service Manual • 37
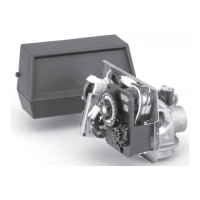
Figure 5
Tools Used in the Seal and Spacer Replacement
Description Part No.
Nut Driver ..............12664
Socket Adapter .............................16906
Socket 7/16-inch ...........................12665
Seal Hook .............12874
Puller ....................13061, 1500/2510/5600/4650
.........................17623, 2850/9500
.........................12682, 2900/3180
Stuffer .................. 11098, 1500/2510/2750
.........................12763, 5600/9000/9100/4650
.........................12683, 2100/3150
.........................16516, 2850/9500
NOTE: Photosshownareforreferenceonlyforreplacingthe
sealandspacer.Actualvalvemaybedifferent.
1. Turn off water supply to valve. Next, cycle valve to
backwash position, then to service. Now remove electrical
plug from outlet.
2. Remove control box cover.
3. Disconnect the brine line from the injector housing to the
4. Remove the two capscrews that hold the back plate to the
valve.
5. Grasp the back plate on both sides and slowly pull end plug
and piston assembly out of the valve body (see “Figure 6”)
and lay aside.
Figure 6
6.
(see “Figure 7”).
Figure 7
7. The spacer tool (use only for removing the spacers) has three
retractable pins, retained by a rubber ring, at one end. They
are retracted or pushed out by pulling or pushing the center
button the opposite end.
8. Insert the pin end of the spacer tool into the valve body with
the pins retracted (button pulled back). Push the tool tight
against the spacer and push the button in. When the button
is pushed in, the pins are pushed out to engage the 1/4 dia.
holes in the spacer. Remove the tool from the valve body. The
spacer will be on the end. Pull the center button back, the
pins will be retracted and the spacer can be removed from
the spacer tool.
SEAL & SPACER TOOLS & REPLACEMENT
 Loading...

