24
Preparation and inspection
3
Inspection of the entire endoscope
Warning
NEVER use the endoscope with any abnormality in function. Doing so may result in endoscope
damage, detachment of parts into the patient’s body cavity, endoscope malfunction during
use, and /or injury to the patient and /or user.
Caution
Clear images can NOT be obtained if there is any foreign material attached to the objective
lens or light guides. Water vapor from the foreign material may be released in response to
heating by the light passing through these components, obscuring the image.
1. Check the entire surface of the endoscope for any visible adhered material.
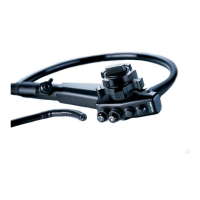
2. Check the entire surface of the insertion portion for abnormalities such as wrinkles, scars, sharp
edges, clouding of the surface, dents, catching, protrusions, attachment of foreign materials,
detachment of parts, etc.
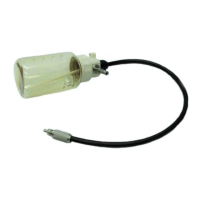
3. Check the surface of the adhesive bands on both ends of the bending section for abnormalities
such as scratches, clouding, and peeling. With clean gauze, lightly wipe the surface of the adhesive
bands to ensure that there is no catching and /or attachment of the adhesive to the gauze.
(1)
(1)
Bending Section
Magnified View
(1) Adhesive Bands
Figure 3.5
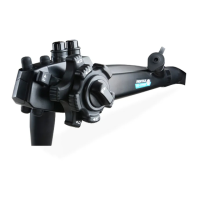
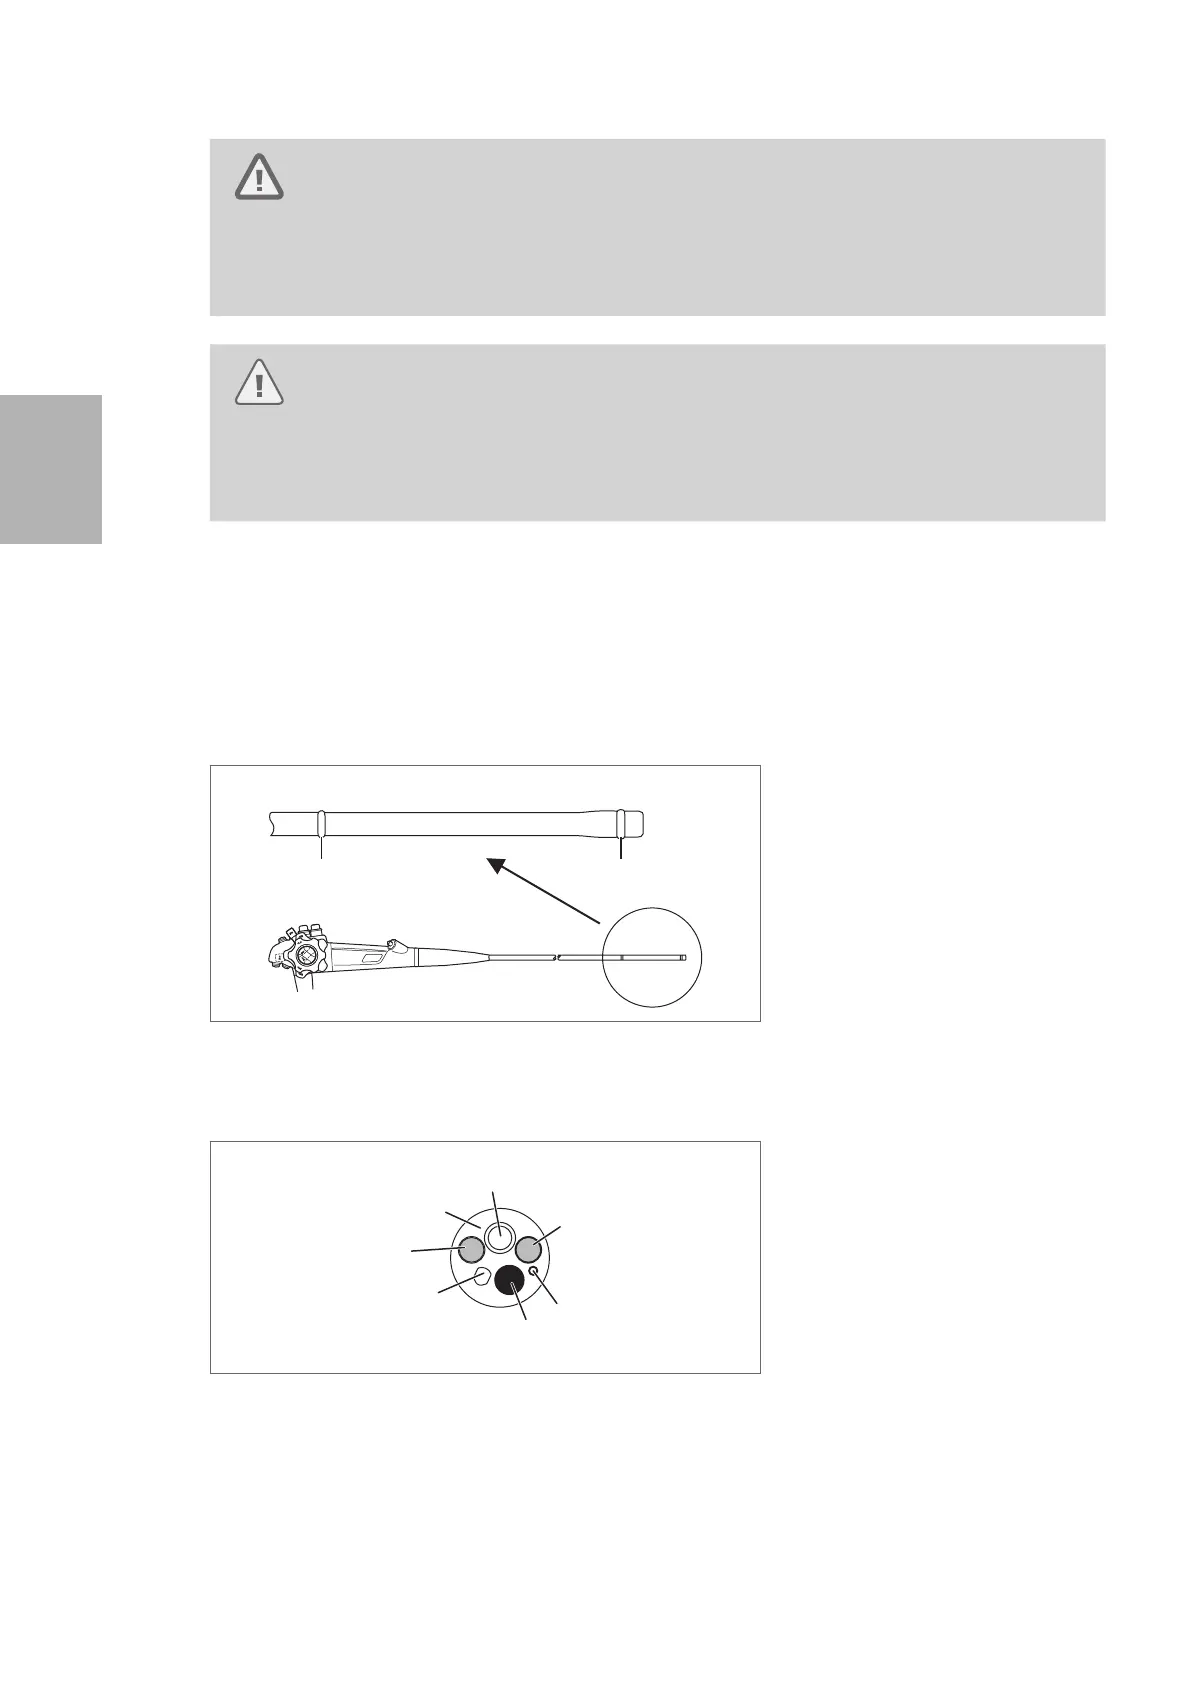
4. Check the case of the distal end of the endoscope (especially around the periphery of the instrument
channel) for any abnormalities such as deformation or chipping.
(4)
(3)
(2)
(1) Objective Lens
(2) Light Guides
(3) Air/ water Nozzle
(4) Case
(5) Instrument Channel
(6) Water Jet Nozzle
Figure 3.6
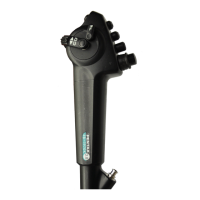
5. Check the objective lens at the distal end of the endoscope and the light guides for any abnormalities
such as attachment of foreign material, scratches, or chipping, and ensure that there is no gap on
the periphery of the lens.
6. Ensure that there are no scratches, clouding, or peeling on the surface of the adhesive glue around
the objective lens at the distal end of the endoscope and that it has a glossy surface.

 Loading...