25
Preparation and inspection
3
7. Gently clean the objective lens and light guides with clean gauze or a cotton -tip applicator moistened
with 70% – 90% medical grade ethyl or isopropyl alcohol. Check that there is no attachment of the
adhesive to the gauze.
8. Check the air/ water nozzle at the distal end of the endoscope for any abnormalities such as
clogging, dents, deformations, chipping, etc.
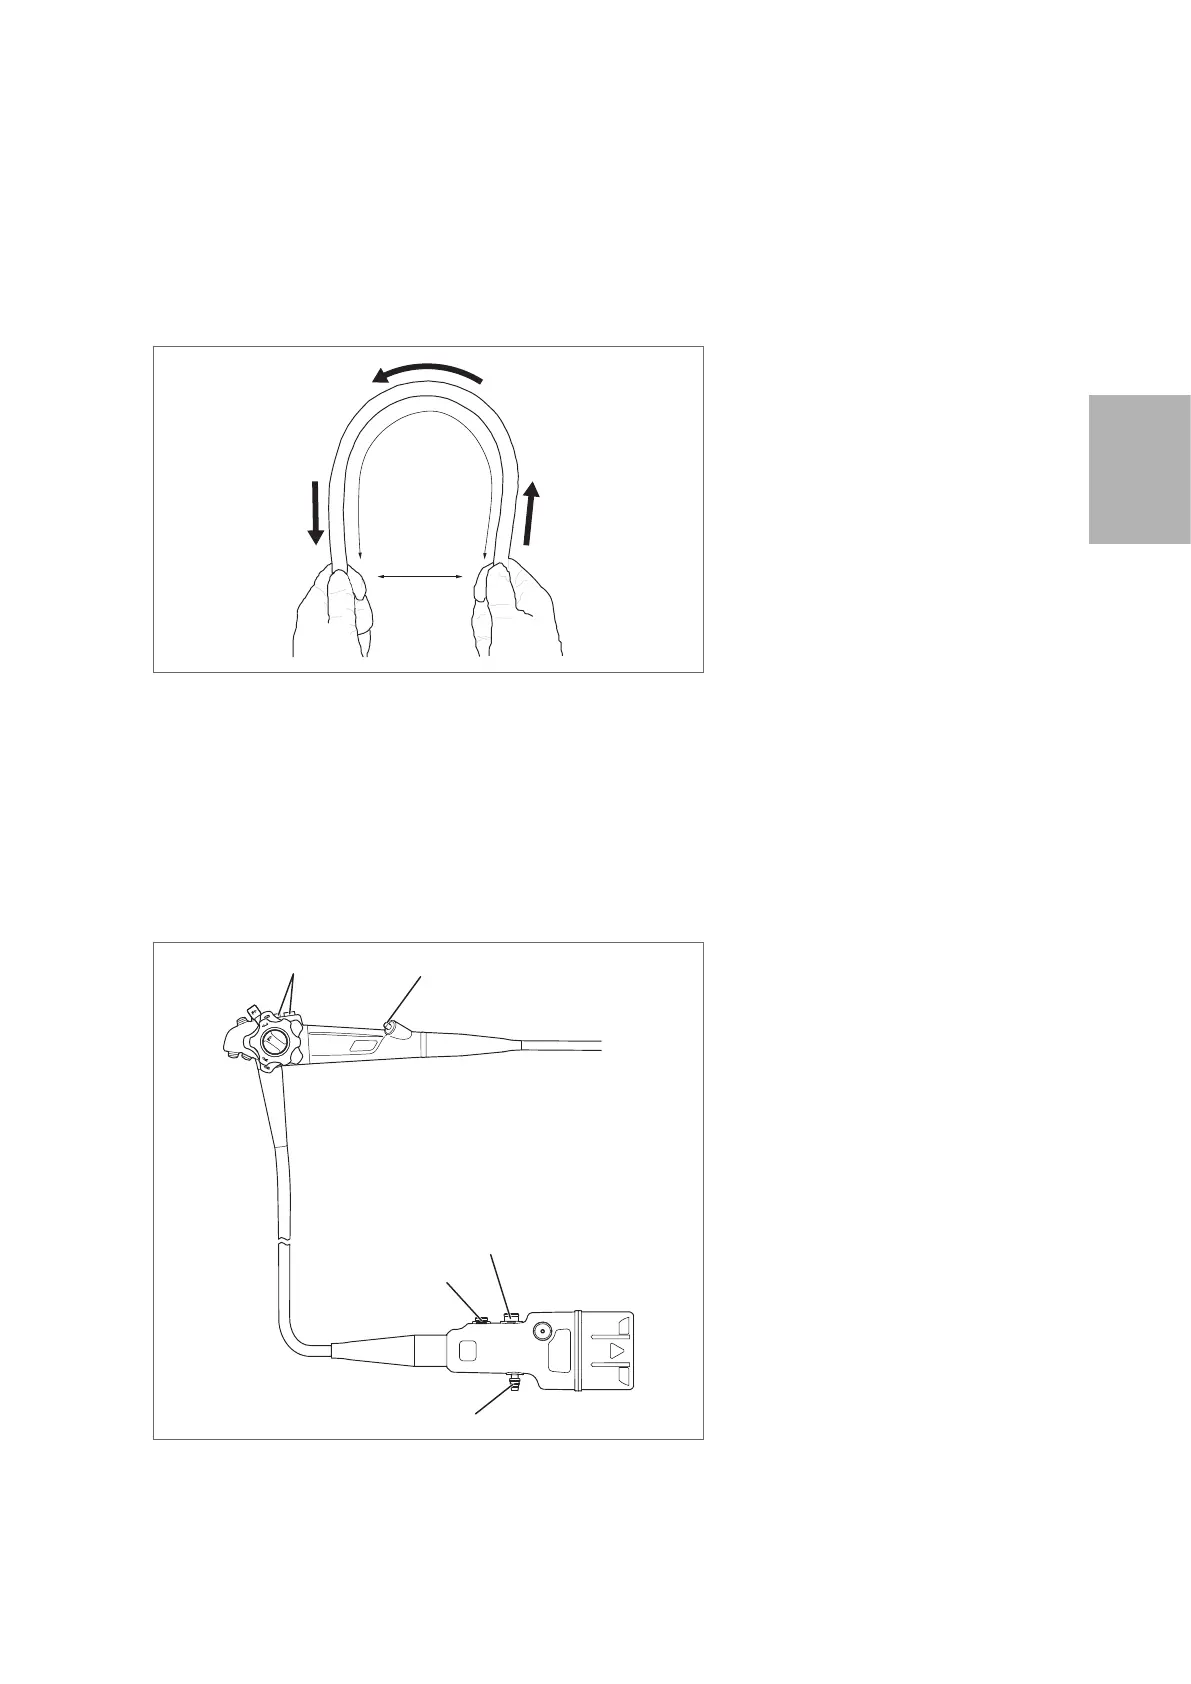
9. Using both hands, form an arch with the insertion tube as shown in Figure 3.7. Slide the insertion
tube in the direction of the arrows in Figure 3.7, and check that the entire insertion tube can be bent
smoothly and easily to form an arch.
Approx. 30 cm
Approx. 20 cm
Figure 3.7
10. Check the entire surface of the umbilical cord for abnormalities such as wrinkles, scars, sharp
edges, clouding of the surface, catching, protrusions, attachment of foreign materials, detachment
of parts, etc.
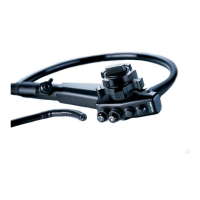
11. Check the control body, scope connector, and electrical contacts for abnormalities such as
scratches, deformities, loose parts, etc. Pay special attention when checking the parts shown in
the Figure 3.8. Using a clean lint-free cloth, gently hold these parts and move them in various
directions to ensure that there are no abnormalities such as looseness.
(3)
(4)
(2)
(1) Suction Cylinder & Air/ Water
Feeding Cylinder
(2) Instrument Channel Inlet
(3) Water Jet Port
(4) Air/ Water Port
(5) Suction Nipple
Figure 3.8

 Loading...