09931228D
2. Turn off and unplug the instrument.
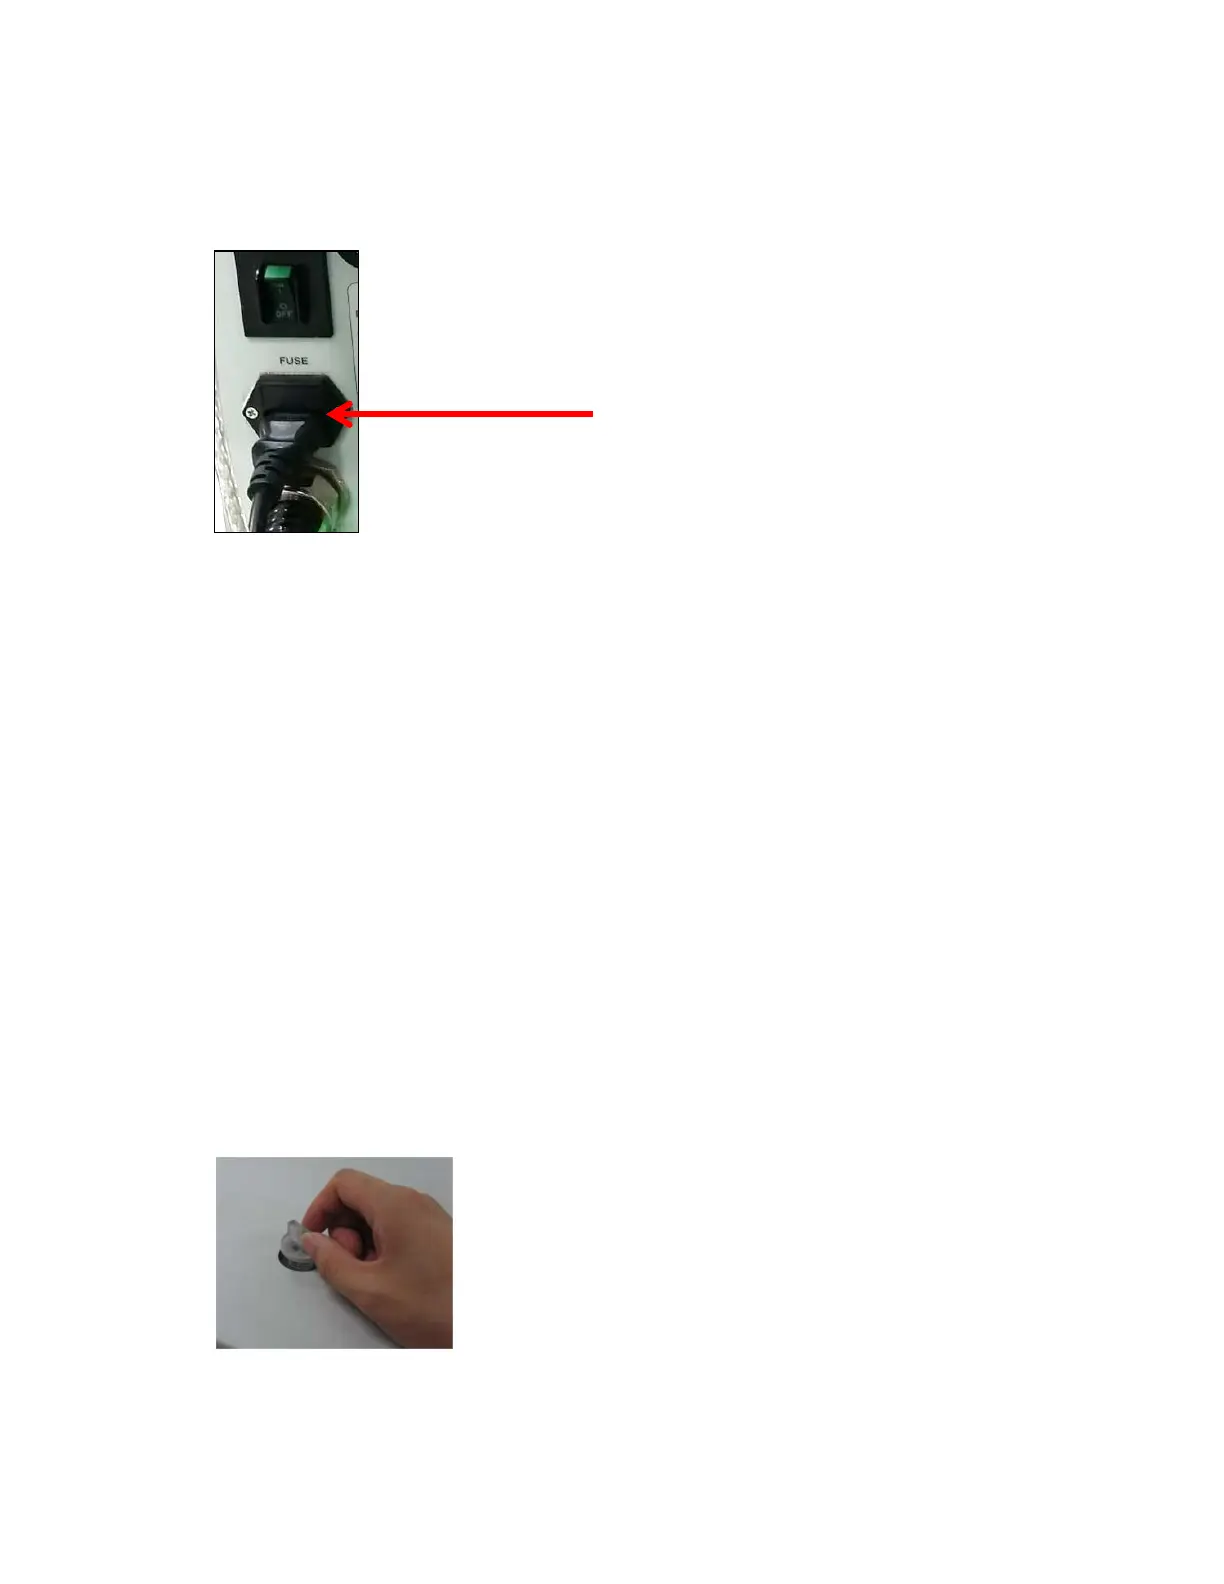
3. Locate the fuse cover on the left rear panel of the instrument.
4. Carefully open the compartment latch where the fuse is located.
Figure 18. Fuse
5. Disconnect the fuse.
6. Replace with a new T5AL fuse (AC 250V). One spare is contained in the power module.
7. Close the compartment door.
8. Plug in the instrument and turn on.
On-Line LED is not lit on
1. Check whether the communication cable is connected tightly.
2. Check whether the Air Vent Manual button is switched off.
3. Check whether the emergency switch is off.
4. When you use USB to RS-232 cable, change the port see Setting USB to RS-232 Port on page 12.
FANLED is lit on with an alarm sound
Fan needs to be replaced.
Low Water Level LED blinks with an alarm sound
1. Check the coolant level and if it is lower than L (low) mark, add more coolant.
Figure 19. Access to coolant
2. Restart the Peltier Controller.
fuse compartment door