58 SEBU8191-01
Maintenance Section
Engine Oil and Filter - Change
Failuretofoll
ow this recommended procedure will
cause the waste particles to be recirculated through
theenginelubricationsystemwiththenewoil.
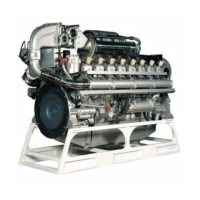
Drain the Engine Lubricatin g Oil
g01237431
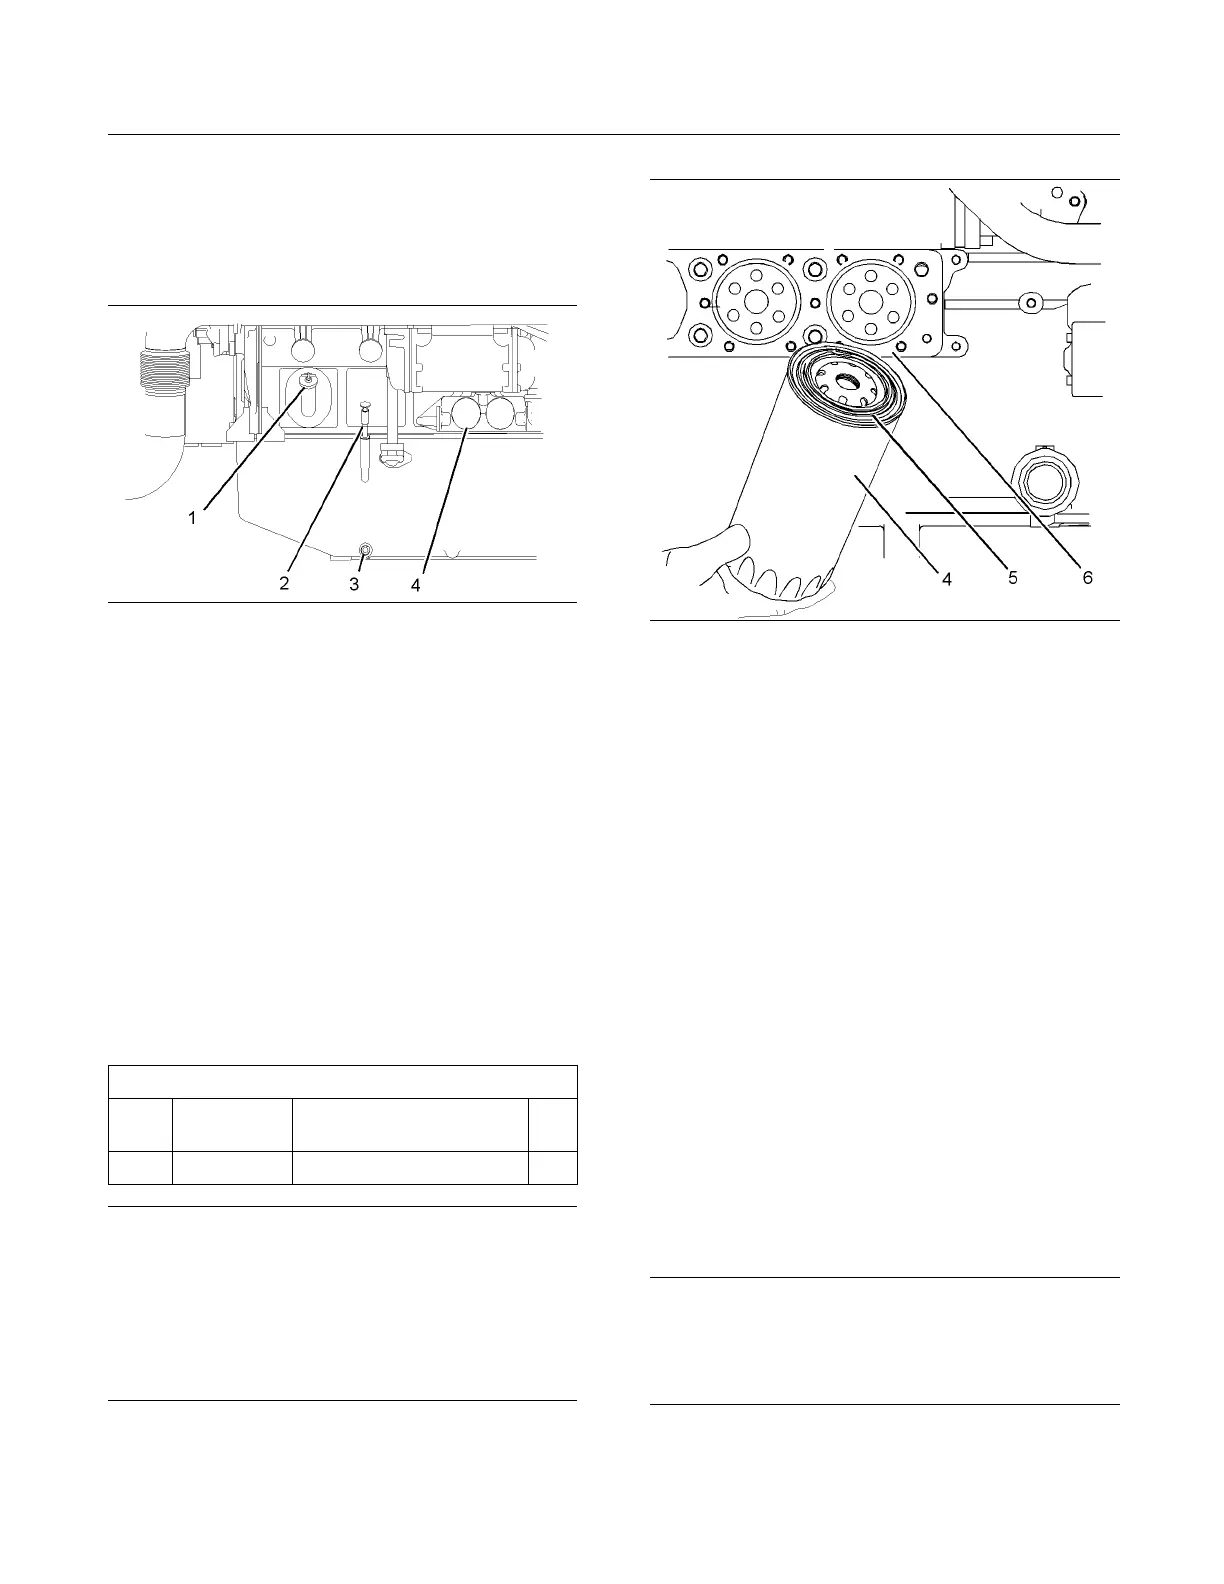
Illustration 56
Typical e xample
1. Place a suitable container below the engine oil
pan. Remove the drain plug (3). Allow the engine
oil to drain.
Note: Ensure that the vessel that will be used is large
enough to collect the waste oil.
2. Remove the sealing washer from the drain plug
(3). Discard the sealing washer.
3. Install a new sealing washer to the drain plug (3).
Install the drain plug to the engine oil pan. Tighten
the plug to a torque of 68 N·m (50 lb ft).
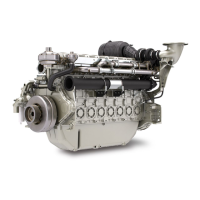
Replace the Oil Filter
Table 21
Required Tools
Tool
Part
Number
Part Name Qty
A
-
Strap Wrench 1
NOTICE
Perkins oil filters are manufactured to Perkins Engine
Company LTD specifications.Useofanoilfilter that is
not recommended by Perkins Engine Company LTD
could result in severe damage to the engine. Large
particles from unfiltered engine oil will cause damage
to the engine. Do not use oil filters that are not recom-
mended by Perkins Engine Company LTD.
Note: All six oil filters must be changed as a set.
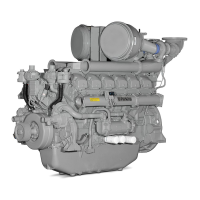
g02775854
Illustration 57
Typ ical example
1. Use Tooling (A) in order to remove the oil filters (4).
2. Ensure that the sealing face of the filter base (6)
is clean.
3. Lubricate the sealing rings (5) with clean engine
oil. Fill the oil fi lters with clean engine oil. Ensure
that the engine oil that is added to the oil filters
has not been contaminated. Install the new oil
filters (4).
Note: Apply hand pressure only in order to tighten
the oil filters.
Fill the Oil Pan
Refer to Operation and Maintenance Manual, “Fluid
Recommendations” for information on suitable oils.
1. Remove the oil filler cap.
2. Fill the oil pan with the correct amount of new
engine lubricating oil. Refer to Operation and
Maintenance Manual, “Refill Capacities” for more
information.
NOTICE
If equipped with an auxiliary oil filter system or a re-
mote filter system, follow the OEM or the filter manu-
facture's recommendations. Under filling or over filling
the crankcase with oil can cause engine damage.
Note: Before starting the engine, crank the engine on
the starter in order to obtain oil pressure.