60 SEBU8191-01
Maintenance Section
Fuel Injector - Inspect/Adjust
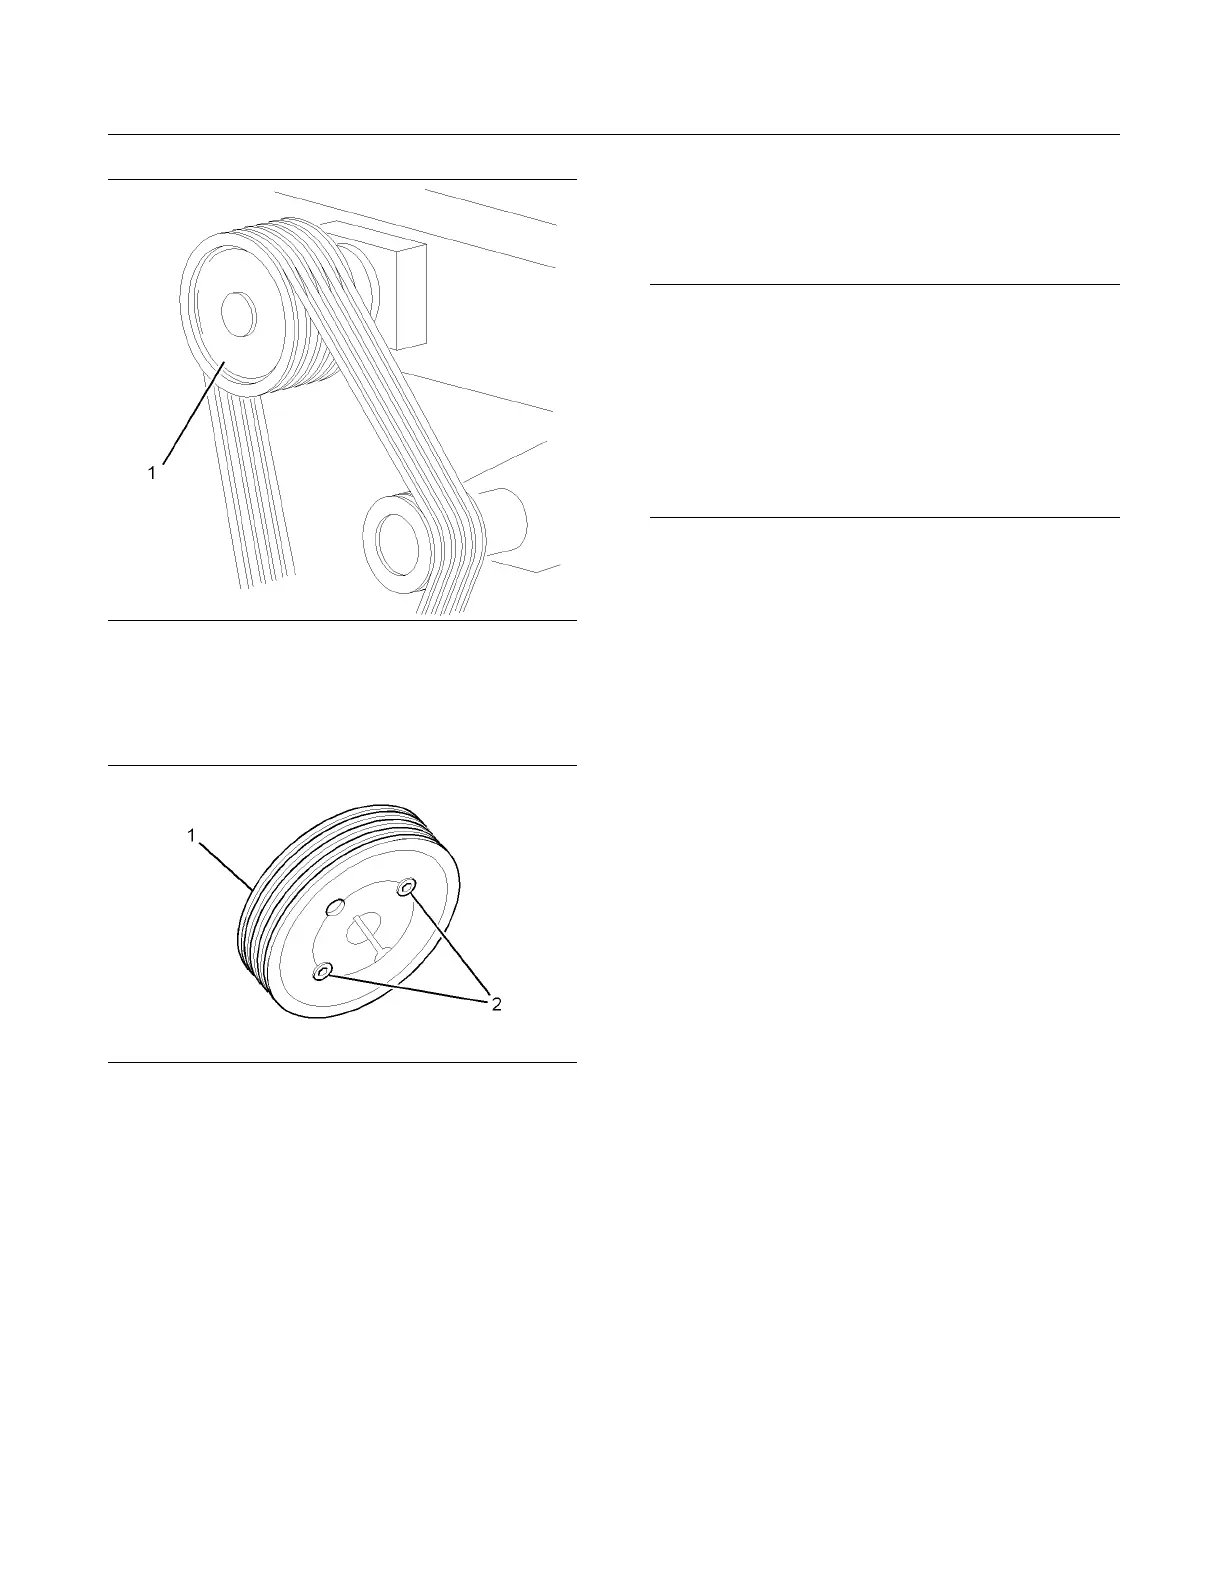
g01238304
Illustration 59
Typical e xample
2. Remove the guards (not shown) in order to gain
access to the fan drive pulley (1).
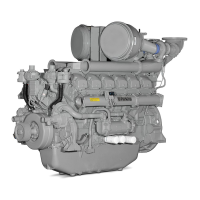
g01238305
Illustration 60
3. Tighten the grub screws (2) to a torque of 90 N·m
(66 lb ft).
4. Install the guards (not shown).
5. Restore the electrical supply to the engine.
i03783899
Fuel Injector - Inspect/Adju st
NOTICE
Only qualified service personnel should perform this
maintenanc
e. Refer to the Service Manual or your au-
thorized Perkins distributor for the complete proce-
dure in order to inspect or adjust the fuel injectors.
Operation of Perkins engines with fuel injectors that
have not been inspected or adjusted can reduce en-
gine effici
ency, and also reduce engine component
life.
Refer to Systems Operation, Testing and Adjusting,
“Fuel Inj
ector Adjustment” for the correct procedures
to inspect and adjust the fuel injectors.
i02415266
Fuel System - Prime
If air enters the fuel system, the air must be purged
from the fuel system before the engine can be
started. Air can enter the fuel system when the
following events occur:
•
Thefueldaytankisemptyorpartiallydrained.
•
The low pressure fuel lines are disconnected.
•
A leak exists in the low pressure fuel system.
•
The fuel filter has been replaced.
Use the following procedures in order to remove air
from the fuel system.
Note: Do not bleed the fuel system from the water
separator (if equipped).
1. Ensure that the fuel system is in working order.
Check that the fuel supply from the fuel day tank
is in the “ON” position.