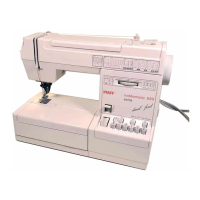
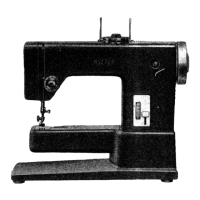
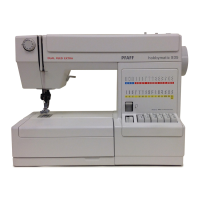
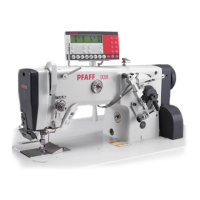
PFAFF 29
Switch off the machine.
Mettre la machine hors circuit.
Desconecte la máquina.
Nicht ohne Riemenschutz betreiben.
Verletzungsgefahr durch den um-
laufenden Keilriemen!
Do not run machine without belt
guard! Danger of injury due to
rotating V-belt!
Ne pas faire marcher la machine
sans garde-courroie. Risque
d'accident, par rotation de la courroie!
No ponga la máquina en marcha sin
guardacorreas. ¡ Peligro de accidente
por la correa en marcha!
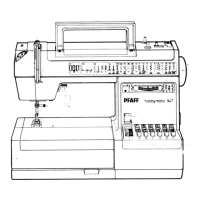
Garde-courroie supérieur
Glisser les moitiés gauche et droite de manière
que les fentes s'engagent derrière les têtes des
vis de fixation 1 et 2. Placer la douille
d'écartement 3 sur la vis 4 dans
l'alésage 5. En veillant à ce que la languette 6
prenne appui derrière la fente 7 et devant la
douille 3, ajuster le garde-courroie et bloquer les
vis 4, 1 et 2 (ces deux dernières à travers les
trous de montage 8 et 9).
Garde-courroie inférieur
Aligner le garde-courroie inférieur de manière
que ni la poulie motrice ni la courroie
trapézoïdale ne le touchent. Le visser dans cette
position.
Belt guard
Above the table top
Attach the right and left belt guard sections so
that screws 1 and 2 enter the appropriate slots.
Push spacing sleeve 3 onto screw 4 and turn
the latter into hole 5 a few turns. Make sure
that lug 6 is positioned behind slot 7 and in front
of spacing sleeve 3, align the belt guard and
tighten screws 1 and 2 ( can be reached
through assembly holes 8 and 9 ), and screw 4
firmly.
Belt guard
Below the table top
Align the belt guard so that motor pulley and V-
belt move freely, then screw it down in this
position.
Guardacorreas superior
Introduzca ambas mitadas, izquierda y derecha,
del guardacorreas con sus ranuras por detrás de
las cabezas de los tornillos de fijación 1 y
2.
Introduzca el manguito distanciador 3 en el
tornillo de fijación 4 y atornille éste en el
agujero roscado 5. Cuidando de que la oreja 6
quede detrás de la ranura 7 y delante del
manguito distanciador 3, asiente bien el
guardacorreas y apriete fuertemente los tornillos
1 y 2
( accesibles a través de los orificios de montaje
8 y 9 ) y el tornillo 4.
Guardacorreas inferior
Coloque el guardacorreas de forma que tanto la
polea del motor como la correa trapezoidal
marchen libremente y asegúrelo en esa
posición.