T
Thomas PattersonNov 21, 2025
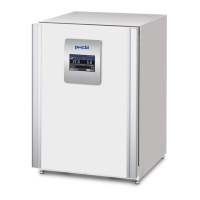
What to do if an alarm is activated in Phcbi Laboratory Equipment?
- LlewisgregoryNov 22, 2025
If an alarm activates, check the following: Ensure the chamber temperature and CO2 gas density match their set values. Verify the secondary pressure for the gas regulator is between 0.03 MPa(G) ~0.1 MPa(G) (0.3 kgf/cm2(G) ~1 kgf/cm2(G), 4.4 psi(G) ~14.5 psi(G)), and that the gas tube is properly connected and not leaking. Confirm the high limit alarm temperature is at least 1 °C higher than the chamber set temperature. Also, consider whether the temperature or CO2 gas density settings have been recently changed, if the outer door was left open for a long time, or if a low-temperature object was placed inside. Check if the gas cylinder is empty, and if the incubator is near equipment generating electromagnetic waves. If the LCD touch panel is unresponsive, try turning the power off and on a...