190CW9 LCD 5
Installation
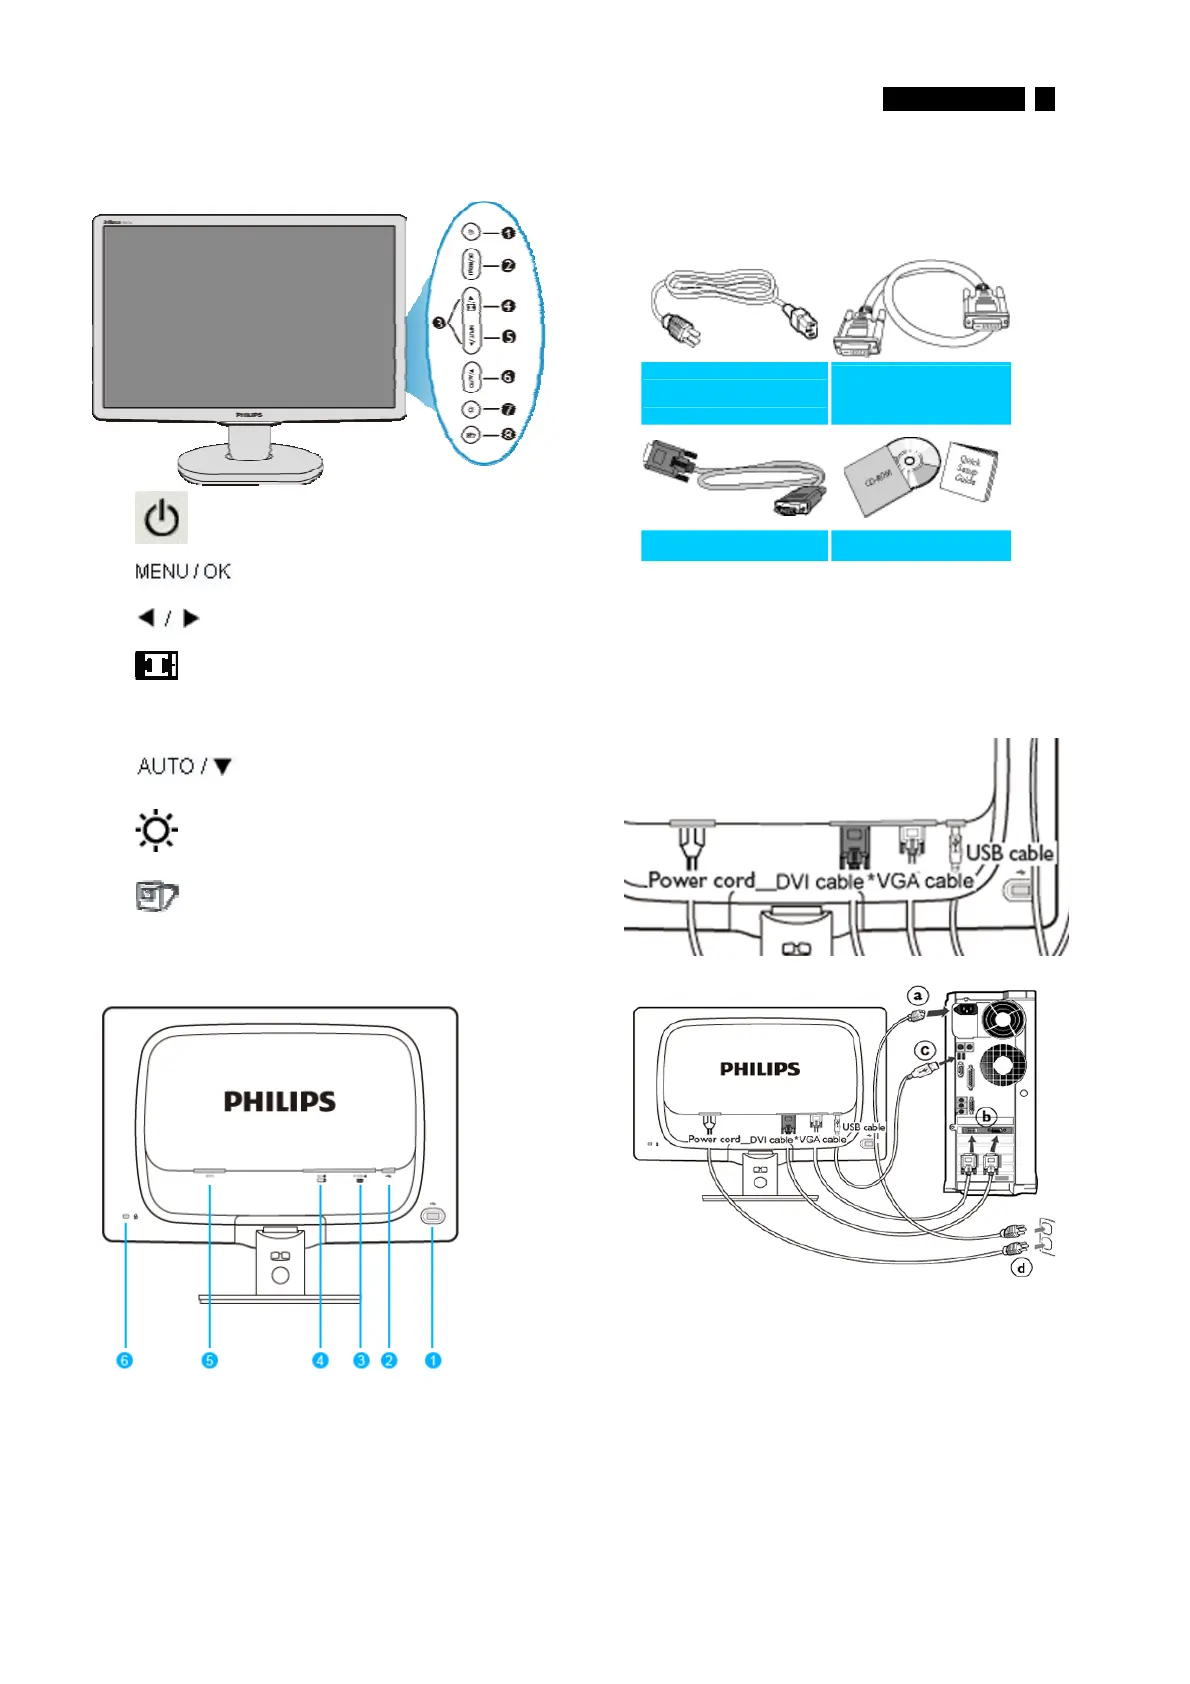
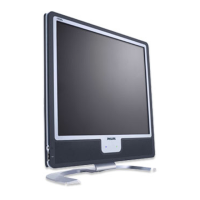
Front View Product Description
1 To switch monitor's power On and Off
2
To access the OSD menu
3
To adjust the OSD menu
4 Change to 4:3 display
5 Input To change the signal input source
6
Automatically adjust the horizontal
position, vertical position, phase and
clock settings / Return to previous
OSD level
7
To adjust brightness of the display
8
SmartImage. There are five modes to
be selected: Office Work, Image
Viewing, Entertainment, Economy,
and Off
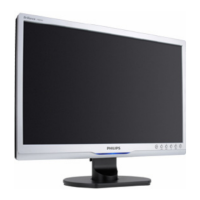
Rear View
1
ʳ
USB downstream port
ʳ
2
ʳ
USB upstream port
ʳ
3
ʳ
VGA input
ʳ
4
ʳ
DVI-D input (available for selective models)
ʳ
5
ʳ
AC power input
ʳ
6
ʳ
Kensington anti-thief lock
ʳ
Accessory Pack
Unpack all the parts
Power cord ʳ
DVI cable
(Optional) ʳ
ʳ
ʳ
VGA cable ʳ EDFU packʳ
Connecting to Your PC
1) Connect the power cord to the back of the
monitor firmly. (Philips has pre-connected VGA
cable for the first installation
2) Connect to PC
(a)
ʳ
Turn off your computer and unplug its power cable
ʳ
(b) Connect the monitor signal cable to the
video connector on the back of your computer.
(c)
ʳ
Connect the USB cable to the USB port of your computer
(d) Plug the power cord of your computer and your monitor
into a nearby outlet.
(e) Turn on your computer and monitor. If the monitor
displays an image, installation is complete
http://www.wjel.net