19B4LP LCD 17
Color Adjustment
Alignment procedure
1. Turn on the LCD monitor
2. Turn on the Timing/pattern generator. See Fig.1
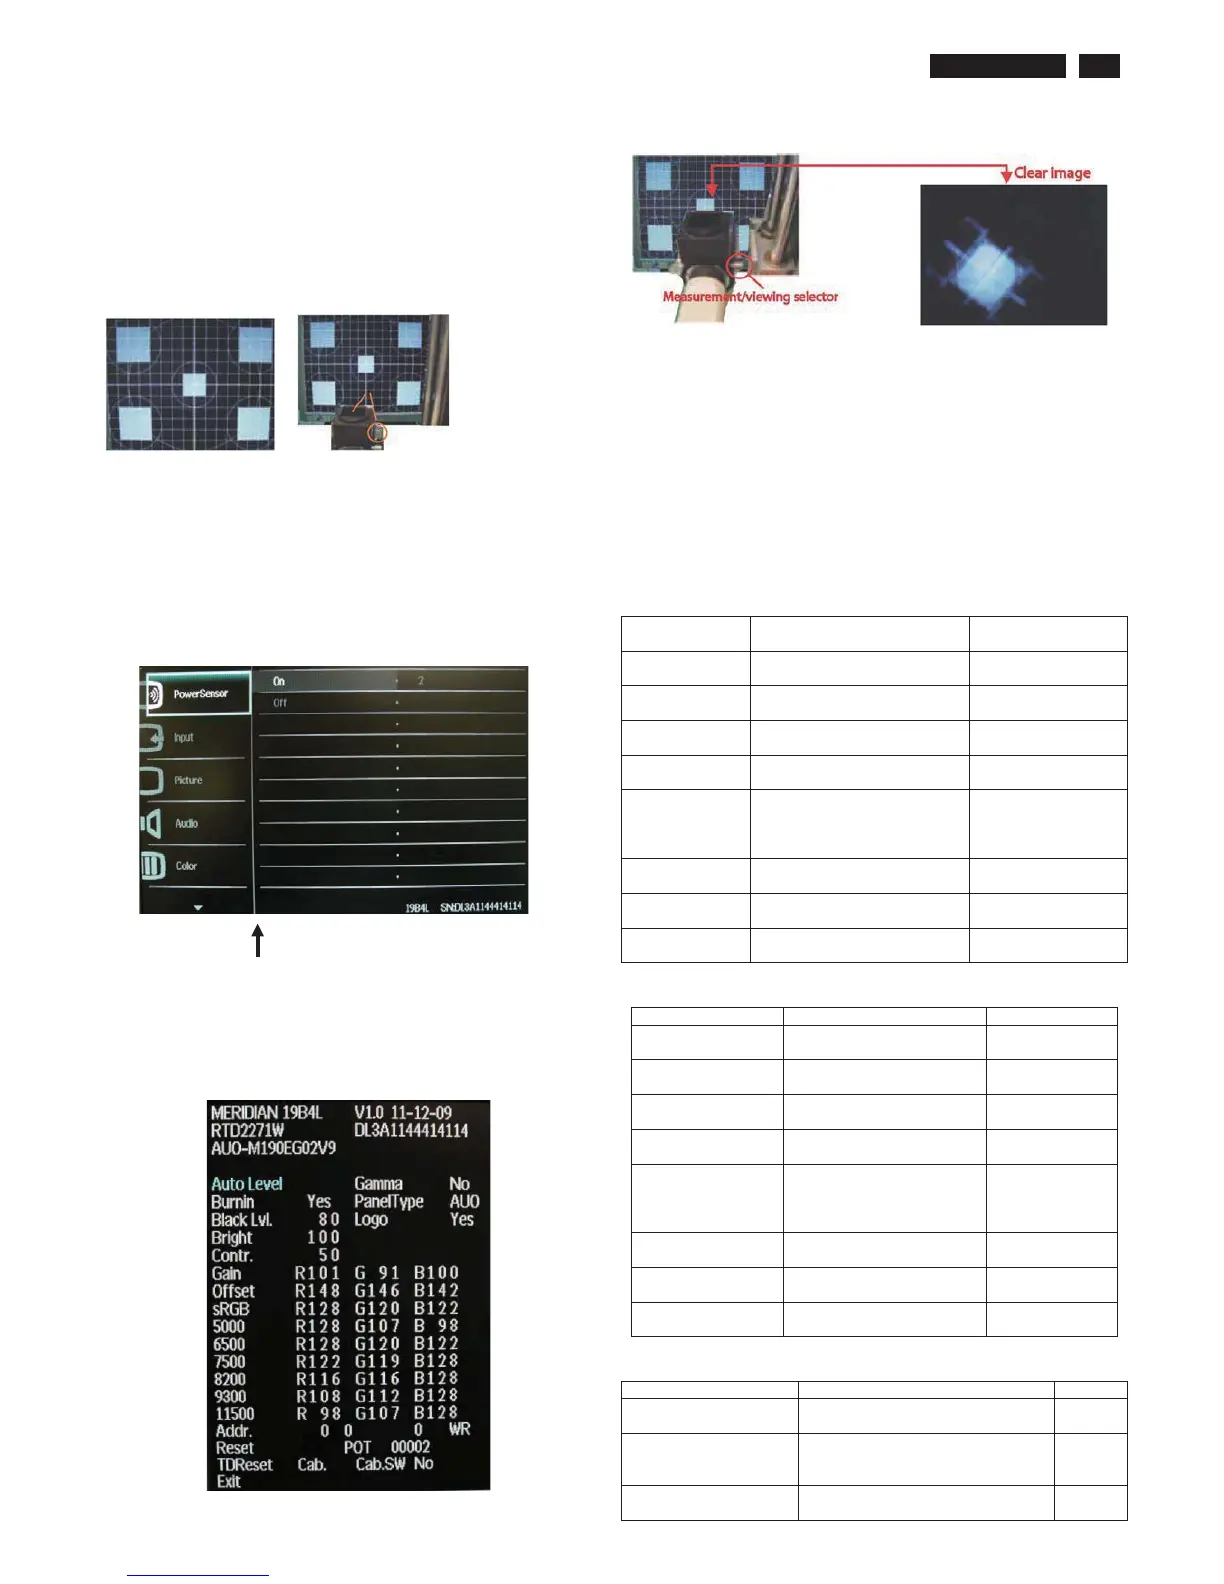
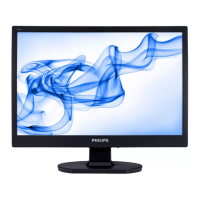
3. Preset LCD color Analyzer CA-1 10
-Remove the lens protective cover of probe CA-A30.
-Set measuring/viewing selector to measuring position for reset
analyzer .(zero calibration) as Fig.2
- Turn on the color analyzer (CA-1 10)
-Press 0-CAL button to starting reset analyzer .
Fig. 1 Fig.2
4. Access Factory Mode
1). Turn off monitor.
2). [Push "Down" & "MENU" buttons at the same time and hold them]
+[Press "power" button untill comes out "Windows screen" ]
=> then release all buttons
3).Press "MENU button, wait until the OSD menu with
Characters " MERIDIAN 19B4L V1.0 11-12-09” (below OSD menu) come
on the Screen of the monitor as shown in Fig3.
Factory Mode indicator
)LJ
4). Press button, then select factory mode indicator by "MENU" "LEFT"
or "RIGHT" button .Press"MENU" button to bring up submenu
windows as below:
)LJ
Fig.5
5.Display
Press "UP" or "DOWN" button to select . Change the value
by "UP" or "DOWN" key until the X, Y co-ordinates as below
5.1
Color temperature adjustment
There are six factory preset white color 11500K, 9300K, 8200K, 7500K,
6500K, sRGB, 5000K
Align by Philips PerfecTune (also called FGA) function.
Apply full white pattern, with brightness in 100 % position and the contrast
control at 50 % position.
The 1931 CIE Chromaticity (color triangle) diagram (x , y) coordinate for
the screen center should be:
Product specification
CIE
coordinates
(x,y)
11500K
x = 0.270 ± 0.02