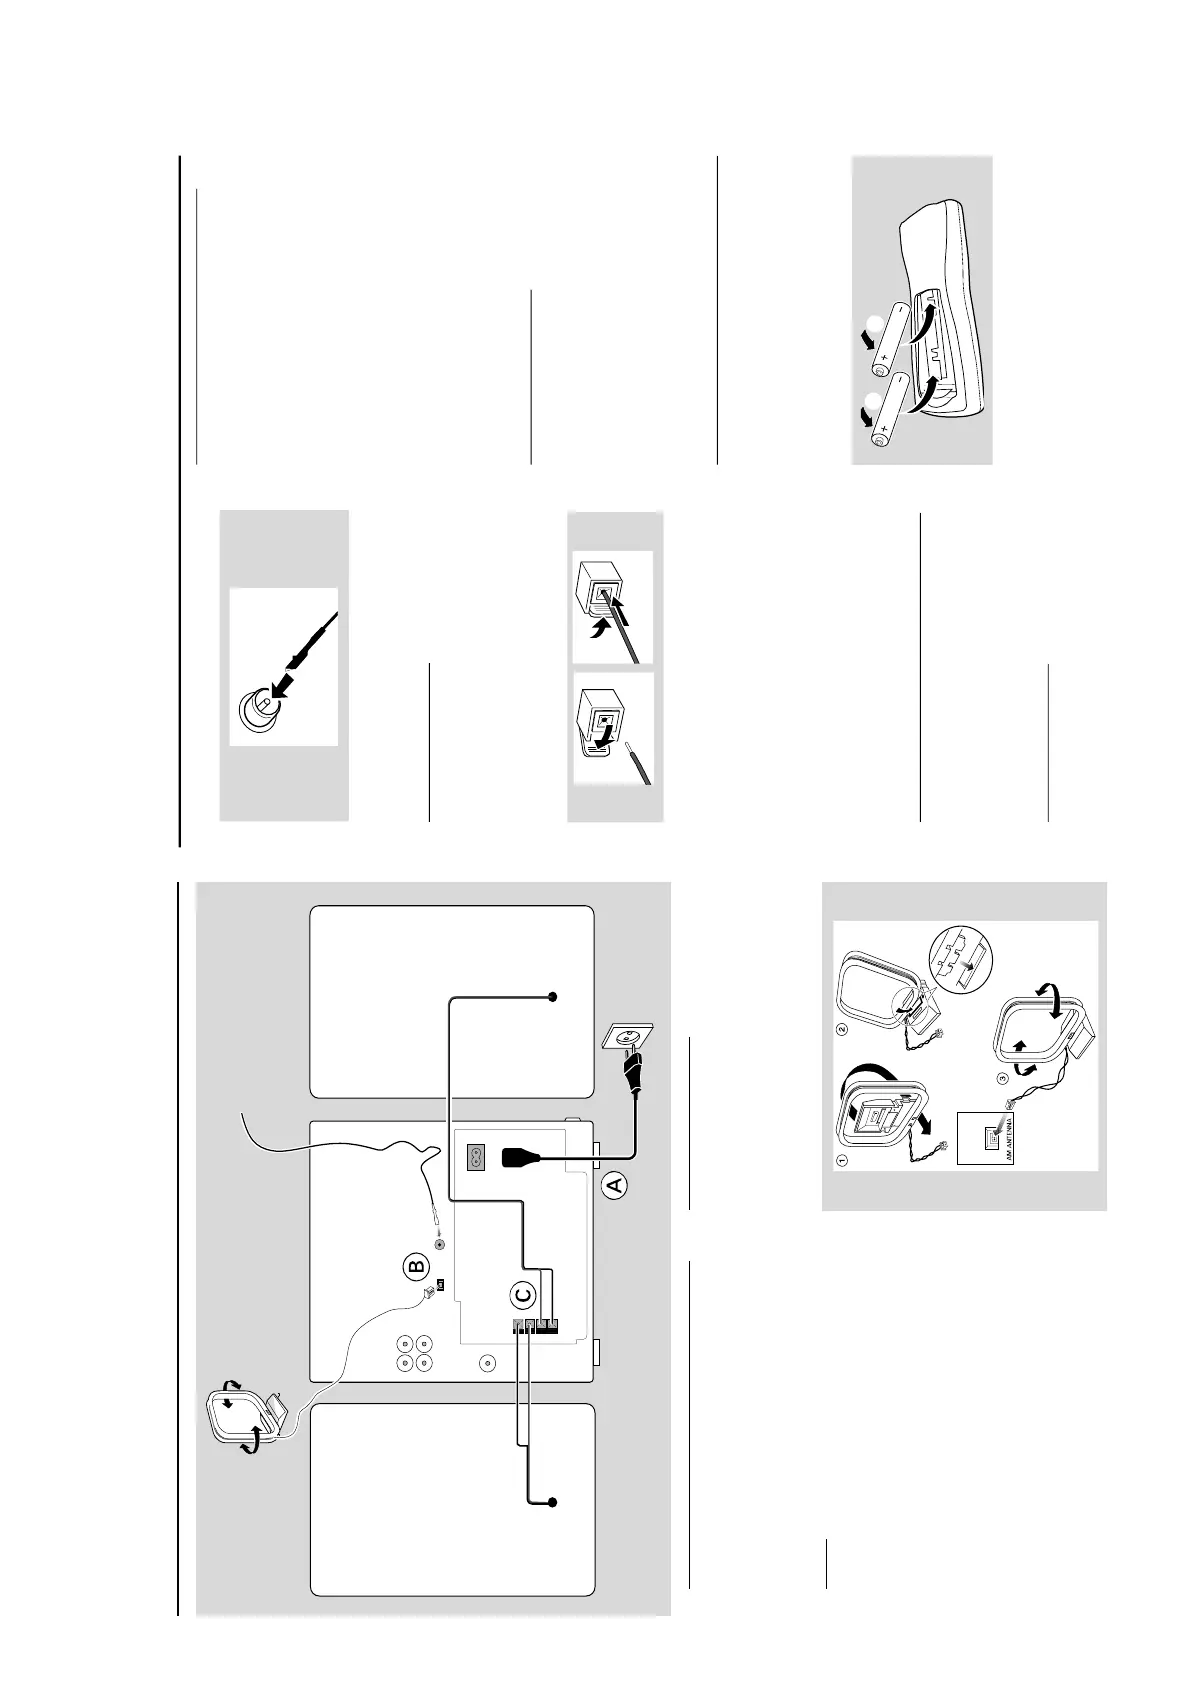
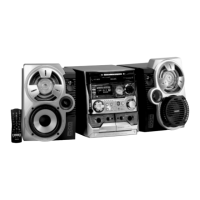
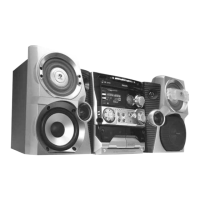
Preparations
Rear Connections
The type plate is located at the rear of the
system.
For users in the U.K.: please follow the
instructions on page 2-2.
A
Power
Before connecting the AC power cord to the
wall outlet, ensure that all other connections
have been made.
WARNING!
–For optimal performance, use only the
original power cable.
–Never make or change connections with
the power switched on.
To avoid overheating of the system, a safety
circuit has been built in. Therefore, your
system mays witch to Standby mode
automatically under extreme conditions. If
this happens, let the system cool down
before reusing it (not available for all versions).
B
Antennas Connection
Connect the supplied AM loop antenna and FM
antenna to the respective terminals. Adjust the
position of the antenna for optimal reception.
AM Antenna
English
Preparations
FM Antenna
¶ For better FM stereo reception, connect an
outdoor FM antenna to the FM ANTENNA
terminal.
C
Speakers Connection
Front Speakers
Connect the speaker wires to the SPEAKERS
(FRONT) terminals, right speaker to "R" and left
speaker to "L", coloured (marked) wire to "+"
and black (unmarked) wire to "-".
1
2
¶ Clip the stripped portion of the speaker wire as
shown.
Notes:
–For optimal sound performance, use the
supplied speakers.
–Do not connect more than one speaker to any
one pair of
+
/
-
speaker terminals.
–Do not connect speakers with an impedance
lower than the speakers supplied. Please refer to
the SPECIFICATIONS section of this manual.
Optional Connections
The optional equipment and connecting cords
are not supplied. Refer to the operating
instructions of the connected equipment for
detail
s.
Line Out Connection
Connect this output to any analogue audio
equipment for playback or recording (CD
recorder, tape recorder or amplifier for examp
le).
Use a cinch cable to connect the LINE OUT
terminals to the analogue audio in terminals of
the equipment.
Connecting other equipment to your
system
Connect the audio left and right OUT terminals
of a TV,VCR, Laser Disc player, D
VD pla
yer or
CD Recorder to the AUX/CDR IN terminals.
Notes:
–Do not connect equipment to both the LINE
OUT and AUX/CDR IN terminals at the same time.
Otherwise, noise will be generated and malfunction
might occur.
– If you are connecting equipment with a mono
output (a single audio out terminal), connect it to
the AUX/CDR IN left terminal. Alternatively, you
can use a “single to double” cinch cable (still be
mono sound).
Digital Out Connection
Connect this digital output when recording on
any audio equipment with digital input (CD
Recorder, Digital Audio Tape [DAT] deck, Digital
to Analogue Converter and Digital Signal
Processor, for example). Use a cinch cable to
connect the DIGITAL OUT terminal to the
digital input terminal of the equipment.
Inserting batteries into the
Remote Control
Insert two batteries (Type R06 or AA) into the
remote control with the correct polarity as
indicated by the + and - symbols inside the
battery compartment.