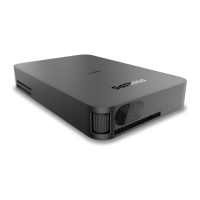
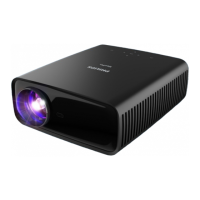
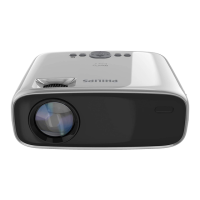
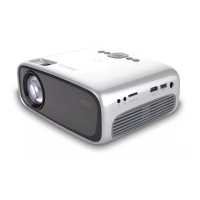
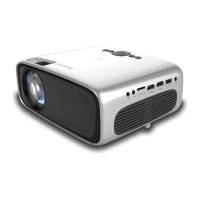
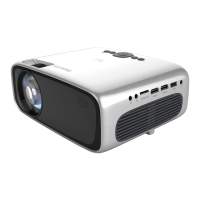
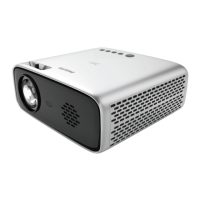
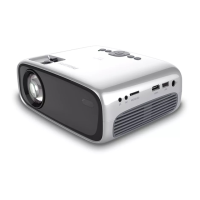
The Philips GoPix 1 (GPX1100) is a portable projector designed for versatile use, offering a compact solution for displaying images and videos. It can be operated either by an external power supply or its built-in battery, providing flexibility for both home and on-the-go use.
Function Description
The primary function of the GoPix 1 is to project images and videos onto a surface. It supports connections from various playback devices such as Blu-ray players, gaming consoles, camcorders, digital cameras, PCs, mobile phones, and tablets via HDMI or USB-C. The projector is equipped with a projection lens and a focus adjustment knob to ensure image sharpness. An LED indicator provides visual feedback on the projector's status (on/standby).
For audio, the projector has an internal stereo speaker. It supports stereo audio format only, so users should ensure their playback device's audio output is set to stereo (PCM) if no sound is heard.
Usage Features
The GoPix 1 offers multiple usage configurations and settings to optimize the viewing experience:
- Placement Options: The projector can be placed on a flat surface in front of the projection screen (Front table), mounted on the ceiling in front of the screen (Front ceiling), placed on a table behind the screen (Rear table), or mounted on the ceiling behind the screen (Rear ceiling). For ceiling installations, a projector mount is required. The projection mode can be adjusted in the settings menu to match the chosen placement, with options like "Rotate Front," "Rotate Ceiling," and "Rotate Rear."
- Tripod Compatibility: The projector comes with a tripod, which can be screwed into the tripod socket on the bottom of the device, offering more flexibility for positioning.
- Image Correction:
- Auto Keystone Correction: The projector can automatically correct the image to be rectangular when tilted upwards or downwards. This feature can be enabled or disabled in the settings.
- Manual Keystone Correction: If auto keystone is disabled, users can manually correct distorted images in the horizontal orientation using the navigation buttons in the settings menu.
- Focus Adjustment: A dedicated knob on the side of the projector allows for manual adjustment of image sharpness.
- Aspect Ratio: Users can select an aspect ratio to fit the projection screen.
- Auto Rotate: The projection screen can automatically rotate when the projector is detected being rotated.
- Input Source Selection: The projector supports HDMI and USB-C video inputs. Users can manually select the input source or set it to "Auto" to automatically switch to the input with an active signal.
- Power Management:
- External Power: The projector can be powered and charged via a USB-C PD (Power Delivery) charger (not included). It requires a 12V power supply.
- Built-in Battery: For portability, the projector can run on its built-in battery. The LED indicator turns red when charging and white when the projector is on.
- Brightness Modes: Different screen brightness modes can be selected to control power consumption.
- Remote Control: A remote control is provided for convenient operation. It allows users to:
- Switch the projector on/off (press and hold for 1 second to turn on, press twice to turn off).
- Select input sources.
- Access the settings menu.
- Adjust volume.
- Navigate menu options and confirm selections.
- Return to previous menu screens.
- When using the remote, it's important to point it at the IR sensor on the back of the projector and ensure no obstacles block the signal.
- Settings Menu: The settings menu, accessed via the remote, offers a wide range of adjustments:
- Menu Language: Select the desired language for the on-screen menu.
- Picture Settings: Adjust picture preset (Vivid, User, etc.), color temperature (Warm, Cool, Standard), and other visual parameters.
- Sound Settings: Adjust volume and select sound presets.
- Power Control Settings: Manage brightness and display duration for the settings menu.
- HDMI CEC (EasyLink): This feature allows the projector to communicate with other HDMI CEC-compliant devices, enabling control with a single remote.
- Firmware Upgrade: Update the projector's software via a USB device.
- Factory Restore: Reset the projector to its default settings.
- Software Version: Display the current software version.
- Position: Re-position the settings menu on the projection screen.
Maintenance Features
Proper maintenance ensures the longevity and optimal performance of the GoPix 1:
- Cleaning:
- Surfaces: Use a soft, lint-free cloth to gently wipe the projector's surfaces. Avoid liquid, gaseous, or flammable cleansers (sprays, abrasives, polishes, alcohol) and prevent moisture from reaching the interior. Do not spray cleaning fluids directly onto the projector.
- Lens: Clean the projection lens with a soft brush or lens cleaning paper. Do not use any liquid cleaning agents on the lens to avoid damaging its coating film.
- Battery Care: The built-in battery's capacity diminishes over time. To prolong its life:
- Connect the projector to an external power supply when the battery is low.
- Charge the battery regularly and avoid storing the projector with a completely discharged battery.
- If not used for several weeks, discharge the battery slightly before storage.
- Keep the projector and battery away from heat sources.
- If the projector cannot be charged, a small pin can be used to press the reset key (a small hole) next to the DC socket.
- In cases of deep discharge, allow at least five hours for charging before use.
- The built-in battery should only be replaced by qualified service staff.
- Software Updates: The latest software for the projector can be downloaded from the Philips support website. Updates are performed via a USB flash drive (FAT32 formatted) connected to the USB-C (VIDEO) port. It is recommended to connect the projector to an external power supply during this process. Users should not turn off the projector or remove the USB flash drive during an update.
- Troubleshooting: The user manual provides a troubleshooting section to address common issues such as the projector not turning on, no image display, slow charging, automatic shutdown, or remote control unresponsiveness. It offers solutions like checking connections, power supply, input sources, and battery status. For persistent problems, users are advised to contact a technical service center or dealer.