Operation 7
Charge the projector
Charge the projector for 1.5 hours before first
use.
Charge the projector when the low battery icon
appears in the projection screen.
• To charge the projector, connect the
projector to an external power supply as
described in the section “Operation by
external power”.
• When connected to power supply, the LED
on the projector turns red.
• When powered on, the external power
will be used first to run the projector and
unused power will charge the battery.
• For faster charging, charge while the
projector is powered off.
Notice
The capacity of the built-in battery
diminishes with time. If the projector
functions only with external power
supply, the built-in battery is defective.
Contact an authorised service centre to
replace the built-in battery.
Prepare the remote control
CAUTION!
The improper use of batteries can lead
to overheating, explosion, risk of fire and
injury. Leaking batteries can possibly
damage the remote control.
Never expose the remote control to
direct sunlight.
Avoid deforming, dismantling or charging
the batteries.
Avoid exposure to open fire and water.
Replace empty batteries immediately.
Remove the batteries from the remote
control if not in use for long periods of
time.
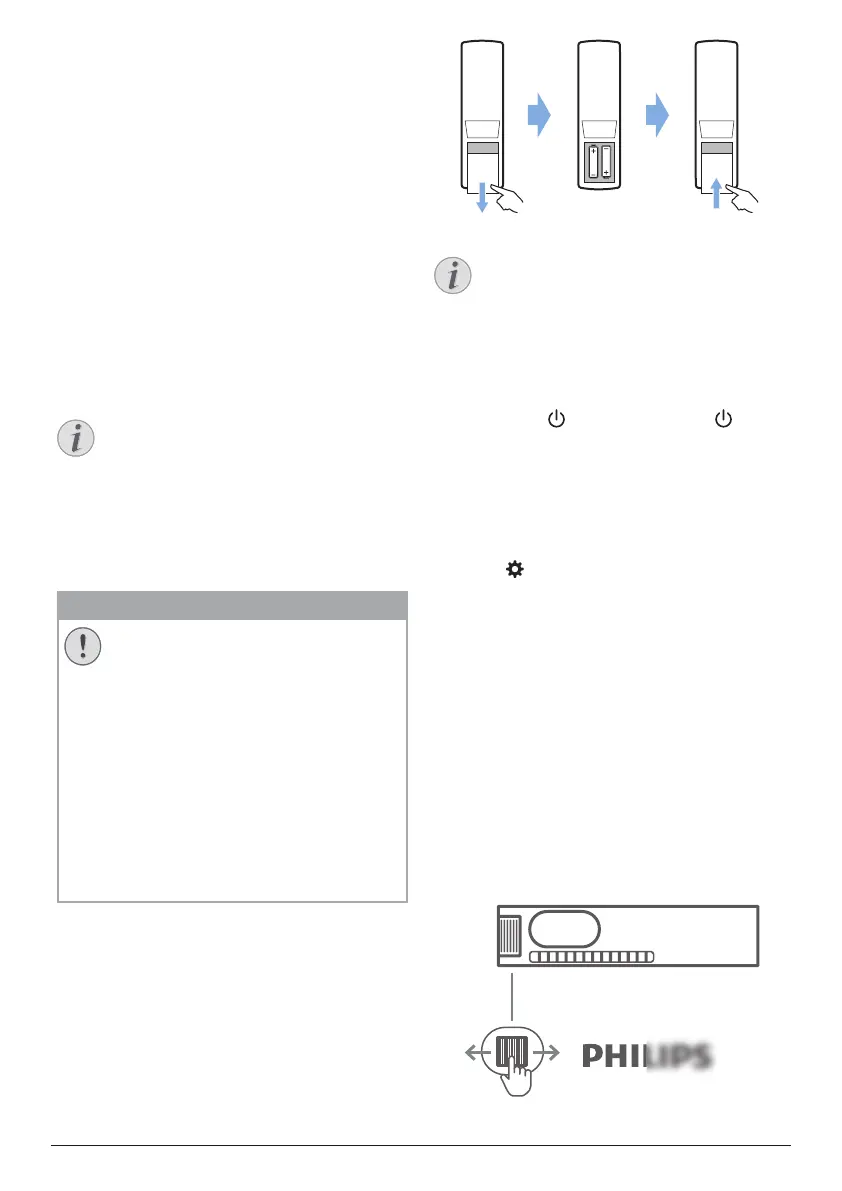
1 Press and hold the battery compartment
cover, and simultaneously slide it open to
access the battery compartment.
2 Insert the supplied batteries (type AAA)
with correct polarity (+/- ) indicated.
3 Close the battery compartment.
Notice
When using the remote control, point the
remote control at the IR sensor located
on the back of the projector, and make
sure there is no obstacle between the
remote control and the IR sensor.
Power on and set up
Press and hold on the projector (or on
the remote control) for 1 second to switch the
projector on.
• When the projector is switched on, the LED
on the projector turns white.
Select a language
1 Press on the remote control to access
the settings menu, then navigate to select
Menu Language, and press OK.
2 Press the Navigation buttons to select a
language.
Change screen size
The projection screen size (or size of images) is
determined by the distance between the lens
of the projector and the projection surface.
• The projection distance needs to be 1.2
times the width of your desired screen size.
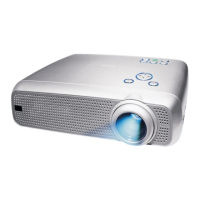
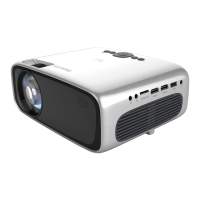
Image sharpness adjustment
To adjust image focus, turn the focus
adjustment knob on the side of the projector.
 Loading...