4-8
Chapter 4: Expanding or Modifying an Installed ITS
3. If you have installed a Core AP with Remote Antennas, connect the Core AP to its
RAs now using the provided 68-ft. UTP-and-Coaxial cable bundles.
Caution Do not kink the RA Coax-and-UTP-cable-bundle during installation. You must
maintain a minimum 2.5-inch (64-mm) bend radius for the RA Coax-and-UTP-cable-
bundle throughout the installation.
4. Route and attach a network patch cable between the Access Point and the Sync
Unit, Power over Ethernet Unit, and appropriate network switch port. (See
page 3-4 for illustrations of and instructions for making these cable
connections.)
Once power is applied, the Access Point (and Remote Antennas) will take
approximately 60 seconds to fully boot and will automatically appear in the View
Devices tree of the APC web interface under any AP Controller.
By default, the Remote Antennas are labeled as AP-1-ID#### (AP-port 1-remote
antenna ID) or AP-2-ID#### (AP-port 2-remote antenna ID) where ID####
matches the ID number printed on the Remote Antenna’s device label.
Press F5 to refresh the APC web interface if the AP is not displayed.
If the AP is still not displayed, click Configuration and then select the Advanced
tab. Verify that the Allow new APs to be added automatically option is set to
True.
5. Click on the new AP and its configuration screen will appear. Note that although
the AP was given an IP address by the BootP server, the IP address is not listed
in the configuration screen. It appears as though the AP does not have an IP
address (0.0.0.0).
6. In the AP Configuration screen for this Access Point, select the Basic Settings
tab and then configure the following settings:
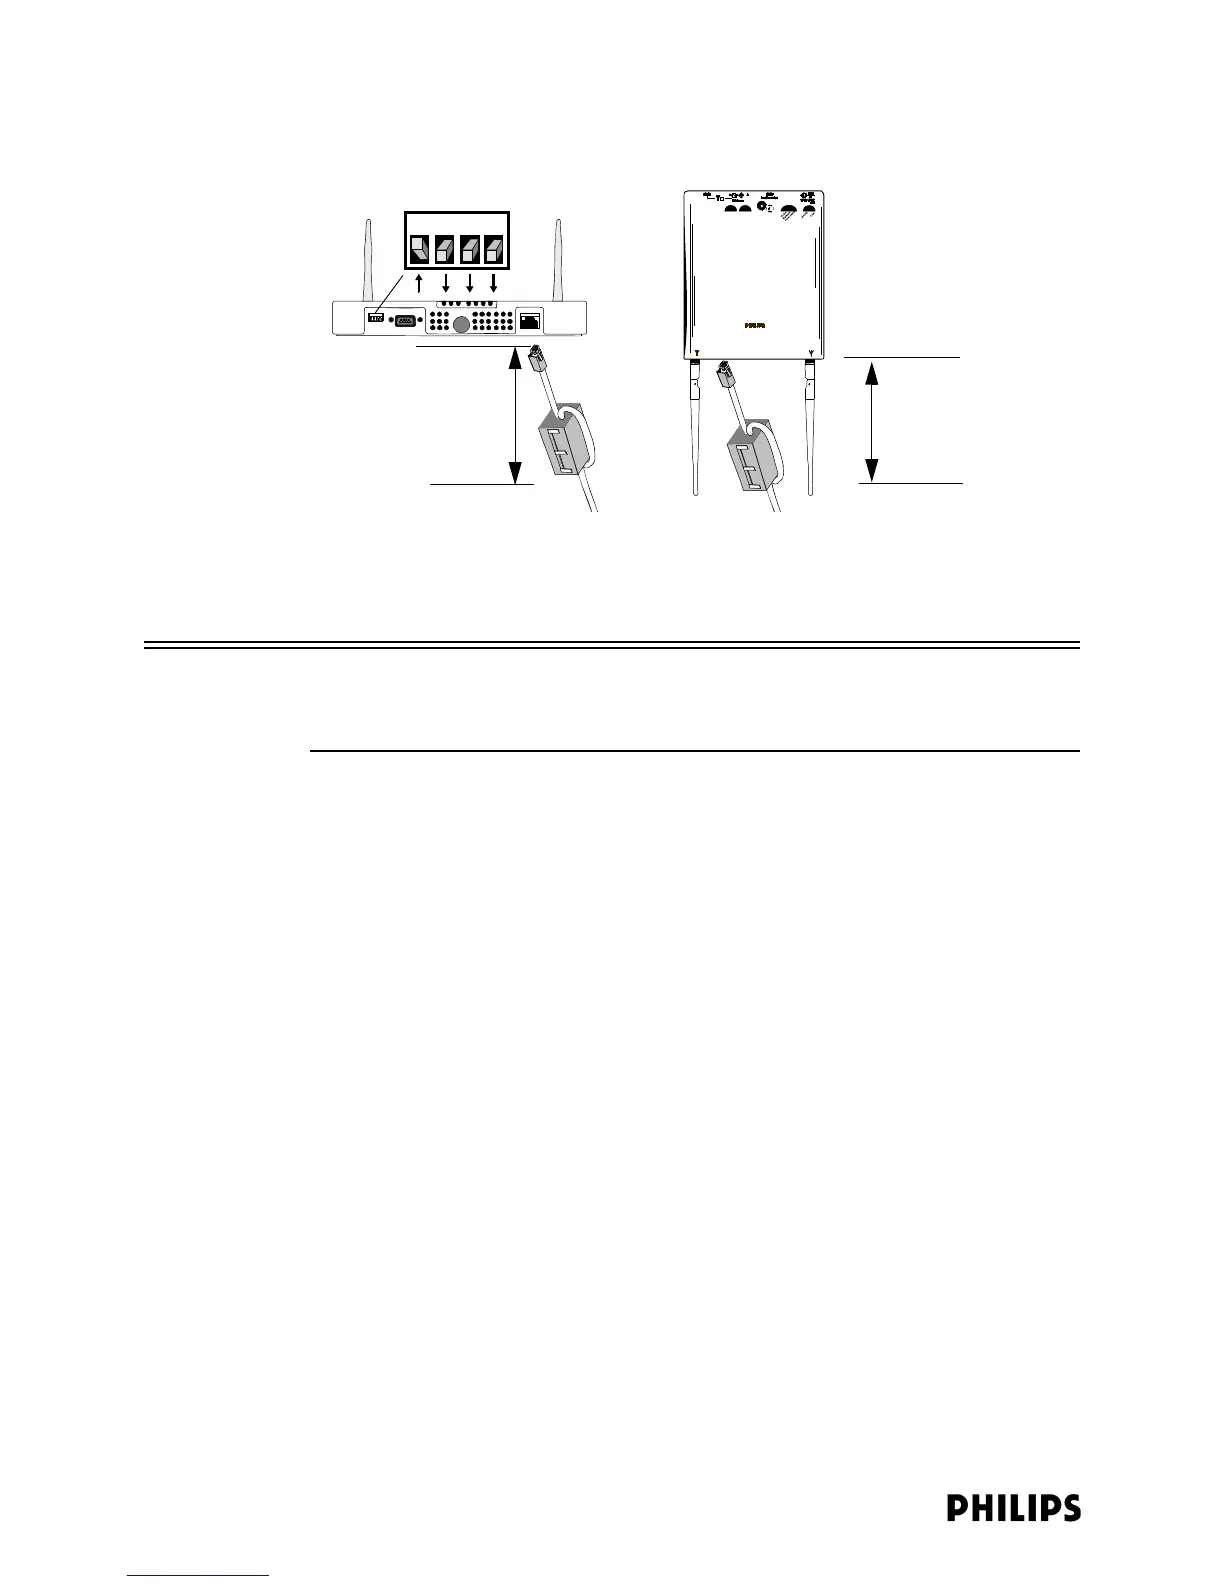
Figure 4-2: Mounting the 1.4/2.4 GHz ITS Smart Hopping Access Point
Distance = less than
20 inches (50cm)
Distance = less than
20 inches (50cm)
1.4/2.4 GHz Standard
Access Point
1.4 GHz Core
Access Point
1 2 3 4
 Loading...