Alignments
EN 56 LC8.1E LB8.
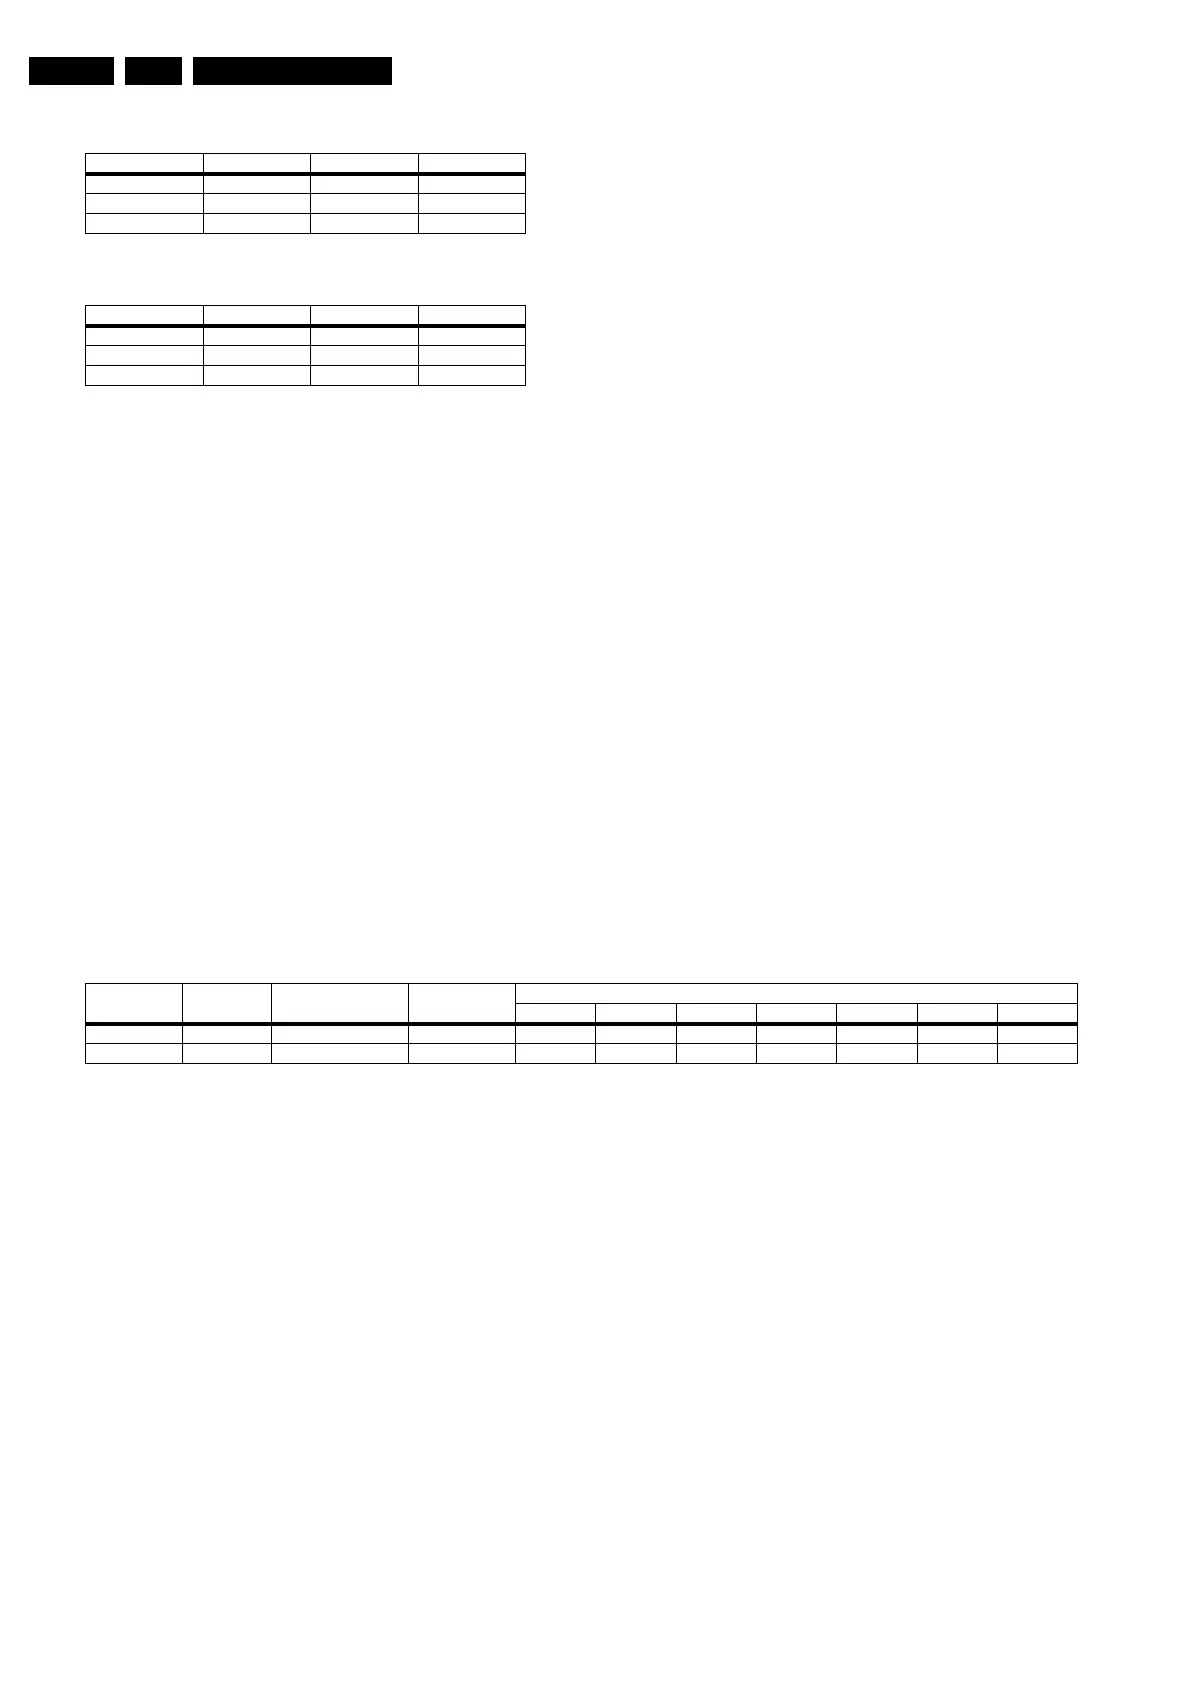
Table 8-3 Tint settings 32"
Table 8-4 Tint settings 42"
ADC Alignment (external source)
When the grey scale displayed is not uniformity, use the
following alignment method. This is to calibrate the input
source to perform better output display.
Two Input Source need to be calibrated:
1. RGB (via Scart 1)
2. YPbPr (Component Input)
Instructions:
• Apply a standard 100% colour bar to input source (1) & (2).
• Activate SAM.
• Cursor down to item “RGB Align” and select “Align ADC”.
• Select “Yes” with the Left Key to start calibration.
• Power Off the set and calibrated values will be stored.
Note: The “In Progress” message indicates calibration in
progress.
The “Done” message will be displayed when completed
successfully.
8.4 Option Settings
8.4.1 Introduction
The microprocessor communicates with a large number of I
2
C
ICs in the set. To ensure good communication and to make
digital diagnosis possible, the microprocessor has to know
which ICs to address. The presence/absence of these specific
ICs (or functions) is made known by the option codes.
Notes:
• After changing the option(s), save them with the STORE
command.
• The new option setting becomes active after the TV is
switched “off” and “on” again with the mains switch (the
EAROM is then read again).
8.4.2 How To Set Option Codes
When the NVM is replaced, all options will require resetting. To
be certain that the factory settings are reproduced exactly, you
must set all option numbers. You can find the correct option
numbers in table “Option Codes OP1...OP7” below.
How to Change Options Codes
An option code (or “option byte”) represents eight different
options (bits). When you change these numbers directly, you
can set all options very quickly. All options are controlled via
seven option bytes (OP1... OP7).
Activate SAM and select “Options”. Now you can select the
option byte (OP1 to OP7) with the CURSOR UP/ DOWN keys,
and enter the new 3 digit (decimal) value. For the correct
factory default settings, see the next table “Option codes
OP1...OP7“. For more detailed information, see the second
table “Option codes at bit level“. If an option is set (value “1”), it
represents a certain decimal value.
When all the correct options (bits) are set, the sum of the
decimal values of each Option Byte (OP) will give the option
code.
Table 8-5 Option code overview
Option Bit Overview
Below find an overview of the Option Codes on bit level.
Colour Temp. R G B
Cool 120 126 128
Normal 128 128 128
Warm 128 120 126
Colour Temp. R G B
Cool 127 120 124
Normal 127 115 114
Warm 127 110 96
Sets 12NC Sets Type Panel Type Panel Code (Dec)
Option Byte (Dec)
1234567
8670 000 42116 32PFL3403/12 LPL- LC320WXN-SAB1 136 3 2 0 255 8 0 1
8670 000 42115 42PFL3403/12 LPL- LC420WXE-SAA1 138 3 2 0 255 8 0 0