Chapter 6 - Disassembly Guide 61
6
Disassembly Guide
Warning Performance verification: do not place the monitor into
operation after repair or maintenance has been performed,
until all recommended Performance Tests and Safety Tests
listed in Chapter 3 of this service manual have been
performed. Failure to perform all tests could result in
erroneous monitor readings.
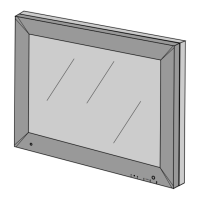
Introduction
The monitor can be disassembled down to all major component parts,
including:
• PCBs
•battery
•cables
• function buttons
• chassis enclosures
The following tools are required:
• small/medium, Phillips-head screwdriver
• needle-nose pliers
• 9/16-inch socket (for wheel encoder)
• 3/16-inch socket (for rear-panel RS-232 connector).
Warning Before attempting to open or disassemble the monitor,
disconnect the power supply from the monitor.
Warning High voltage is generated by the LCD backlight driver.
Exercise caution when operating the monitor with the
covers open.
Caution Observe ESD (electrostatic discharge) precautions when
working within the unit.