EN-13Getting started
Philips Digital PhotoFrame
• Do not remove the memory card/USB flash drive before the copy
process is completed.
• If the files you wish to copy from the memory card/USB flash drive
already exists on the internal memory of the PhotoFrame, the files
will be overwritten when you select to proceed.
Step 6: Connecting the PhotoFrame
to a computer
You can connect the PhotoFrame to a computer using a mini USB
cable (to be purchased separately) to easily manage the files on
the internal memory of the PhotoFrame.
1. Start the computer and turn on the PhotoFrame.
2. Connect the smaller end of the USB cable to the mini USB port
of the PhotoFrame.
3. Connect the other end of the USB cable to a USB port on the
computer, making sure the connectors are fully inserted.
4. Once connected, the PhotoFrame will enter PC transfer mode
automatically.
5. When the computer has detected the PhotoFrame, the
PhotoFrame will appear in “My Computer” as “removable disk”.
6. Now you can freely transfer the files on the PhotoFrame as you
would on other disk drive.
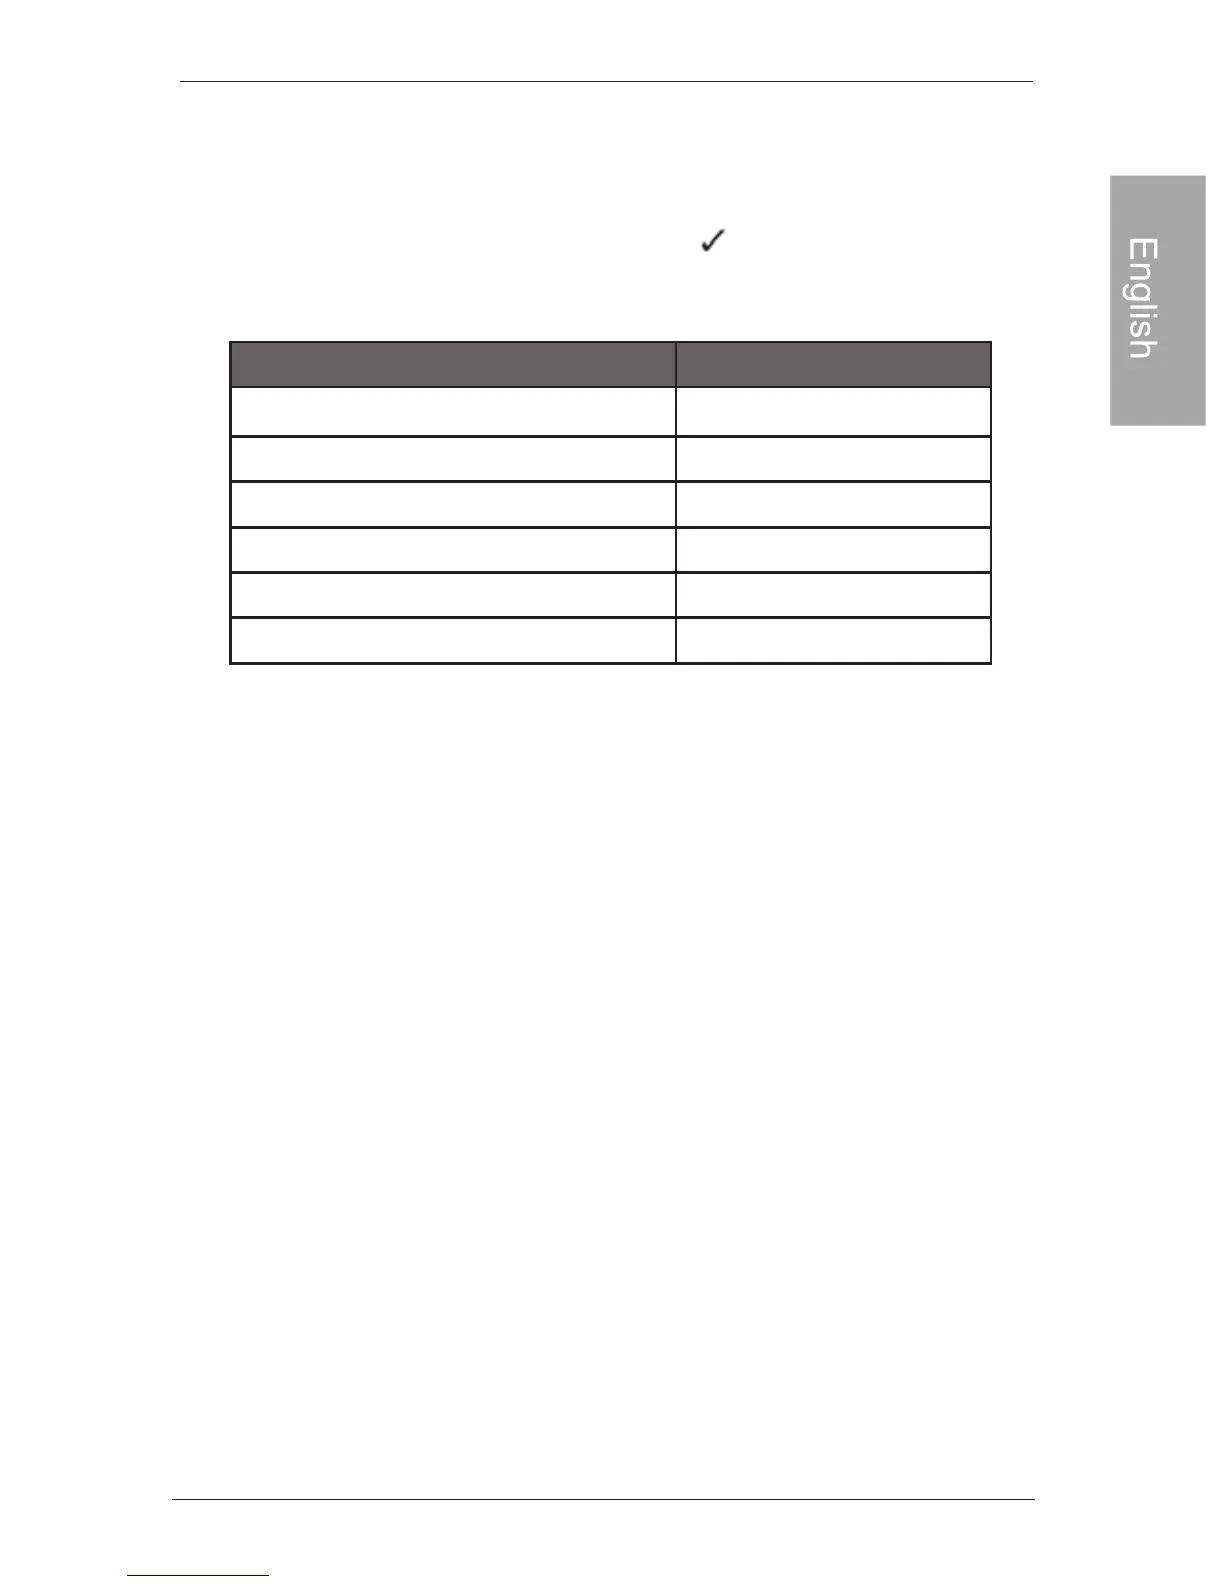
Compatible memory card formats :
1
Maximum capacity
SD/SDHC
MultiMediaCard(MMC)
Memory Stick(MS)
Mcmory Stick PRO(MS PRO)
Memory Stick Duo(MS Duo)
USB flash drive
32GB
1GB
4GB
2GB
2GB
16GB
Memory card format
• Maximum capacity specification listed above are subject to change
without prior notice