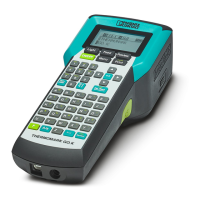
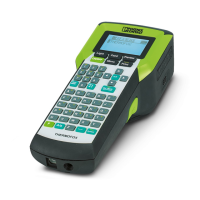
Operating elements
106986_en_01 PHOENIX CONTACT 31
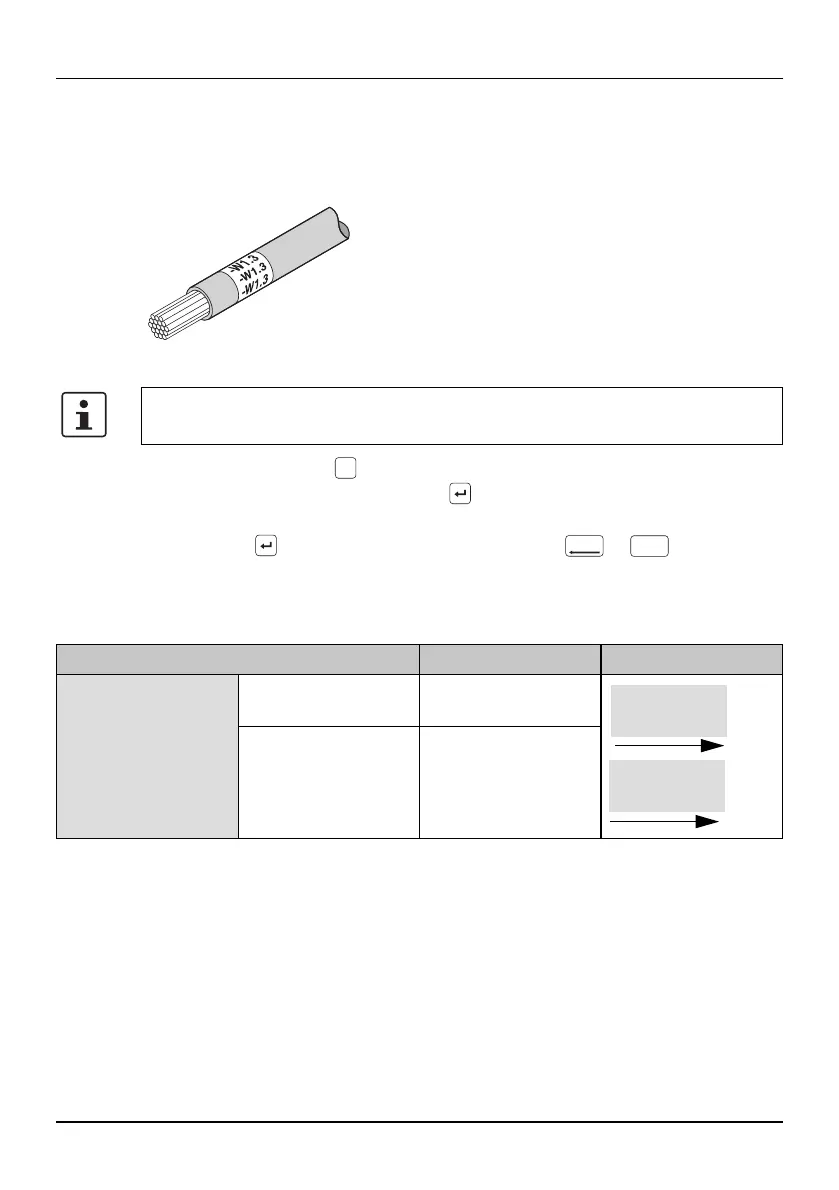
4.1.6 Creating cable marking
When marking cables or conductors, it may be useful to attach a marking that is
readable around the cable.
Figure 4-6 Cable marking
• Press the turquoise key.
• Select “5. Cable Wrap” . Press the key.
• Select the required settings (see below).
• Press the key to select an entry. Go back with or key.
• You can select measurements with the arrow keys. Some measurements can
also be entered directly by using the number keys.
The following settings can be made:
When using horizontal text alignment, the optimum width of the label can be de-
termined automatically or you can specify a fixed width.
When using vertical text alignment, enter the diameter or the cross section of the
cable. The printer then determines the optimum length.
If you select this template, the entered marking will be deleted. First create the
template and than enter the marking.
Te m-
plate
Del./Back
Clear
Menu
Selection Possible entry Example
5. Cable Wrap Horizontal text align-
ment
[Auto Length, User
Set]
Vertical text align-
ment
[Diameter, Cross
section]
-W1.3
-W1.3
-W1.3
-W1.3
-W1.3
-W1.3
 Loading...