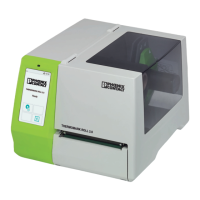
Operating elements
106986_en_01 PHOENIX CONTACT 33
4.2 Creating the marking on the PC
CLIP PROJECT Marking can be used to create markings on a PC which are tai-
lored to the Phoenix Contact marking material.
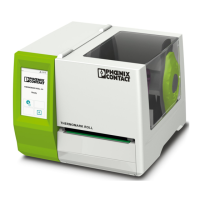
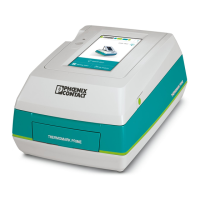
Select the THERMOFOX as the printer. You will be provided with a template list of
materials that are suitable for this printer.
The CLIP PROJECT Marking software is supplied with the printer. The marking
software is also available for download at
phoenixcontact.net/qr/5146040.
Connecting to a computer via USB
A printer driver must be installed if a USB interface is to be used for connection.
You will find the printer driver on the DVD-ROM that is supplied with the printer or
on the Internet at
phoenixcontact.net/qr/0803984.
• Switch on the PC.
• Exit all programs that are currently running.
• Switch on the THERMOFOX.
• Connect the PC to the THERMOFOX using the supplied USB cable.
• Insert the DVD containing the driver software. The Windows installation wizard
is started automatically.
• Follow the on-screen instructions.
Following successful installation, an icon for the THERMOFOX appears in the Win-
dows “Devices and Printers” system folder
Then set up the THERMOFOX in CLIP PROJECT Marking.
Add the THERMOFOX as a printer. For instructions, please refer to the quick start
guide, Part 01 on the basics of CLIP PROJECT Marking. The quick start guide can
be downloaded at
phoenixcontact.net/qr/5146040.
NOTE: Errors during operation due to insufficient or missing shielding
Make sure that all connecting cables connected to the printer are shielded.
 Loading...