5. Complete the charging and disassemble the batteries.
2.2. Battery Installation
Purpose:
Insert the batteries into the battery compartment.
Steps:
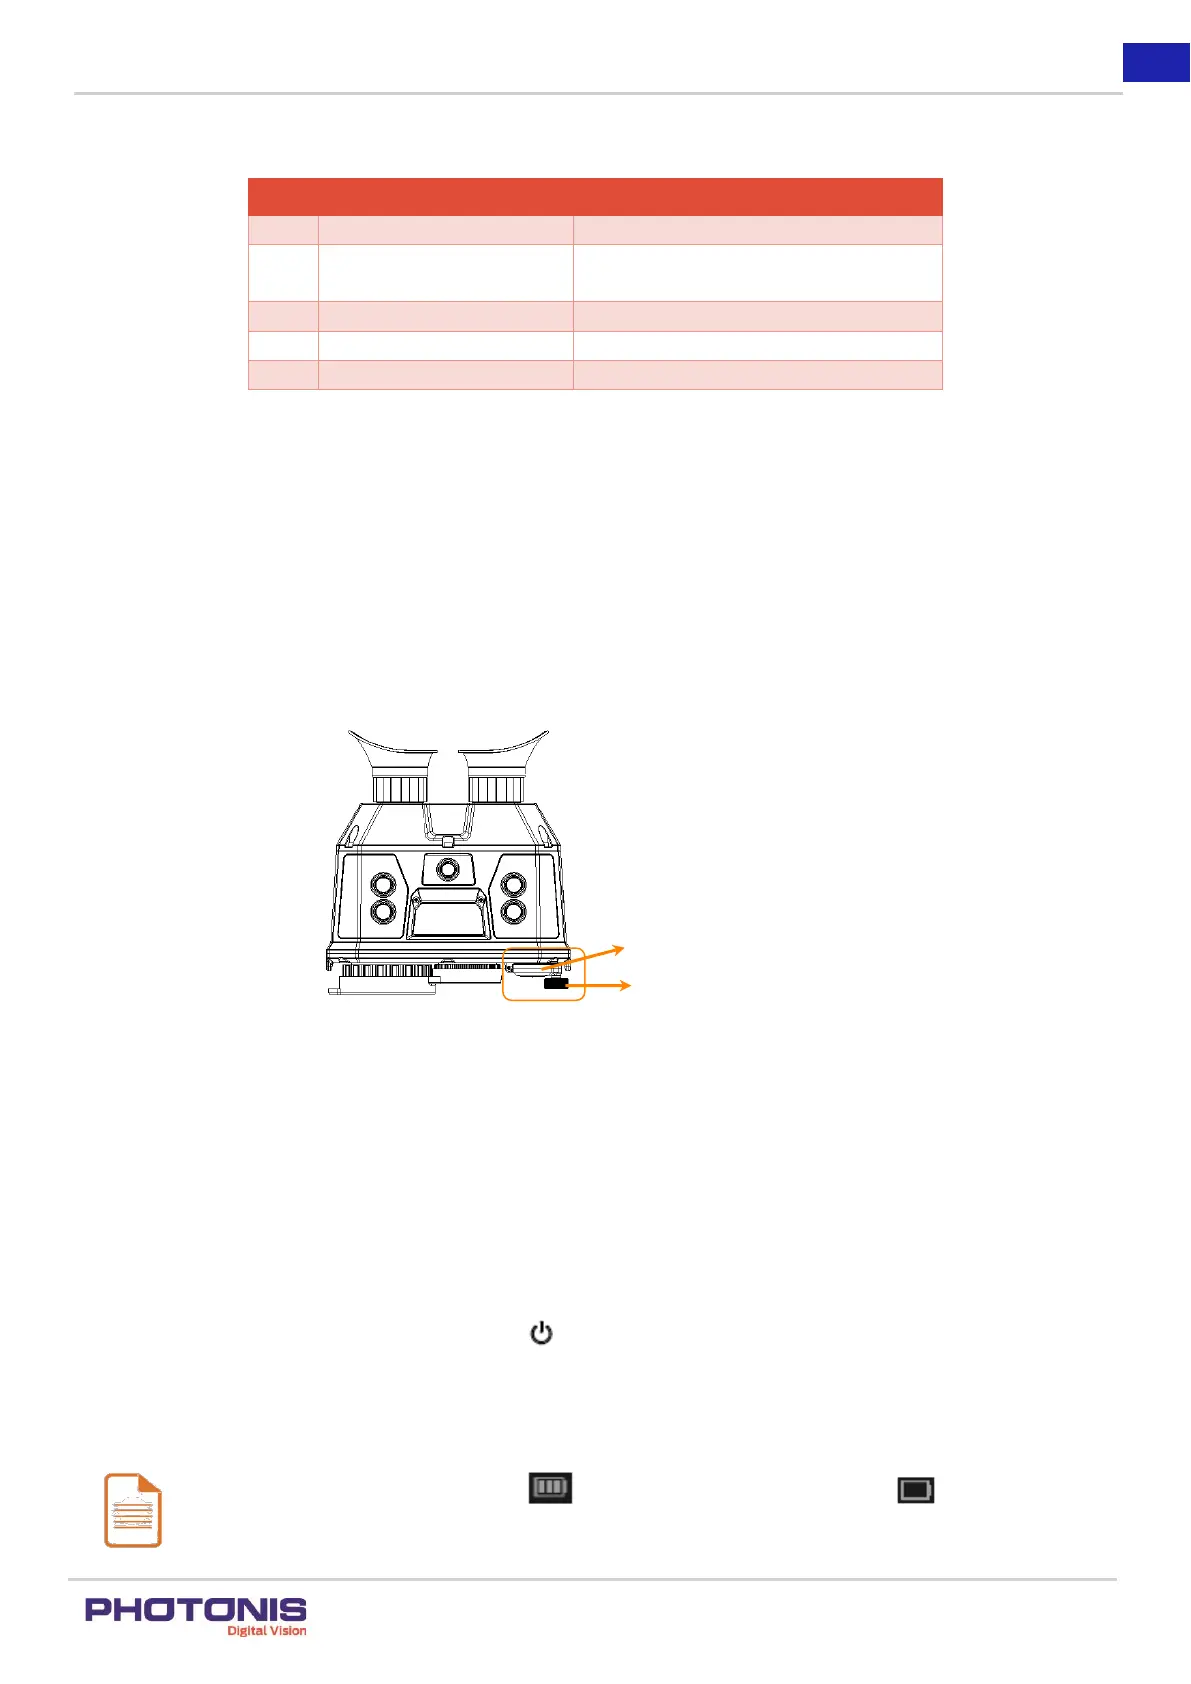
1. Open the battery compartment cap by rotating the lock counter-clockwise.
Figure 7. Step 1.
2. Insert two batteries with positive/negative marks (see at the side of the device) match with that of the battery compartment.
3. Close the battery compartment cap by rotating the lock clockwise.
2.3. Turning the power ON/OFF
2.3.1 Power On
Step:
When the TacFusion is sufficiently charged, hold the button to turn ON the TacFusion. Please ensure that the batteries are
installed correctly.
Notes:
See the battery icon for the power status. means the battery is fully charged, and means that the battery
is low charged.

 Loading...