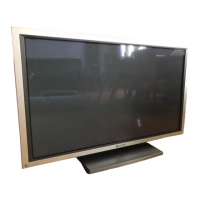
PDP-504PU
68
1234
1234
C
D
F
A
B
E
7.1.10 DISASSEMBLY
2
3
1
3
4
3
4
2
3
2
×2
3
×2
×5
6
×3
32
×2
3
×2
5
3
×2
3
×3
×3
3
×2
1
PANEL KEY
Assy
7
1
2
2
2
3
1
1
1
2
3
2
2
2
2
3
2
2 → 5 → 6 → 7
∗1 ∗1
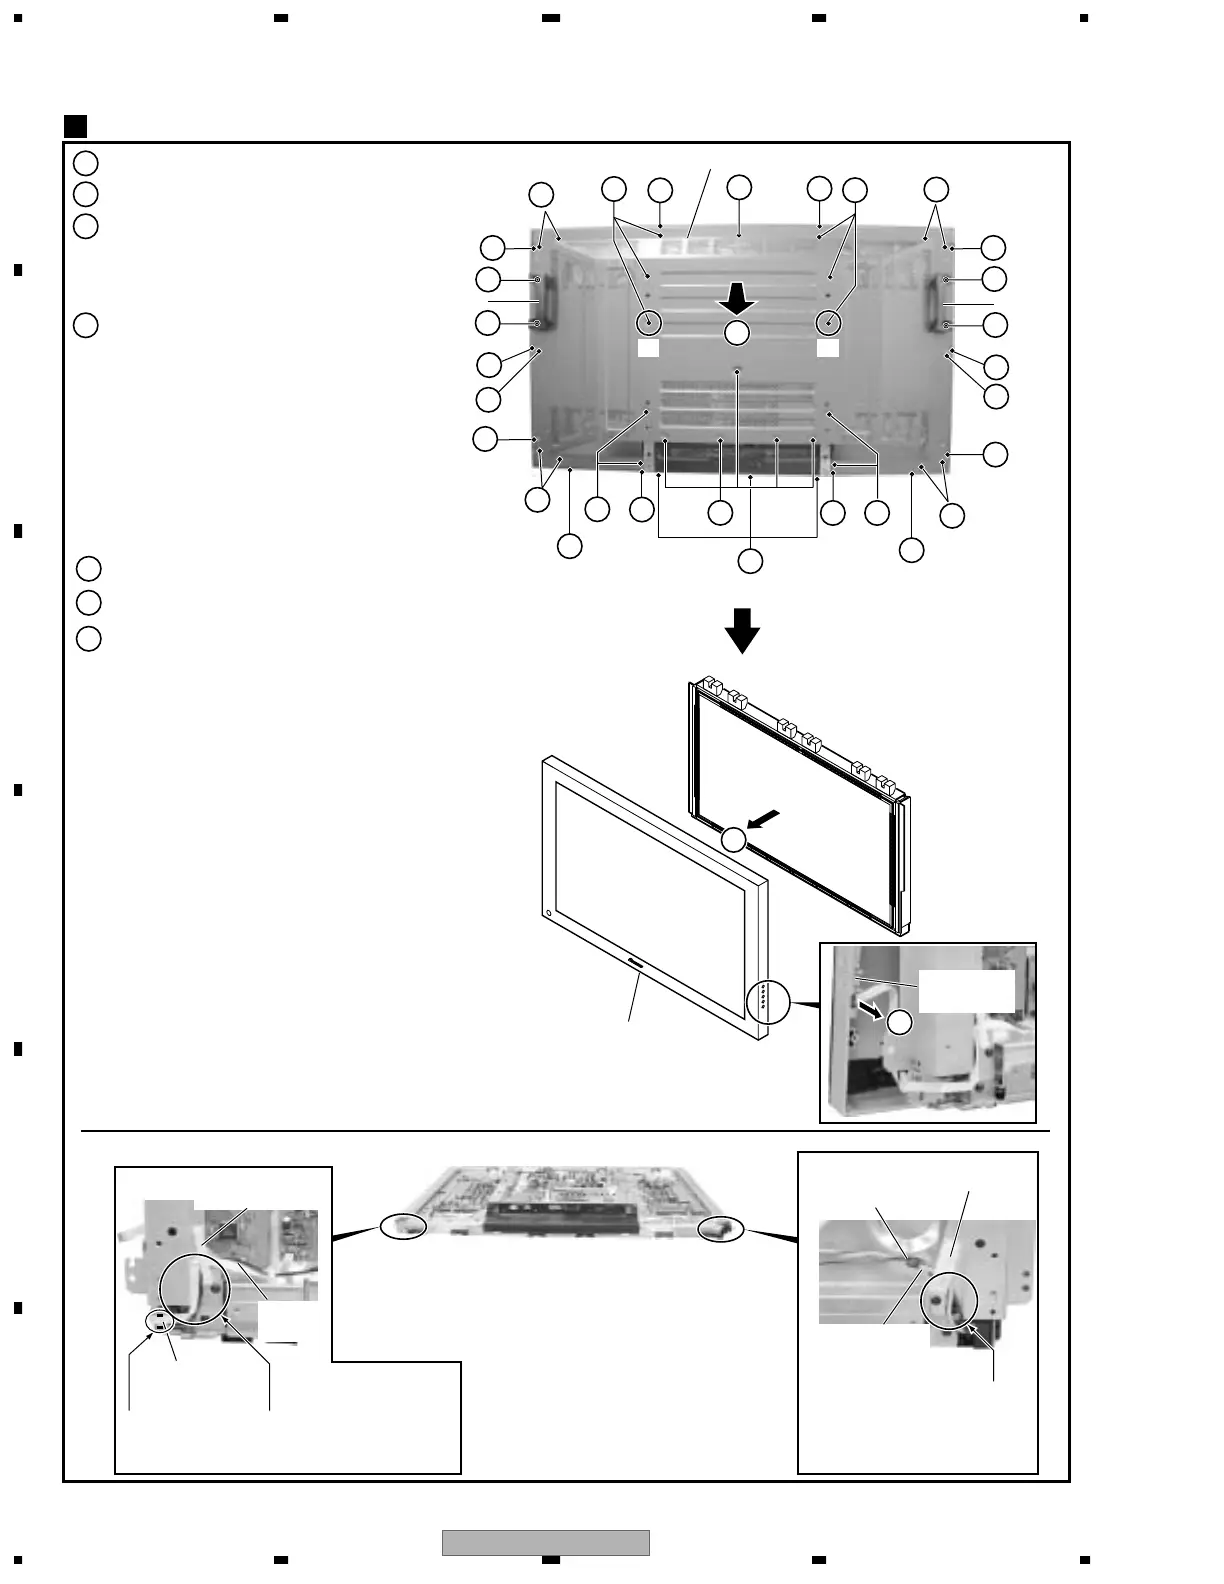
Remove the 12 screws (B tight).
Remove the grip by removing the 4 screws.
Remove the 16 screws (M screws).
Remove the rear case (50P).
Rear case (50P), Front case Assy (50P)
6
Remove the 3 screws (B tight).
5
Remove the flexible cable (J211) from the PANEL KEY Assy.
7
Remove the front case (50P).
Front case Assy (50P)
Rear case (50P)
Grip
Grip
Note:
As the screws used for the front case are B tight (ABZ30P100FZK)
and other screws used are M screws (AMZ30P060FZK), care must
be taken not to use the screws in the wrong places.
Flat clamp
Flat clamp
Flexible cable
(J211)
Wire B
(J106)
3P Housing wire
with housing
(J108)
Housing wire (50)
with power (J110)
Care must be taken that the
wires do not protrude from
the front chassis.
Pass J108 through under J110.
Care must be taken that the
wires do not protrude from the
front chassis.
• Notes when reassembling the rear case (50P)
• When only the front case Assy (50P) is removed
Note: At the time of a re-assembly,
please attach after fixing a positioning
hole previously.
A flexible cable
is put on a gasket.
 Loading...