14 - PL500-PL600-PL700 - User manual
Restore:
1 Insert a MicroSD or USB memory containing Backup.
2 Position the
“Stop”
DIP to OFF and turn the PLC on by
pressing the button (the internal green LED turns on).
3 Wait for the completion of the Backup procedure (the
internal green LED turns off).
4 Turn the PLC off, remove the MicroSD or USB memory
and turn the device on again.
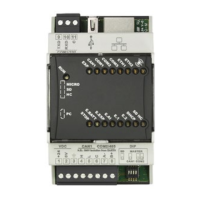
6 DIP switch settings (internal)
6.a IP address
1 2 3 4
ON
STOP
To interrupt the running of the PLC program.
1 2 3 4
ON
192.168.0.ID
• If set to ON, force the first part of the IP address of
the PLC to “192.168.0.”, then allowing the last part
of the address to be assigned through two internal
rotary-switches IDX10 and IDX1.
• If set to OFF (default position) the IP address is
192.168.0.99 (or the last one manually assigned using
the TdControlPanel for the version PL500-335-1AD-
WEB) or the Pixsys
“DeviceFinder”
utility for the other
models.
1 2 3 4
ON
DHCP
If set to ON, force the assignment of the IP address of the
PLC through the DHCP function; as a result, this service
must be enabled in the network where the device resides.
1 2 3 4
ON
Condition not available yet.