Do you have a question about the Pixsys ATR 902 and is the answer not in the manual?
Read safety guidelines and programming instructions before connecting or using the device.
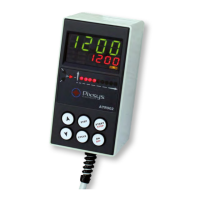
Details the single version available for the ATR902 series controller.
Display size, operating temperature, sealing, material, and weight specifications.
Specifications for sensor input and relay outputs.
Overview of regulation, algorythm, PID parameters, and controller functions.
Physical dimensions of the ATR902 controller and installation notes.
Diagram showing connections and safety guidelines for electrical wiring.
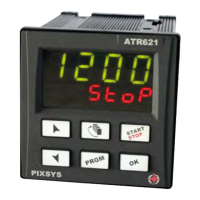
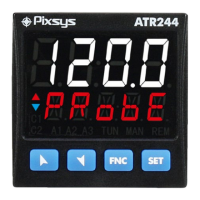
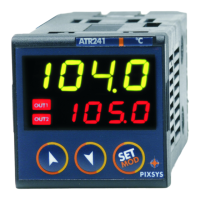
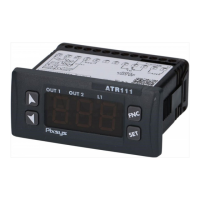
Explanation of information shown on the controller's main and secondary displays.
Meaning and indication of the various status LEDs on the device.
Detailed description of the function for each key on the ATR902 controller.
Procedure for entering or modifying time and setpoint values for each cycle step.
Setting an initial setpoint to ensure proper gradient from previous process stages.
Defining step duration (hours/minutes) and setpoint temperature for each segment.
Configuring alarm and auxiliary output status during specific steps.
Saving the programmed cycle and returning the controller to STOP mode.
Procedure to initiate a cycle and set up an initial waiting period before execution.
Method for moving forwards or backwards through an active cycle.
Operating the controller with a single, user-selectable programmed temperature.
Interrupting a cycle and optionally modifying the setpoint by keyboard.
Controller automatically adjusts PID parameters based on process oscillations.
Manually adjusting PID parameters for greater control flexibility.
Resuming a cycle after a power failure or interruption.
Resuming cycle with the same gradient as the interrupted step after power loss.
Resuming cycle with a specific gradient after power loss.
Controller waits for specific conditions before proceeding to the next step.
Restoring the device to its factory default settings.
Steps to access and modify device parameters as an installer.
Details of primary configuration parameters like Sensor, Offset Calibration, and Gain Calibration.
Descriptions for parameters like Command Hysteresis, Proportional Band, and Integral Time.
Descriptions for Special Functions, Hold Function, and Cycles Available.
Configuration for Alarm 1: selection, output, threshold, hysteresis, error state, and LED status.
Alarm 1 action types, conversion filter, starting setpoint, chronometer, and power consumption.
Settings for the ON/OFF key, LED visualization modes, and naming of cycles.
Parameters for tuning and overview of alarm intervention modes.
Explanation of the absolute alarm intervention mode with graphical illustration.
Explanation of the band alarm intervention mode with graphical illustration.
Explanation of deviation alarms (upper/lower) with graphical illustration.
Explanation of independent alarm intervention mode with graphical illustration.
Defining the status of the auxiliary output for each step of a cycle.
List of anomaly signals (error codes) and their corresponding resolution steps.
| Type | Temperature Controller |
|---|---|
| Control Mode | PID, On/Off |
| Mounting | Panel Mount |
| Communication | RS485 Modbus RTU |
| Display | Dual 4-digit LED |
| Input Type | Thermocouple, RTD, Analog |
| Output Type | Relay, SSR, Analog |
| Power Supply | 100-240 VAC |
| Accuracy | 0.2% FS |
| Operating Temperature | 0 to 50°C |
| Storage Temperature | -20°C to 70°C |
| Protection Rating | IP65 (front) |