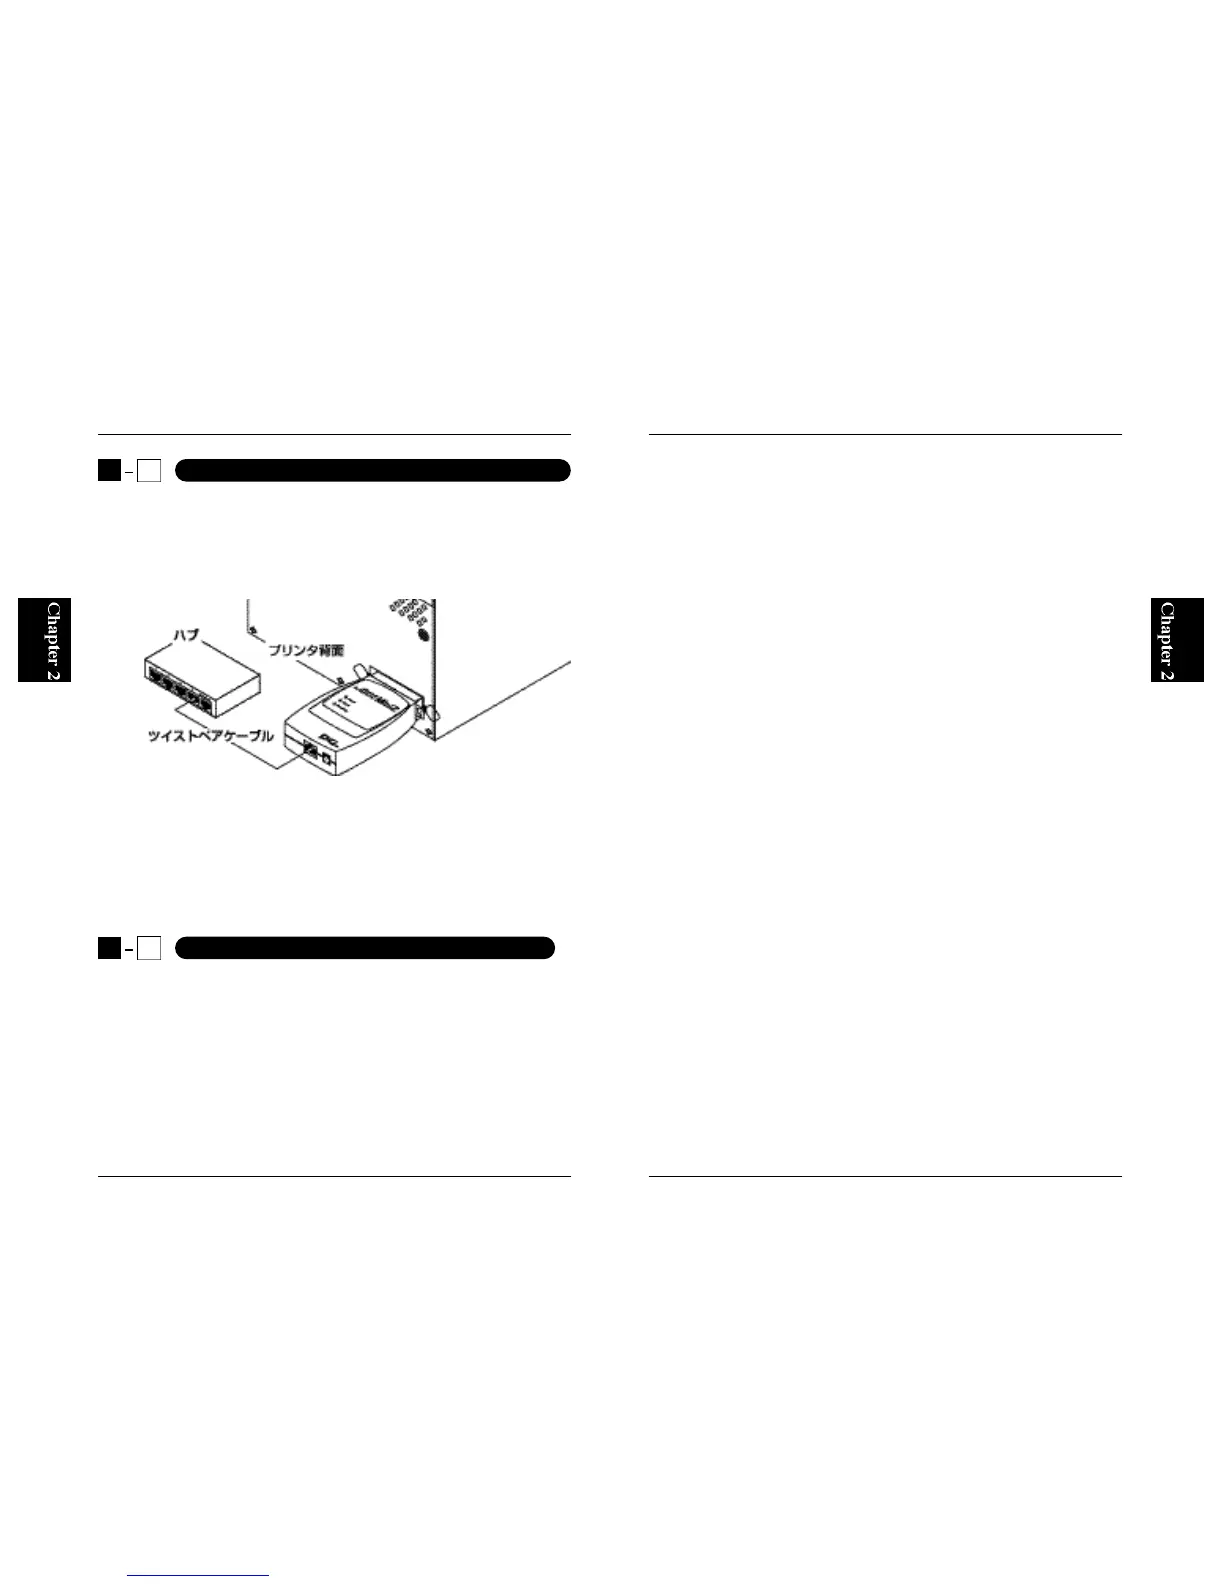
1. Connect one end of a twisted-pair straight (UTP) cable to the RJ-45 port
on the print server.
2. Connect the other end of the cable to an RJ-45 port on your 10BaseT/
100BASE-TX hub.
Note :
When connecting the print server to your hub, be sure to attach it to one of
the normal RJ-45 ports via a straight cable. DO NOT attach the print server
to the Uplink or Cascade port of the hub - your network cannot detect the
1. Attach the supplied AC power adapter to the power jack on the front
(side) of the print server.
2. Connect the AC power adapter to an AC 100V outlet.
3. Verify that the Power LED on the top face of the print server.
4. When powered, the print server automatically performs a series of self-
diagnostics tests. If no error is found during these tests, the Status LED
blinks five times. If the LED does not blink five times, there is a chance
6
Mini100/Mini2
5
Mini100/Mini2
2
2
Connecting the Print Server to Your Network
2
3
Connecting the AC Power Adapter to the Print Server
Figure 1-2
that the print server is out of working order. Please contact our technical
support for further assistance.
Note :
Always use the supplied AC power adapter. Any attempt to substitute the
power adapter with other AC power adapters may result in malfunction
and/or permanent breakdown of the print server. The product warranty does
not cover damages caused by a use of other AC power adapters.