50
Mini100/Mini2
49
Mini100/Mini2
9. N o w, the system asks you whether you wish to restart the PC. Select
“Yes” to restart the system.
10. To enable the print server in TCP/IP, an IP address needs to be assigned
to the product. Refer to Appendix C and assign an IP address to the
print server.
This section describes how to configure the Mini100/ Mini2 print server
using Smart Print Manager 2 or a Web browser. If you are using the print
server in NetBEUI and IPX with a Windows PC, you may skip this section.
To print documents via the print server, simply proceed to Chapter 5. On
the other hand, an IP address needs to be assigned to the print server if you
plan to use the product in a TCP/IP network. To assign an IP address, you
can use 1) Print server Manager 2 (Section 4-3-a), 2)a Web browser
(Section 4-3-b) or 3) a set of commands (Section 4-3-c: only available for
WindowsNT / UNIX/ Linux). Select the method that most suits your
computer/ network environment.
● Using Smart Print Manager 2 to configure the print server : See Section
4-3-a
●Using a Web browser to configure the print server: See Section 4-3-b
●Using a set of commands to configure the print server: See Section 4-3-c
※ If you are using a Web browser to configure the product, be sure to use a
Web browser that supports frames.
● 4-3-a Using Smart Print Manager 2 to Configure the Print Server
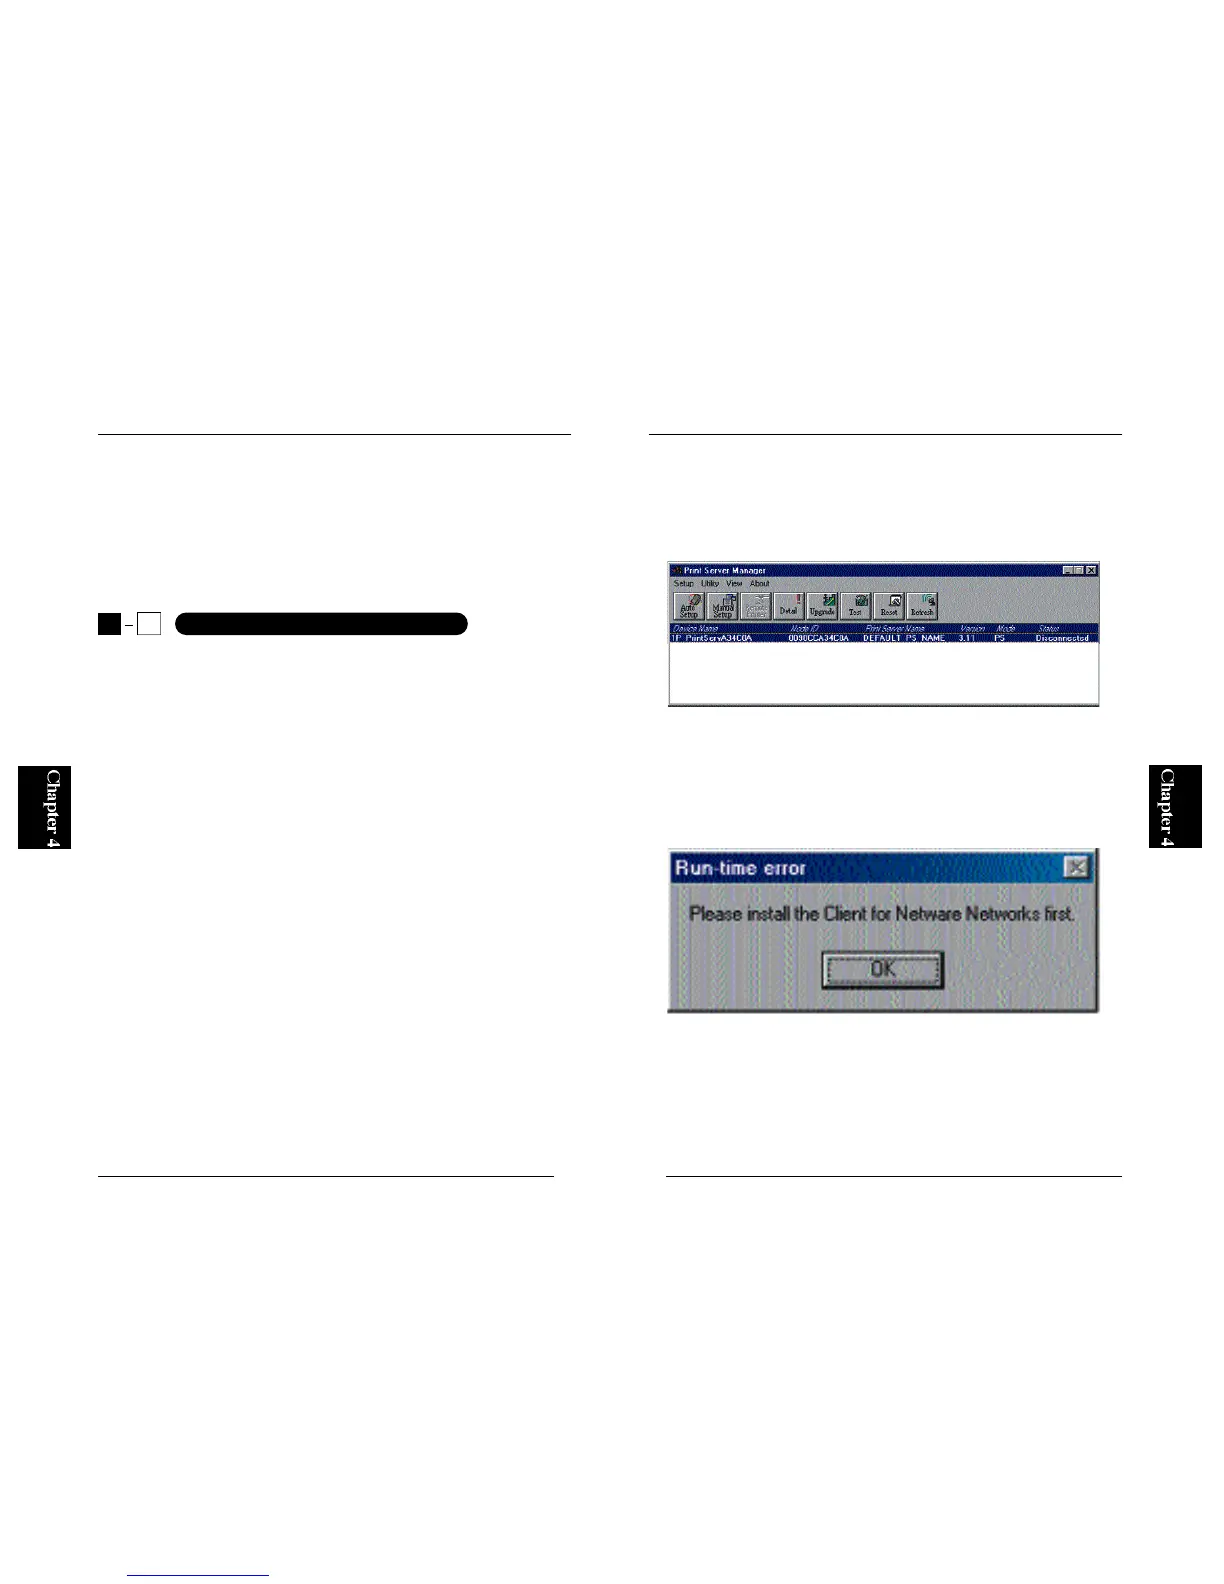
1. Run Smart Print Manager 2. After a while, the utility detects all the
Mini100/ Mini2 print server(s) on your network as shown below. Click
on the detected print server, then click on the Manual Setup button
※ If the following error message pops up, please check whether “IPX/SPX
Compatible Protocol” (“NWLink IPX/SPX Compatible Transport” for
WindowsNT) and “NetWare Network Client” (“Client Service for
NetWare” for WindowsNT) are installed. Refer to Section 4-1-b and/or 4-
2-b and install the missing component.
4
3
Configuring Mini100/ Mini2