1. Set the supplied floppy diskette with “Setup Disk” label to the floppy
drive of your PC.
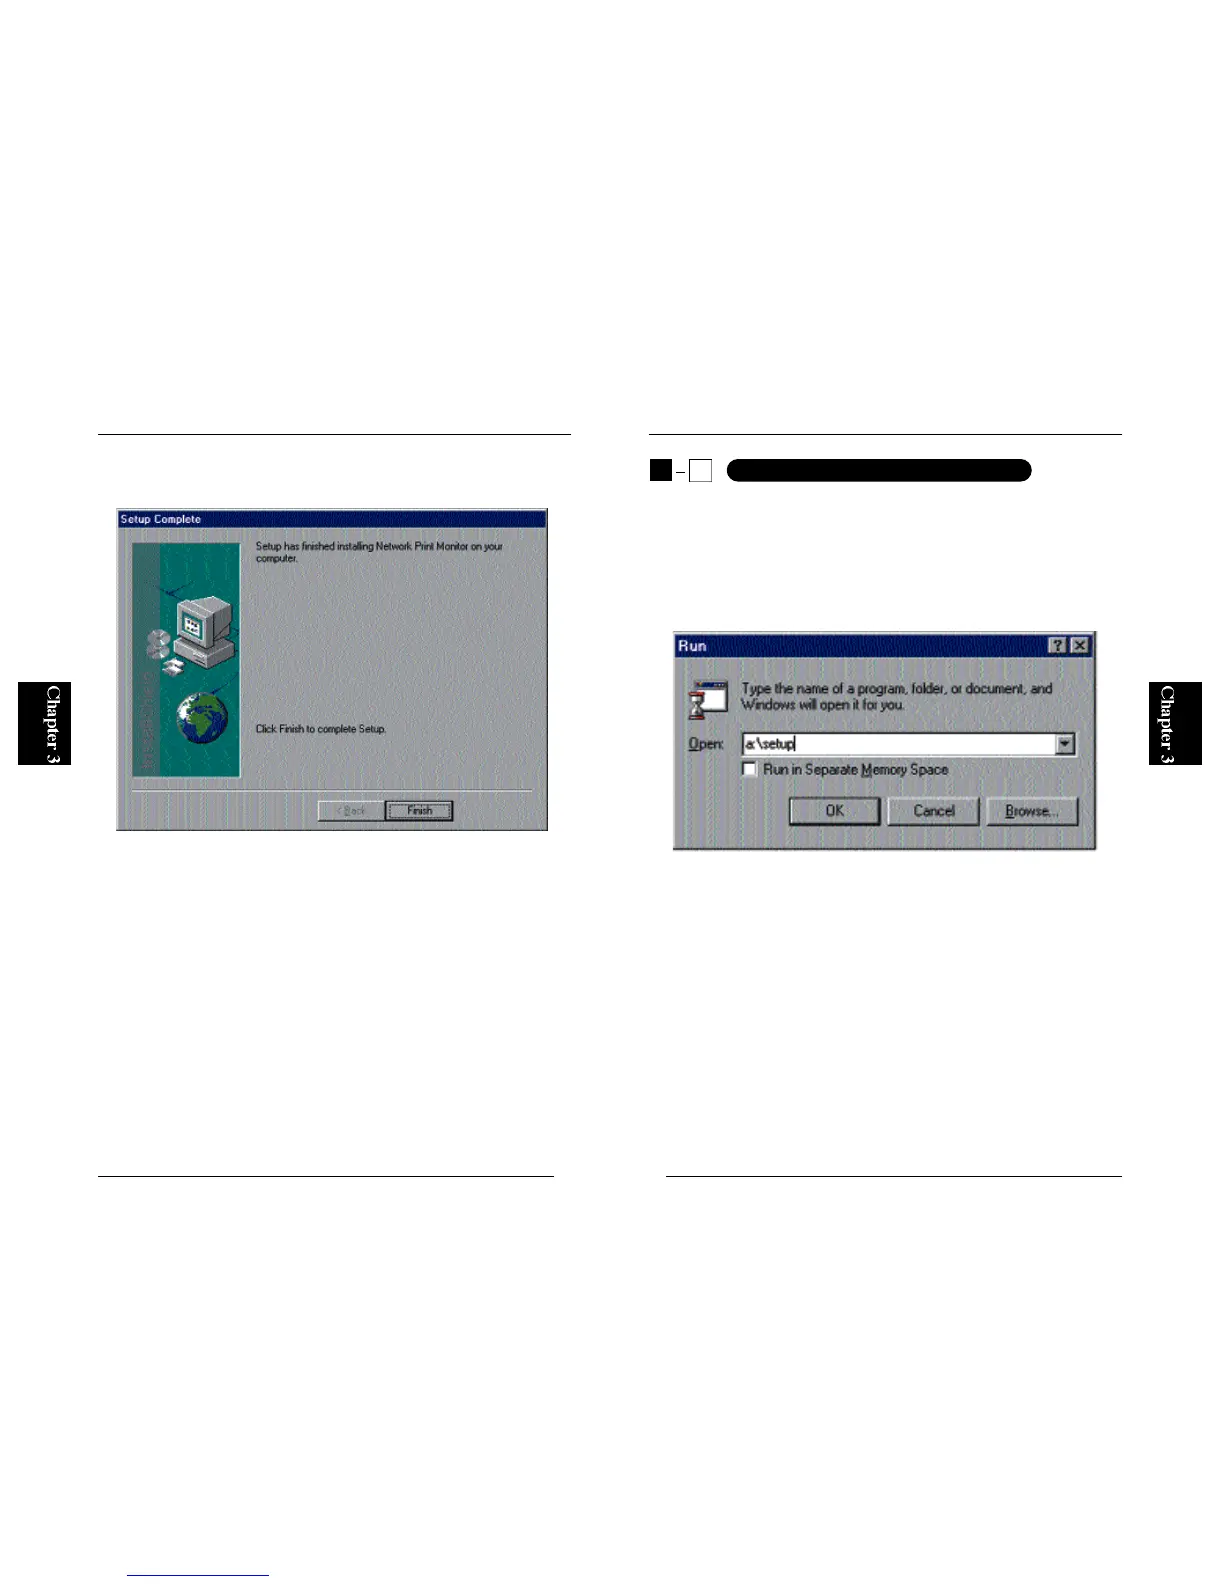
2. From the Start button on the desktop, select Run and enter “A:\SETUP”
(if your floppy drive is Drive A) in the displayed field. Click on the OK
button.
12
Mini100/Mini2
11
Mini100/Mini2
6. After the software has been installed, the following screen will be
displayed. Click on the Finish button to exit the installation wizard.
■Uninstalling the Utilities
To uninstall the utilities, first click on the Start button and select Settings
and then Control Panel. Click on an item labeled “Planex Print Server for
Windows95/98” and then click on the “Add / Remove” button. The
Mini100/Mini2 utility (utilities) will be uninstalled from the system.
※To use Smart Print Manager 2, IPX protocol is required. If you are using
Windows95/98, add “IPX/SPX compatible protocol”. For more details,
refer to the section on adding IPX/SPX protocol in Chapter 4.
3
2
Installation under WindowsNT