#*>./)+2"*+"(3."#$%&'(%()*+","
Now that your PlayStation 4 is connected to an output display and a power source, and the
DUALSHOCK 4 wireless controller is recognized, it is time to power on your PlayStation 4.
The PlayStation 4 can be powered on two different ways.
1. Touch the power button found on the PlayStation 4
2. Press the PS button on the newly paired DUALSHOCK 4 wireless controller
For this tutorial, it is recommended to use the DUALSHOCK 4 wireless controller to power on the
PlayStation 4.
NOTE: Ensure the output display is turned on and displaying the proper HDMI input. For most
televisions, this is found by pressing the INPUT button on the paired television remote and then
selecting the appropriate HDMI input channel.
(*"#*>./"*+"&*-/"#',"-')+2"(3."9',"
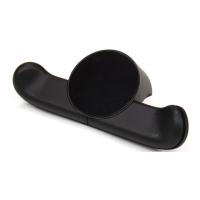
1. Press the circular PS button found front and center on the DUALSHOCK 4 wireless
controller.
NOTE: If you have not connected your DUALSHOCK 4 wireless controller to your PlayStation 4,
the first screen that will be displayed will explain that you must first connect your controller
before continuing, and then press the PS button to pair it with the console. Instructions for this
can be found on pg 11.
2. On the language selection screen, select [English (United States)] by pressing the X button
on the DUALSHOCK 4 wireless controller.
Your PlayStation 4 is now powered on. The next step involves the initial setup process for your
PS4.