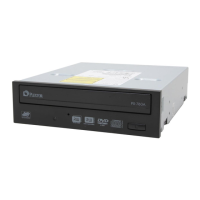
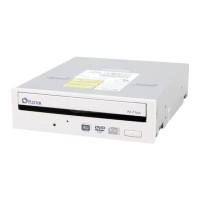
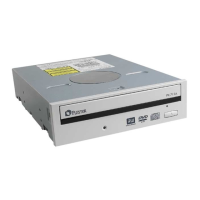
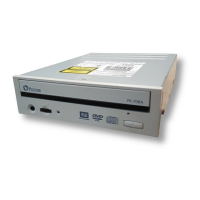
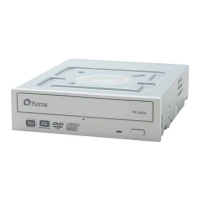
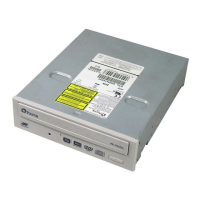
Section 2. Installing the PX-760A Internal ATAPI Drive
PX-760 Installation and Users Manual 15
PX-760A QuickStart Installation
For Experienced PC Users Only
If you’ve installed computer peripherals before, use this QuickStart
installation to get up and running quickly.
IMPORTANT NOTE: To ensure maximum writing speed, you must
connect the PX-760A to an 80-conductor IDE/ATA flat ribbon cable.
(This newer 80-conductor ribbon cable is physically interchangeable
with the 40-conductor cable found in older computers.) The Plextor-
supplied cable is an 80-conductor cable.
Typical Scenario 1: You have a PC with an IDE interface installed,
you have Windows 2000 or XP, and you have nothing installed on
the secondary IDE port. What to do: Leave the PX-760A’s jumper
set to Master, attach it to the secondary IDE port, and go. Windows
will recognize the drive automatically.
Typical Scenario 2: You have a PC with an IDE interface installed,
you have Windows 2000 or XP, the primary IDE port already has
two devices connected and you have a CD-ROM installed on the
secondary IDE port. What to do: Change the CD-ROM to Slave,
leave the PX-760A’s jumper set to Master and attach the PX-760A to
the secondary IDE port. Windows recognizes the new drive
automatically.
If neither of these situations applies to you, or you’re not comfortable
with IDE installation, read the rest of this section for more detailed
installation instructions.