Section 3. Installing the PX-760SA Internal SATA Drive
PX-760 Installation and Users Manual 39
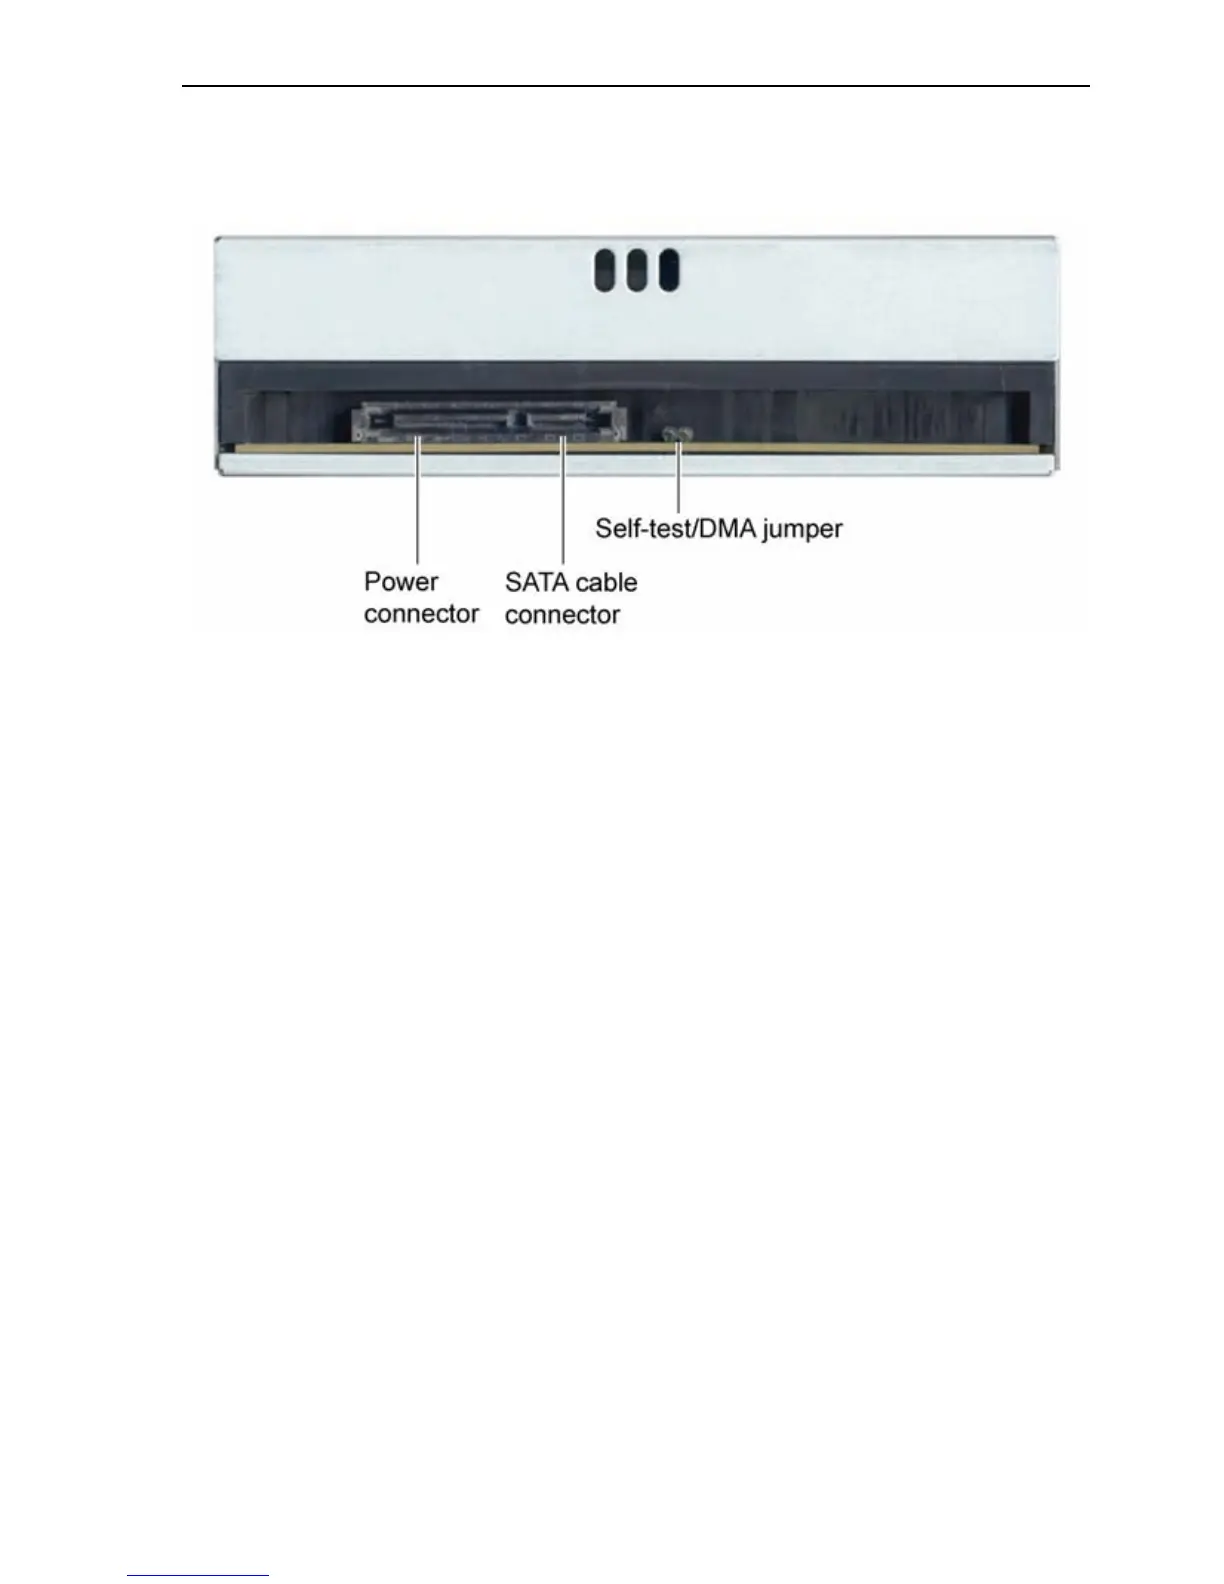
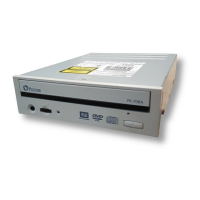
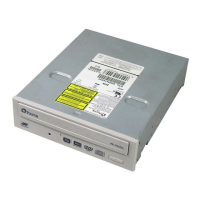
Rear Panel—PX-760SA Internal SATA Drive
Also familiarize yourself with the drive’s rear panel.
Figure 19: Rear panel of the PX-760SA internal SATA drive
• SATA cable connector: Connects to your computer’s SATA
interface using a 7-pin SATA interface cable.
• Power connector: Connects to your computer’s 15-pin SATA
power cable to provide DC +5 volts and +12 volts to the PX-760SA.
NOTE: If your computer has only 4-pin power connectors, use the
SATA power cable adapter to connect to the 15-pin power connector
on the PX-760SA.
• Self-test/DMA jumper: Leave this jumper off for normal operation.
When the jumper is installed, the PX-760SA drive runs in
PIO/multiword DMA mode.
When the jumper is installed and you hold down the eject button
during computer startup, the drive’s self-test diagnostic routine is
initiated.