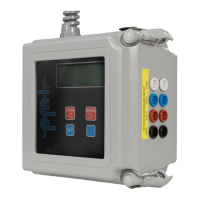
Figure 3-1: LCD Menu
BLUE KEY: Returns the LCD to the most recently used menu, or, if no menu has
been used since the Scanner has been powered, brings up the main LCD menu.
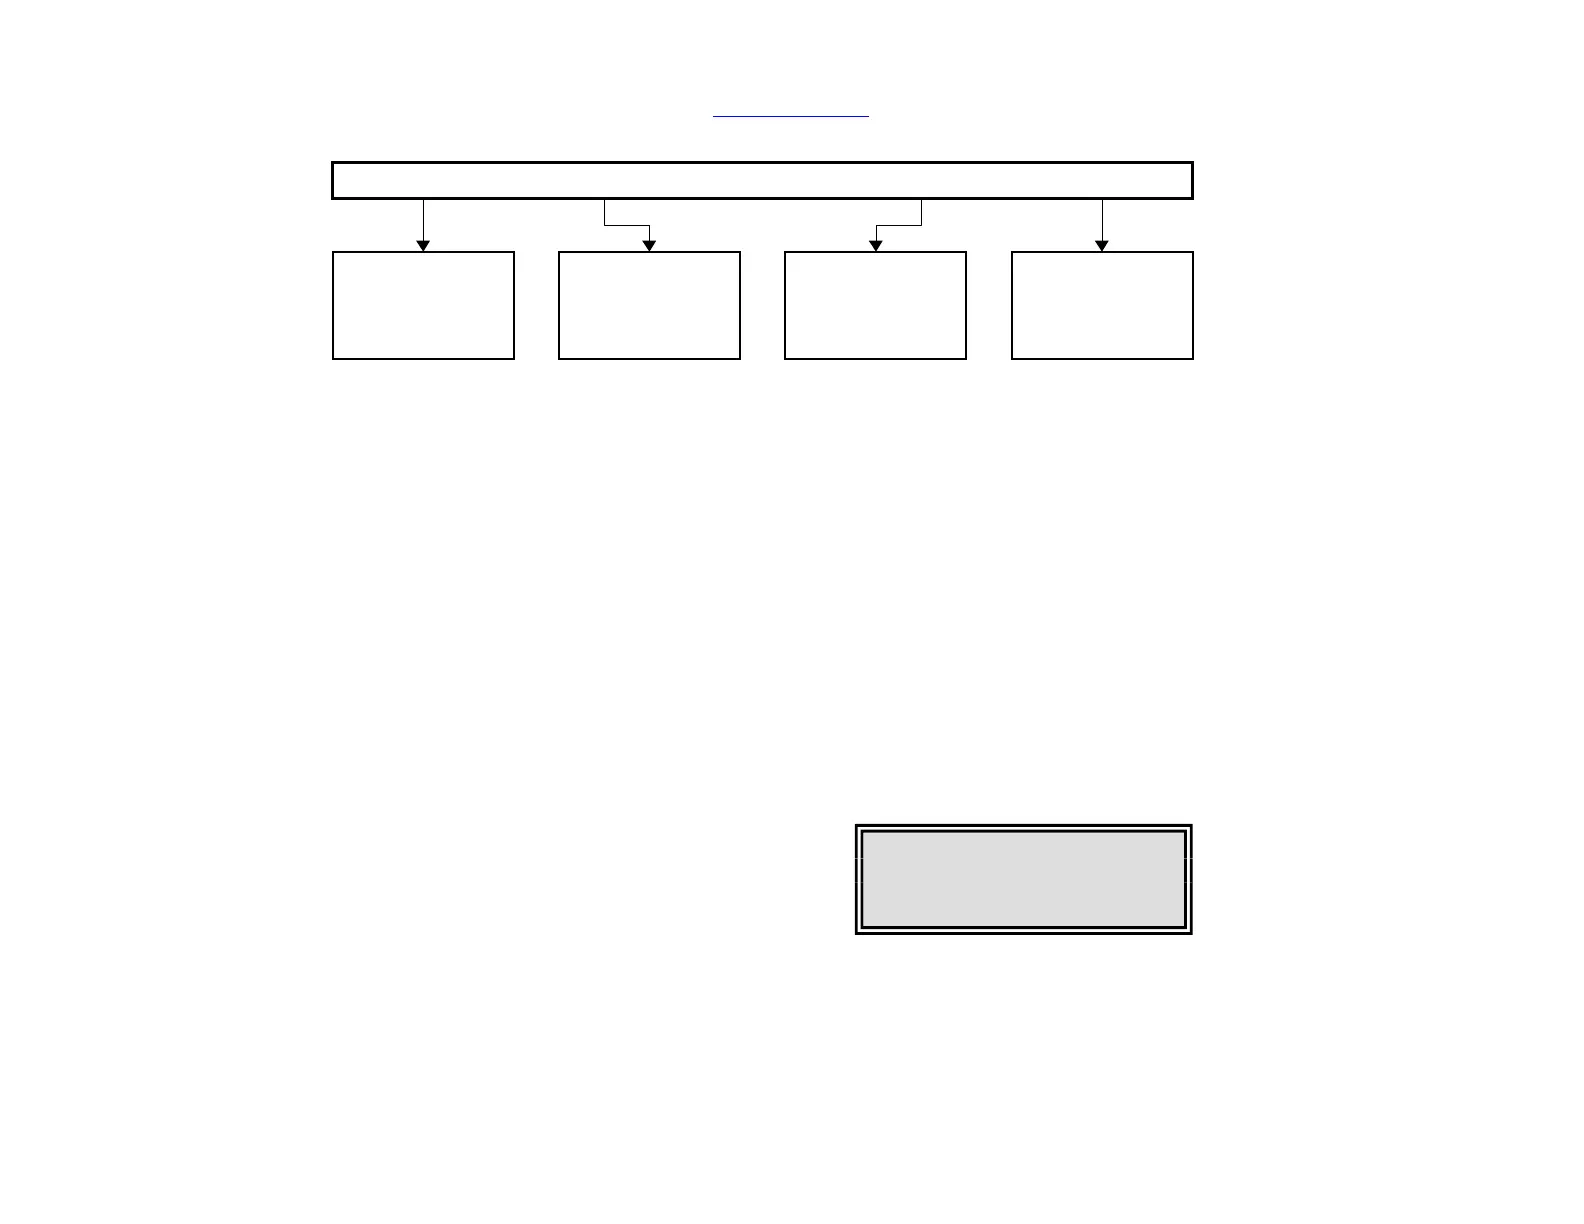
When working with the keypad and LCD, first hit the BLUE key to bring up the main
menu. Then use the LEFT and RIGHT arrows to move to the option you want to select.
When the option you want is highlighted (blinking), hit the SET key to select the
option. Notice that only four options are displayed at a time. If other choices are
available, the LCD will show an arrow in the lower right- or left-hand corner of the
screen. To view more options, hit the arrow keys until the other choices appear.
1. Reading real-time data on the LCD
While the Scanner is recording, you can use the keypad to read data from the LCD. The
LCD can display information on voltage, amperage, and other power measurements for
all four channels. It can also show summary information for the recording session in
progress.
To view the main LCD menu, hit the BLUE key.
You will see four choices across the top of the
LCD. The first three—1 CH, 4 CH, and
DEMD—can be used to read real-time data.
1 CH
Select this option from the main LCD menu by hitting
the SET KEY when the option is blinking. The LCD
will show, for Channel 1, the ongoing readings for voltage.
Figure 3-3: LCD Display