5
Repair Manual Addendum Disassembly/Reassembly
2. Disassembly/Reassembly
Tools Needed
• Needlenose pliers
• Tweezers
• Dental pick
• Dump probe
• Soldering aid (greenstick)
• Finger cots or lintless cotton gloves
• Exacto knife with no. 11 blade
• Strobe cover removal tool (P/N 13702)
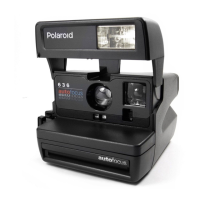
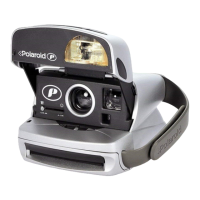
636 Restyle Camera Disassembly
Notes: • No screws or threaded fasteners are used in the 636 restyle camera: most
housings and piece parts of subassemblies are held in position by detents,
spring catches or tangs which engage bosses or cutouts in corresponding
mating parts. Careful spring apart techniques will free most parts of the
636 restyle camera.
• Flex connecting tabs are held in their solderless contacts by internal spring
contact pressure. Safe, easy removal of the flex is done by inserting the
appropriate size leg of the Universal Flex Removal Tool into the connector.
This releases the grip of the internal contacts and allows the flex to be pulled
out together with the removal tool.
1. Using a small flat screwdriver, remove the strobe cover pivot pins (gear /non-gear side) as
follows:
Note: Each pivot pin is stamped with an identification mark (GS - gear side or
OGS - non-gear side).
• Insert the tip of the small flat screwdriver into the bottom of the gear side pivot pin
(Figure 2-1).
 Loading...