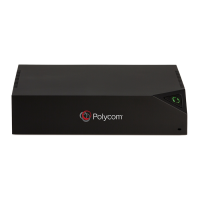
Getting Started with Polycom
®
Pano
™
Topics:
▪ Setup
▪ Pano Home Screen
This information introduces the Polycom
®
Pano
™
device and provides instructions for using it to share and
interact with content.
The Pano device lets you collaborate a variety of ways:
▪ Miracast
®
Shares the screen of your Miracast-certified device.
▪ AirPlay
®
Shares the screen of your AirPlay-certified device.
▪ Pano App
Share your screen, a running application, or content from a Microsoft
®
OneDrive
®
for
Business account (requires a Polycom Cloud Service account) with your desktop device.
▪ HDMI connection Share the screen of your desktop device.
For detailed information on the most recent feature descriptions, refer to the Polycom Pano Release
Notes
at
support.polycom.com.
Setup
Your administrator should set up the Pano device and connect any necessary equipment so you can start
collaborating. There is no power button; the device is intended to remain on and ready to use.
Pano Home Screen
You see the home screen when the Pano device starts up or when you exit a session.
A session consists of at least one of the following:
▪ An open blackboard or whiteboard
▪ Content shared wirelessly from AirPlay- or Miracast-certified devices or the Pano App
▪ Content shared from a device through an HDMI cable
The home screen displays information about the device and lets you know its capabilities based on how it
is set up. For example, you will see the Start Writing animation when the device is connected to a touch-
capable monitor.
Home Screen Elements
The Pano device home screen has several elements to facilitate collaborative meetings.
Polycom, Inc. 4

 Loading...