Customizing Your SoundPoint IP 330/320 Phone
2 - 9
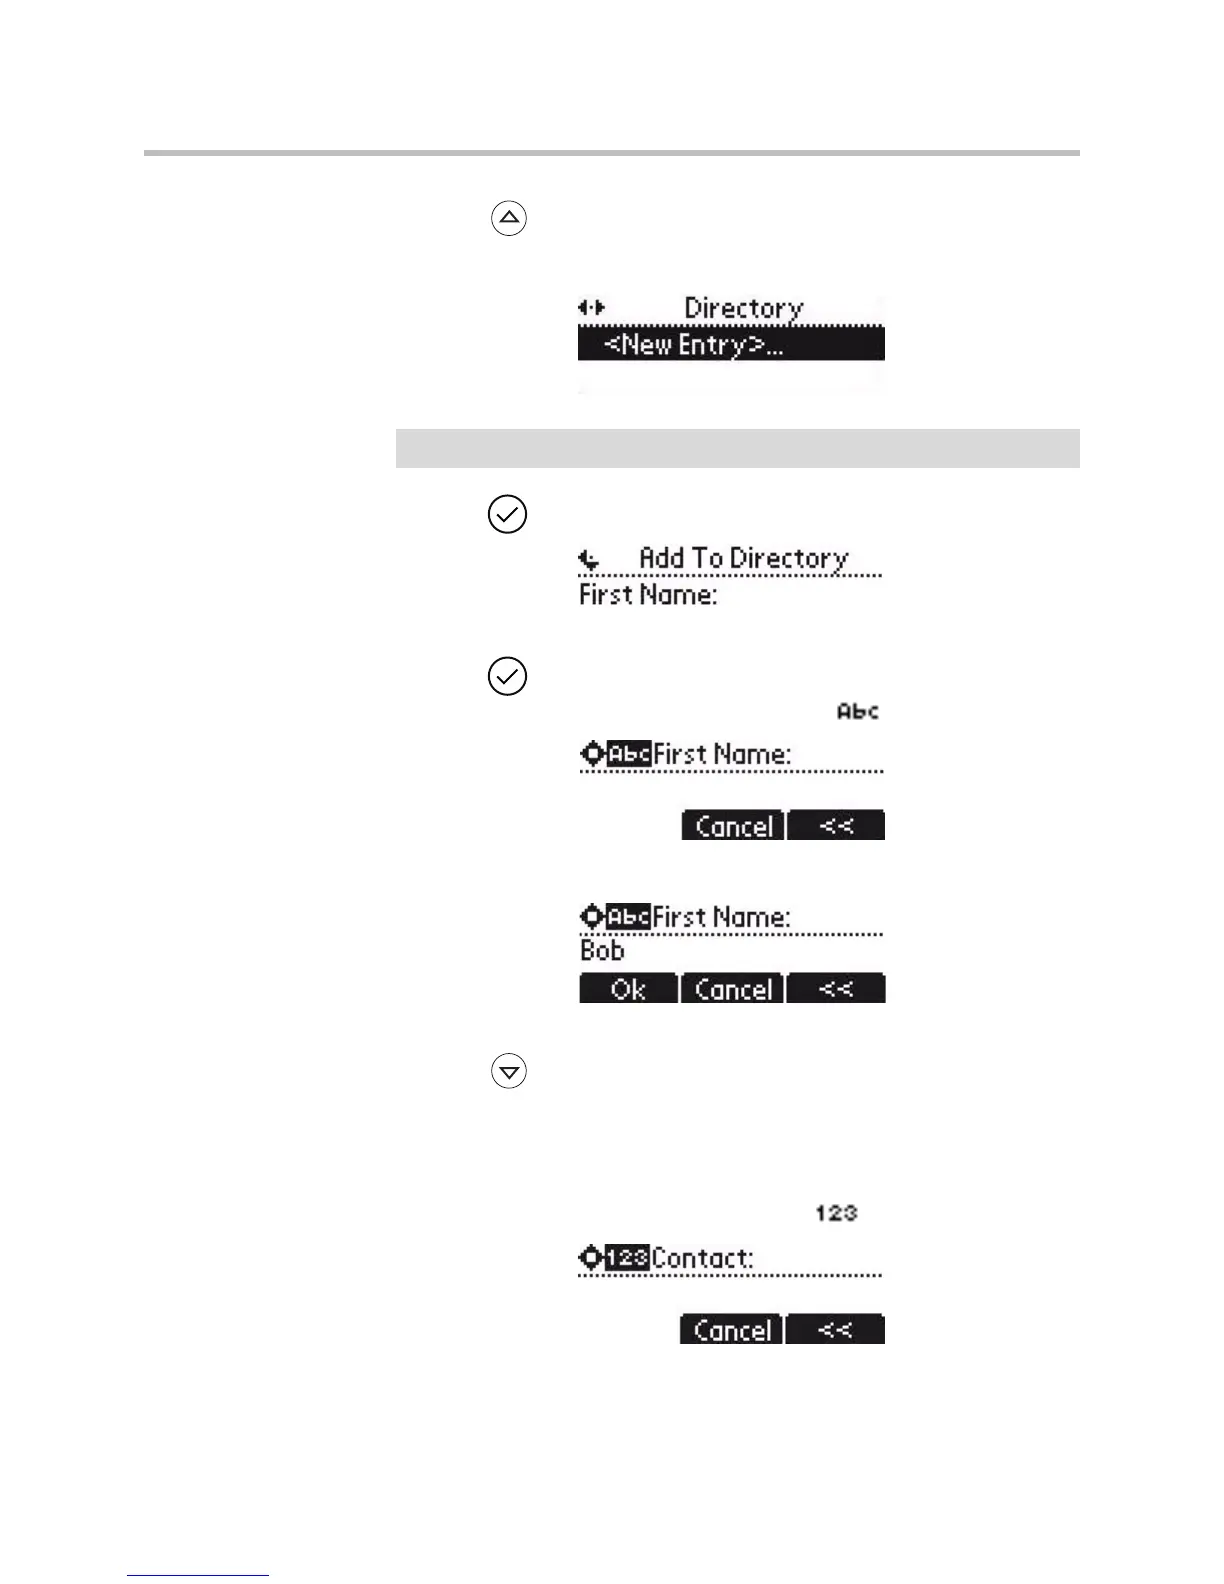
2. Press .
The Directory screen displays. <New Entry> displays at the top of the list.
3. Press to add a new entry.
4. Press to enter a first name.
Entry to this field is alphabetic as denoted by .
5. Enter the first name of the contact from the dial pad.
6. Press the Ok or Cancel soft keys to accept or cancel changes.
7. Press to display the next field in the contact’s entry.
8. Repeat steps 5 to 7 to enter the last name of the contact.
9. Repeat steps 5 to 7 to enter a contact number.
This is a required field and it must be unique (not already in the directory).
Entry to this field is number as denoted by .
Note
When adding the first contact, you do not need to press the Up arrow key.