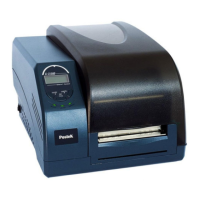
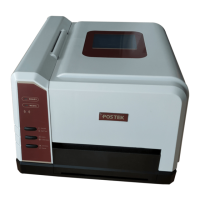
G-2108/G-3106 User’s Manual Chapter 3: Operations and Settings
27
Panel Buttons
The three buttons have different functions based on the mode of the operation is performed.
Advanced Functions
(see Advanced Functions below)
- Press once to pause current print job
- Press a second time to resume printing
Self-test:
The Printer performs a self-test and prints out a
configuration report
- Cancel current batch of labels
- Forces the printer to continue working
after an error has been corrected
Reset:
Resets the printer to Factory Default Settings
Advanced Functions
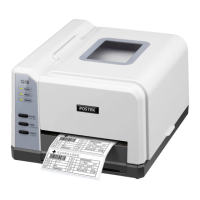
Media Sensor Calibration
It is necessary to accomplish Media Sensor Calibration after a new roll of media has been loaded.
1. Press and hold the Feed/Calibration button for about 4 seconds.
2. The printer will feed approximately 200mm of media.
3. The three indicators stop blinking and remain lit; the printer is back to a normal state.
Change the Mode of Media Sensor
G-2108/G-3106 printers have two modes of media sensor: Reflective sensor and Transmissive sensor. User can select
the appropriate mode of media sensor to adapt different media type and reduce error of label skipping or offsetting. The
default mode of media sensor is Reflective, but user can change the mode by following these steps:
1. To install the Utility 3.0 software on your computer: each G printer is packaged with powerful configuration tool
called Utility 3.0. It is packed in the CD-ROM and can be downloaded from www.postek.com.cn and
www.postektechnologies.com
2. Please note that Utility 3.0 can only communicate and configure printer via USB port, so it is necessary to
connect the USB cable between the printer and your PC.
3. Click to open Utility 3.0, the interface of the tool will be shown as figure 8-1; then check if the connection is
correct.