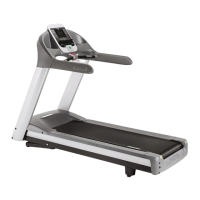
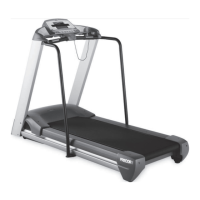
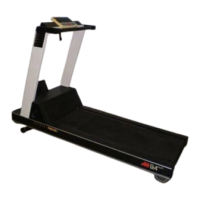
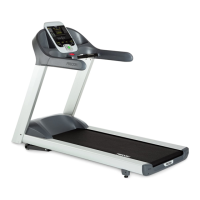
C932i, C946i Treadmill
20077-112 Page 55
Procedure 6.14 - Replacing the Display Face
1. Set the treadmill circuit breaker in the “off” position and unplug the treadmill’s line cord from
the A.C. outlet.
2. The PCA’s in the display are static sensitive. They can be damaged if proper static
prevention equipment is not used. Attach an anti-static wrist strap to your arm, then connect
the ground lead of the wrist strap to the treadmill’s frame ground.
3. Remove the seven screws that fasten the display back cover and remove the display back
cover as follows. Grasp the display back cover by the top two holes and pull downward to
release the top of the cover. Grasp the top and bottom of the cover and pull towards you and
then downward to remove cover.
4. Disconnect the data cable, 2 CSAFE cables and the heart rate cable from the upper PCA.
See Diagram 6.9.
5. The display cap snaps onto the display with two tabs. Reach into the upper portion of the
display and locate the two display cap tabs. Press the tabs outwards to disengage the tabs
and remove the display cap.
6. The display face snaps onto the display with six tabs. One of the tabs is behind the HR PCA.
The HR PCA snaps into its mounting. Press its tabs downward and remove the HR PCA
from its mounting.
7. Press the six display face tabs outwards and disengage the display face from the display.
Disconnect the stop switch cable from the upper PCA and remove the display face from the
display.
8. Disconnect the Metrics cable, D-pad cable and the keypad cable from the upper PCA. See
Diagram 5.1.
9. The upper PCA snaps into the display face. Press the upper PCA tabs outward and remove
the upper PCA from the display face.
10. Disconnect the Metrics cable from the Metrics PCA. See Diagram 5.1.
11. The Metrics PCA snaps into the display face. Press the Metrics PCA tabs outward and
remove the Metrics PCA from the display face.
12. Disconnect the D-pad cable from the D-pad assembly. See Diagram 5.1.
13. The D-pad assembly snaps into the display face. Release the D-pad assembly’s tabs and
push the D-pad assembly out of the front of the display face.
14. Snap the upper PCA into its mounting on the replacement display face.
 Loading...