8
3 Hardware Features
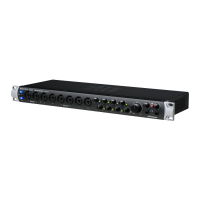
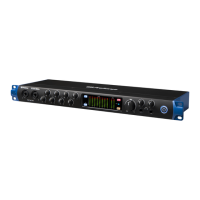
3.3 Back Panel
Quantum ES-Series
Owner’s Manual
USB-A to USB-C cables or adapters will not provide adequate power for either
interface.
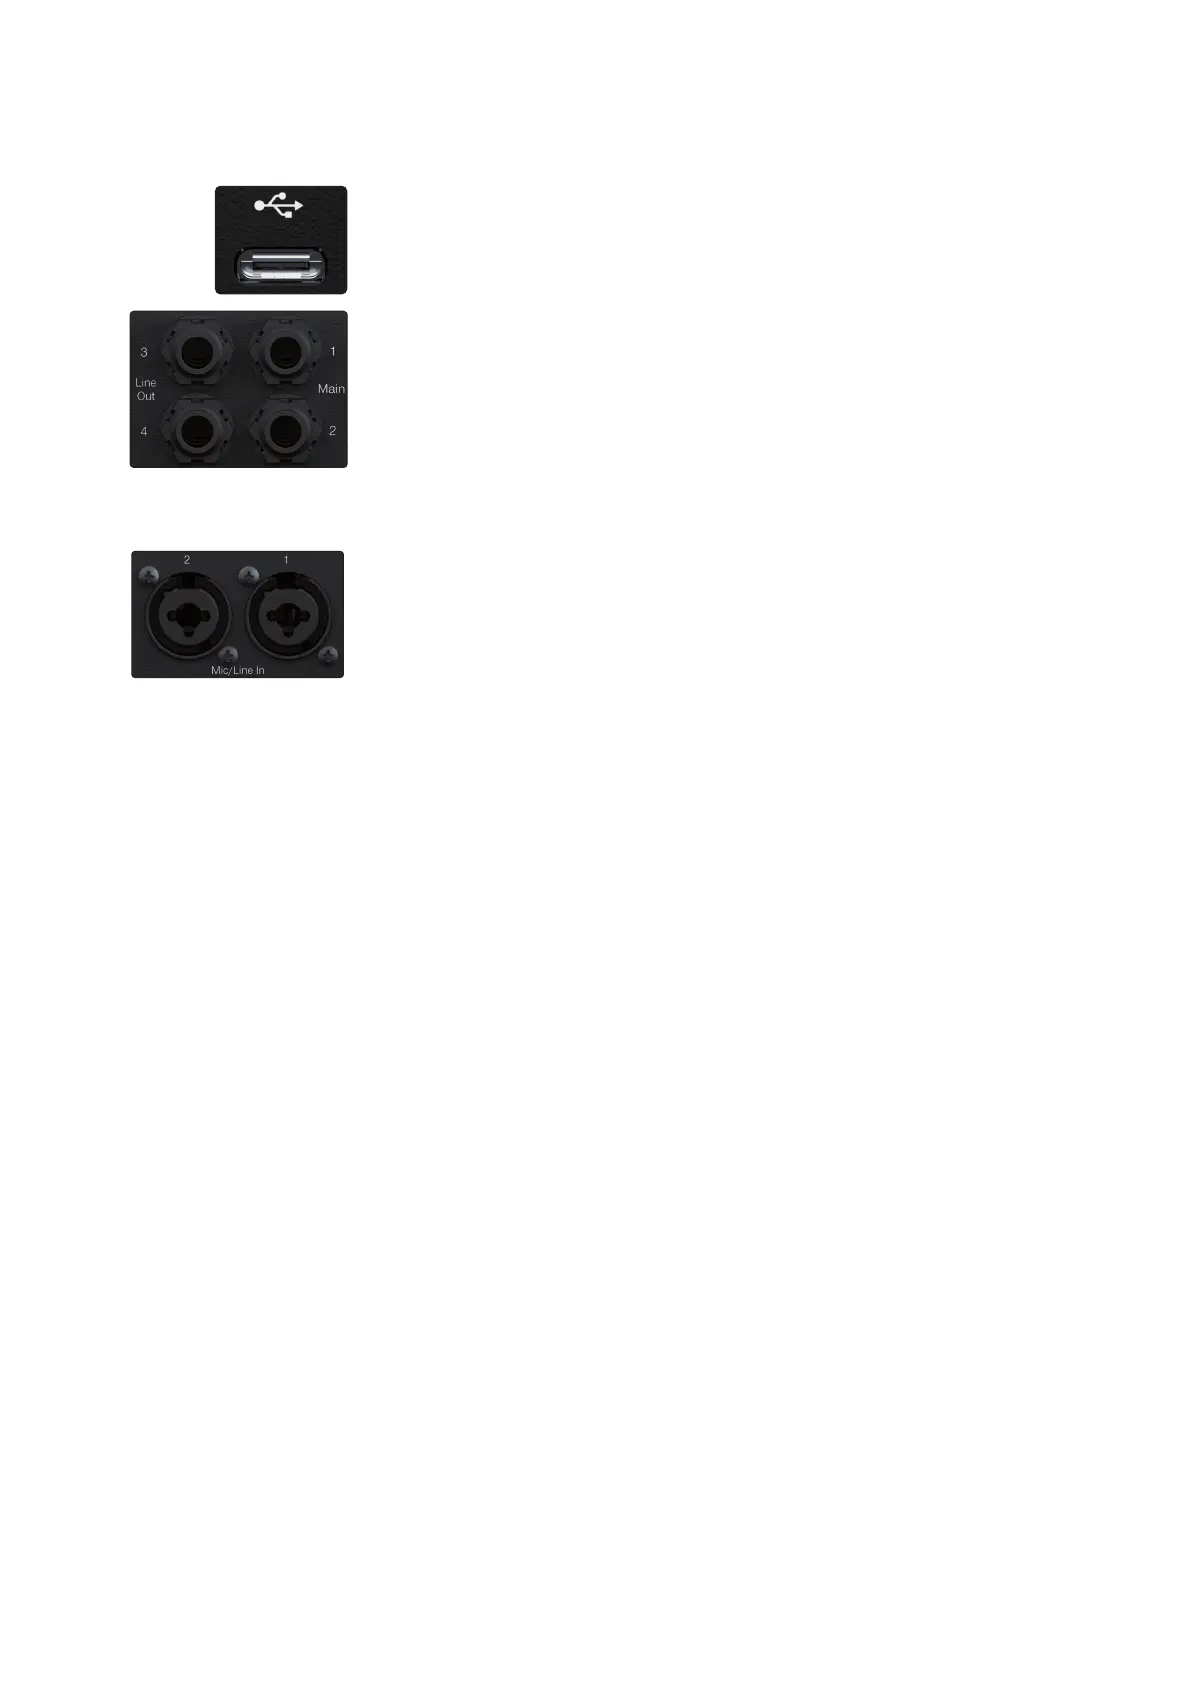
USB-C Connector - Connect your Quantum ES interface to your computer or
mobile device with the included USB-C to USB-C cable or adapter.
Note: Use of a different cable than the included one may affect performance or
bus power.
Monitor Outputs – Use the two TRS ¼-inch ports labeled Main to connect your
main pair of studio monitors. The monitor outputs are also DC coupled for sending
control voltages.
Line Outputs – For the Quantum ES 4, line outputs 3 and 4 can be used either to
send line level audio to other devices such as headphone amplifiers for cue mixes
or to connect an alternate pair of studio monitors to compare mixes (for more on
this, check out the speaker switching section). All line outputs are also DC coupled
for sending control voltages.
Note: When Speaker Switching mode is active, cue mixes are not possible and will
be deactivated in Universal Control.
Microphone / Line Inputs – Each analog input on your Quantum interface features
a combo jack. This convenient connector accepts either a ¼-inch TRS plug or an
XLR plug. The Quantum ES 4 includes four PreSonus MAX-HD microphone
preamplifiers, while the ES 2 includes two for use with many types of microphones.
MAX-HD preamps are ultra-low noise with a gain range of 0 to +75dB, allowing you
to boost signals and minimize background noise.
Line inputs have a trim range of plus or minus 10 dB to boost or reduce the signal
(only controllable in Universal Control).
 Loading...