16
5 Using Your Quantum ES
5.5 Speaker Switching
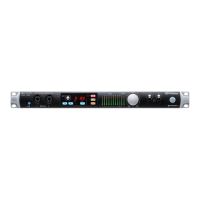
Quantum ES-Series
Owner’s Manual
5.5 Speaker Switching
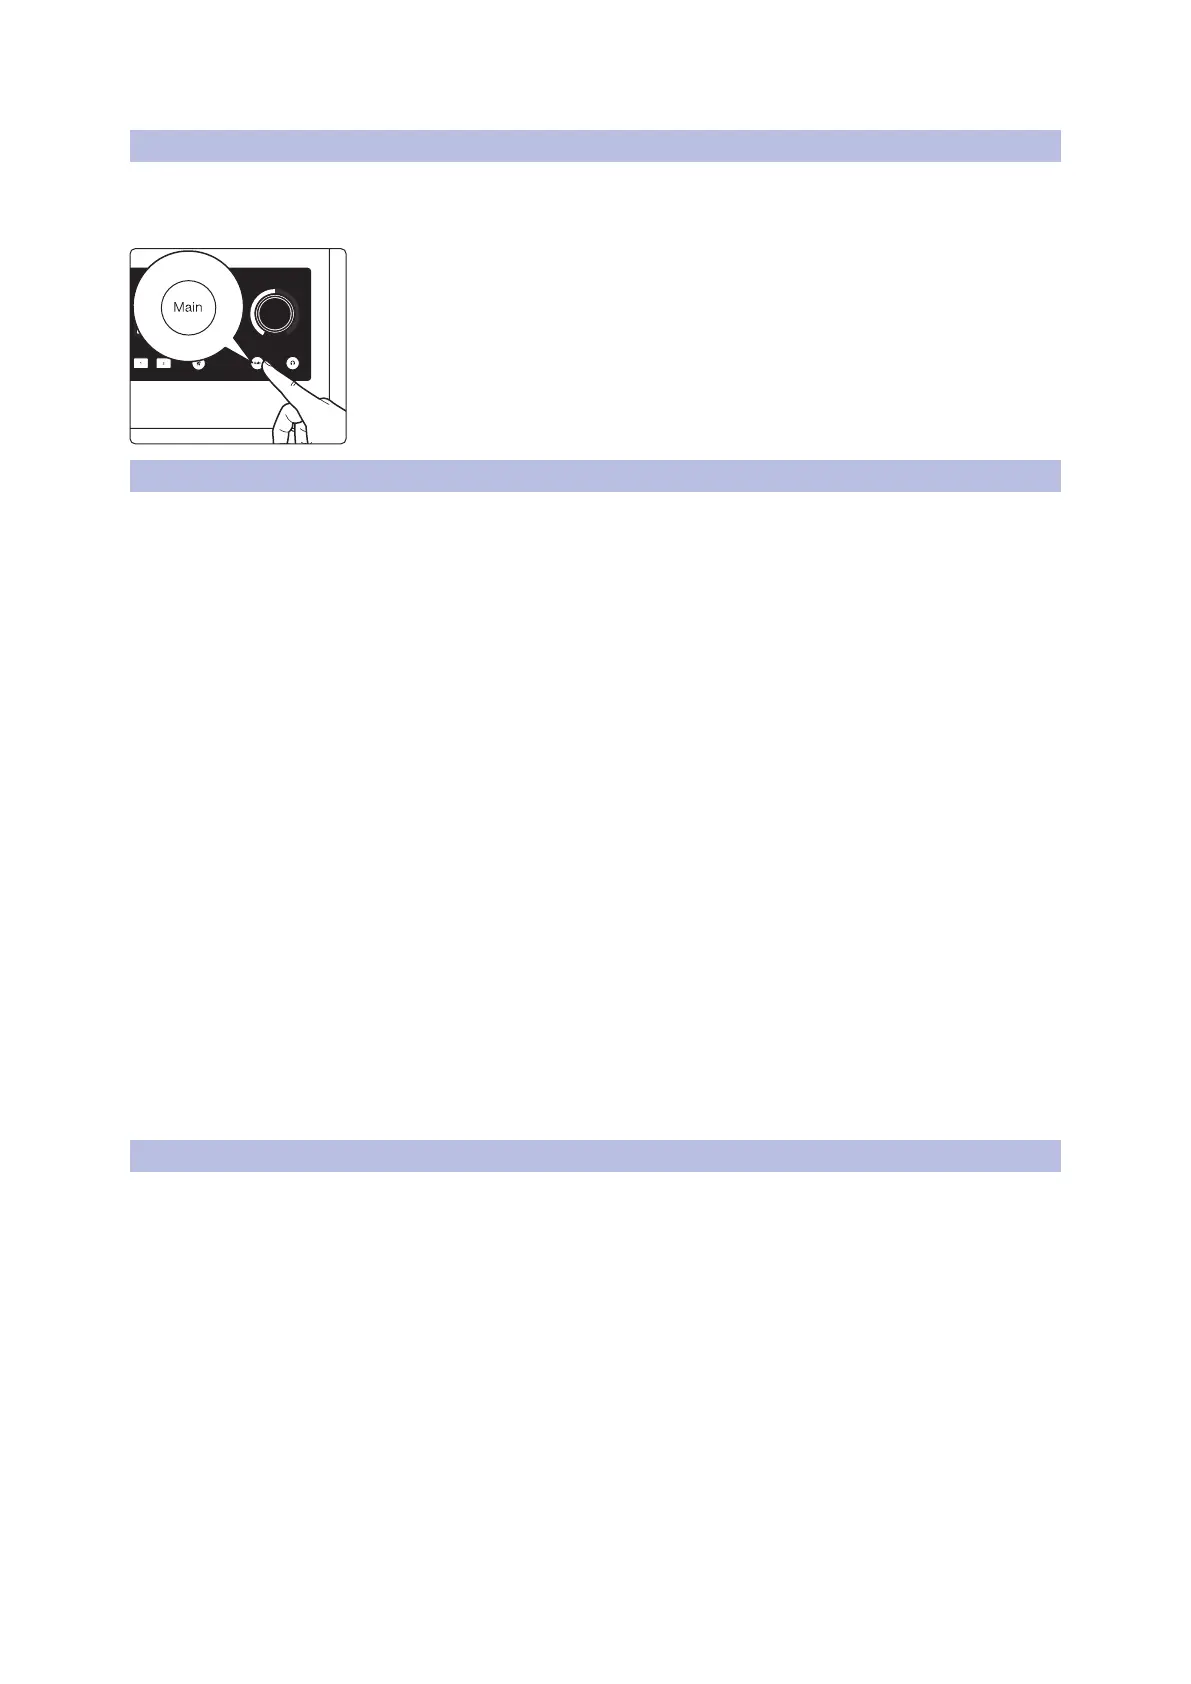
The Quantum ES 4 allows one to check their mix on different speaker sets to ensure a mix translates
well. Activate the Speaker Switching mode in Universal Control to change the behavior of the Monitors
Control button.
When the knob is in Main Output control mode (blue):
• Press the Main button to switch to an different alternate speaker set (purple)
• Press the Main button again to return to the main speaker set (blue)
Note: When Speaker Switching mode is active, cue mixes are not possible and will
be deactivated in Universal Control.
5.6 Using the Quantum ES as a Standalone “Mini-Mixer”
When not connected to a computer (USB sync light will be solid red), your Quantum ES will send (sum) all
analog inputs to Main Outputs 1 and 2. This lets you use the inputs and main outs as a simple mixer to send
audio to another mixer, speakers, or listen with headphones when the computer is off. By default, all channel
gain levels will be set to minimum as soon as Quantum ES enters standalone mode in order to avoid
feedback loops.
What can you do in mini-mixer mode?
• Adjust the volume of the main output with the knob when in Main Output control mode (blue).
• Adjust the volume of the headphone outputs with the knob when in Headphone control mode (green).
• Adjust the input gain of a channel with the knob when in Channel Edit mode (white).
• Turn 48V on or off for channels.
• Use single or multi Auto Gain to auto-set gain levels.
• Stereo link channels.
• Mute the main output with the mute button (dim is not available).
For both Quantum ES interfaces, the channels are mono by default in this mode. This allows you to hear the
channels in the center of the stereo field. Use Stereo Linking (described above) to pan channel 1 hard left and
channel 2 hard right (or channels 3 and 4).
Changes to the following Universal Control mixer settings will be saved to Quantum ES and be retained in
standalone mode, including:
• Channel level, pan position, stereo link, and solo / mute status
• Channel gain and 48V / HPF status
• Main and headphone output levels
Note: When not by a computer, you can always plug Quantum ES into a phone or tablet with a USB cable to
have full control of Quantum ES with the Universal Control app (auxiliary power may be required).
5.7 Using the Quantum ES as an Audio Interface on Mobile Devices
When plugged directly into a mobile device (iOS, iPadOS, Android), Quantum ES interfaces use the audio
driver built into the respective operating system (class-compliant).
For both Quantum ES interfaces, the channels are mono by default in this mode (class compliant mode). This
allows you to hear and record channels 1 - 4 in the center of the stereo field. Use Stereo Linking (described
above) to pan the first channel hard left and the second linked channel hard right.
Power provided by mobile devices varies greatly. For both Quantum ES Interfaces, you should always use a
USB-C to USB-C cable when connecting to a mobile device and the USB-C port labeled “Aux” for additional
power. Please note the differences in USB-C wall plug requirements between the Quantum ES 4 and ES 2:
• Quantum ES 4 users: if the USB sync light is blinking red, you will need to use a 5V, 2.6A USB-C wall plug
with a USB-C to USB-C cable (not included) to power Quantum ES.
• Quantum ES 2 users: if the USB sync light is blinking red, you will need to use a 5V, 1.8A USB-C wall plug
with a USB-C to USB-C cable (not included) to power Quantum ES.
Download the Universal Control app to have full control of Quantum ES from your device.
Note: Apple devices can have either lightning or USB-C ports. It may be necessary to use a camera
connector kit to connect. Only Android devices with USB-C ports are supported.
Input Main
L R1 2
(dBFS)
clip
6
18
30
(dBFS)
clip
6
18
30

 Loading...