4
2 Getting Started
2.2 Universal Control Installation
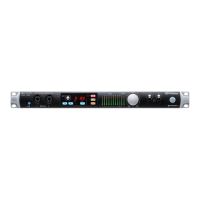
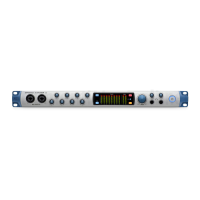
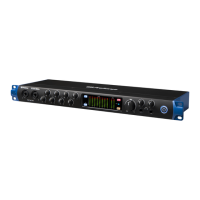
Quantum ES-Series
Owner’s Manual
2.2 Universal Control Installation
To download Universal Control, navigate to the Quantum ES product page from your MyPreSonus homepage.
The installation process will slightly differ between those with Windows and those with macOS devices.
2.2.1 Installation for Windows
The Universal Control installer will take you through each step of the installation process. This application will
install the ASIO drivers. Please read each message carefully. It is recommended that you quit all applications
before you start the installation.
2.2.2 Installation for macOS
The Universal Control installer will take you through each step of the installation process. Universal Control
will install PreSonus’ high-performance audio driver. Universal Control also installs any necessary firmware
updates, so it is highly recommended that you install this application. The Universal Control installer will take
you through each step of the installation process.
Note: For macOS users, when the installation is complete, you will find the Universal Control application in
your Applications folder. It is recommended that you place this in your Dock for easy access.
2.2.3 Firmware Updates
Universal Control is designed to verify that your Quantum ES interface has the correct firmware version
installed. After you have connected your Quantum ES to an available USB-C port, you will be prompted if
your Quantum ES interface needs its firmware updated. Once prompted, click on the “Update Firmware”
button to begin the update.
WARNING: Do not power off or disconnect your Quantum interface during the firmware update.
Once the firmware update is successfully completed, you will be alerted and instructed to reboot
your device.
2.3 Hardware Setup
Now that you’ve registered your interface and downloaded Universal Control, you’re ready to start using your
new Quantum ES! Follow the steps below to connect your Quantum ES to the computer:
1. Place your Quantum ES interface on an even surface that allows airflow and provides enough space for
the connection of input and output cabling.
2. Connect the provided USB-C to USB-C cable from your Quantum ES to the host computer.
Caution: Before powering the Quantum ES, lower the volume of your monitor speakers and remove
headphones from your ears.
3. Apply power to Quantum ES by pressing the back panel power switch.
4. For more information about I/O connections, refer to the Quantum ES Hookup Diagrams.