5
3 Hardware Features
3.1 Front Panel
Quantum ES-Series
Owner’s Manual
3 Hardware Features
The following section provides an overview of the front, top and back panel connections and controls for both
the Quantum ES 4 and ES 2 interfaces.
3.1 Front Panel
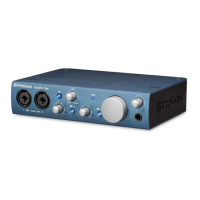
Instrument Input – Your Quantum ES audio interface is equipped with TS
instrument inputs for use with passive instruments like guitar, bass, etc. The
Quantum ES 4 has two instrument inputs, while the ES 2 has one instrument input.
Note: Any connection made into the front panel ¼-inch port will defeat the
corresponding combo jack on the back panel (channel 1 for the ES 2, and
channels 1 and 2 for the ES 4).
Headphone Output – Connect stereo headphones to the ¼-inch TRS jacks. The
headphone output carries audio routed to Main Outputs L and R. The Quantum ES
4 has two headphone outputs, while the ES 2 has one.
Note: The audio source for each headphone can be changed in Universal Control
or Studio One (for example, headphone output 2 can be used to listen to audio
being sent to Outputs 3 / 4).
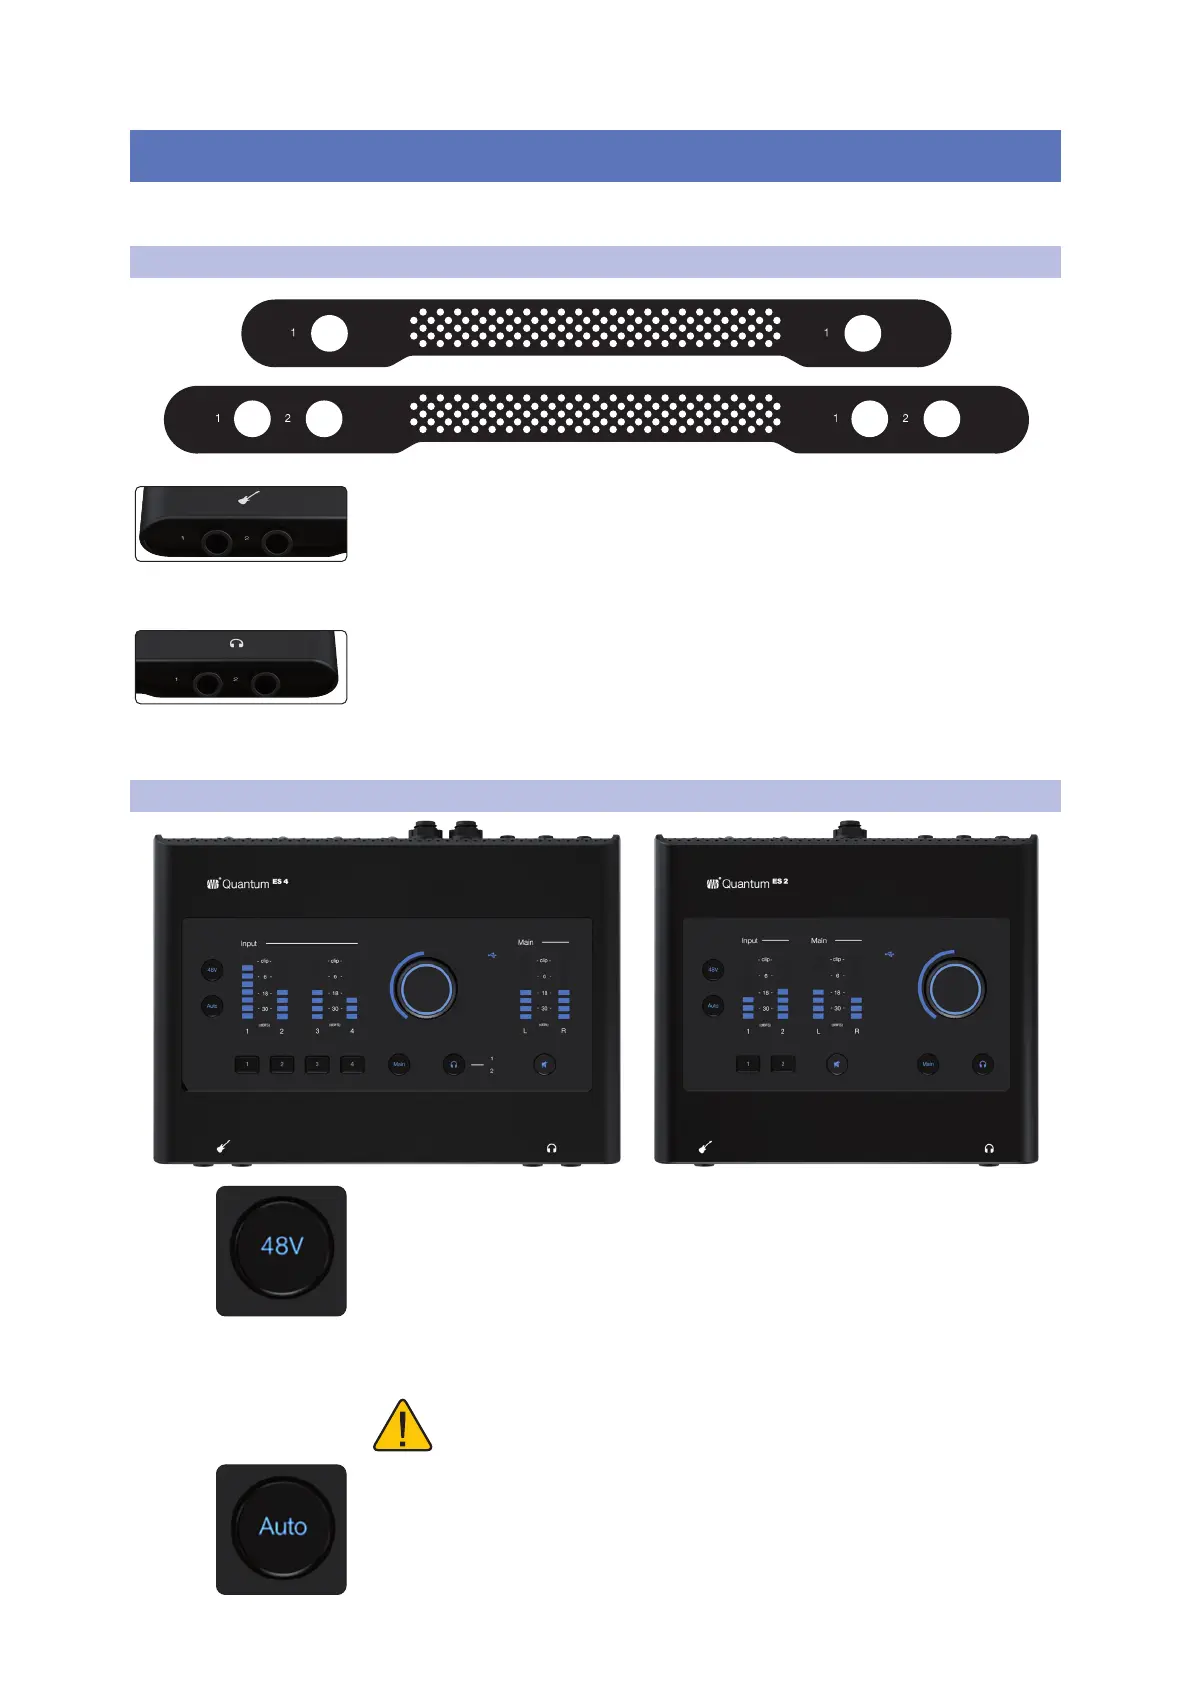
3.2 Top Panel
Phantom Power - While a channel is selected, pressing the 48V phantom power
button switches phantom power on or off; the button will illuminate red when this
function is switched on and blue when switched off.
When a channel is not selected, you can quickly see which channels have 48V on
by pressing and holding the 48V button. Channel select buttons with 48V on will
illuminate red and channel select buttons without 48V will illuminate white while
the 48V button is being held. While the 48V button is being held, you can press a
channel select button to turn 48V on or off for that Channel. When the 48V button
is released, it will illuminate blue again.
Warning: Phantom power is only required for condenser microphones and
can severely damage dynamic mics, especially ribbon mics. Therefore,
switch phantom power off for all channels where it is not required.
Auto Gain Button - When a channel is selected, press the Auto Gain button to have
the Quantum ES automatically set the gain level for the selected channel (for more
information about Auto Gain, see section 5.3). Auto Gain is only available for the
microphone and guitar inputs (not line level signals).
Note: When not in Channel Edit mode, press the Auto Gain button to activate
Auto Gain on multiple channels.