MAINTENANCE
PERFORMER 980060 07/01/02
4-14
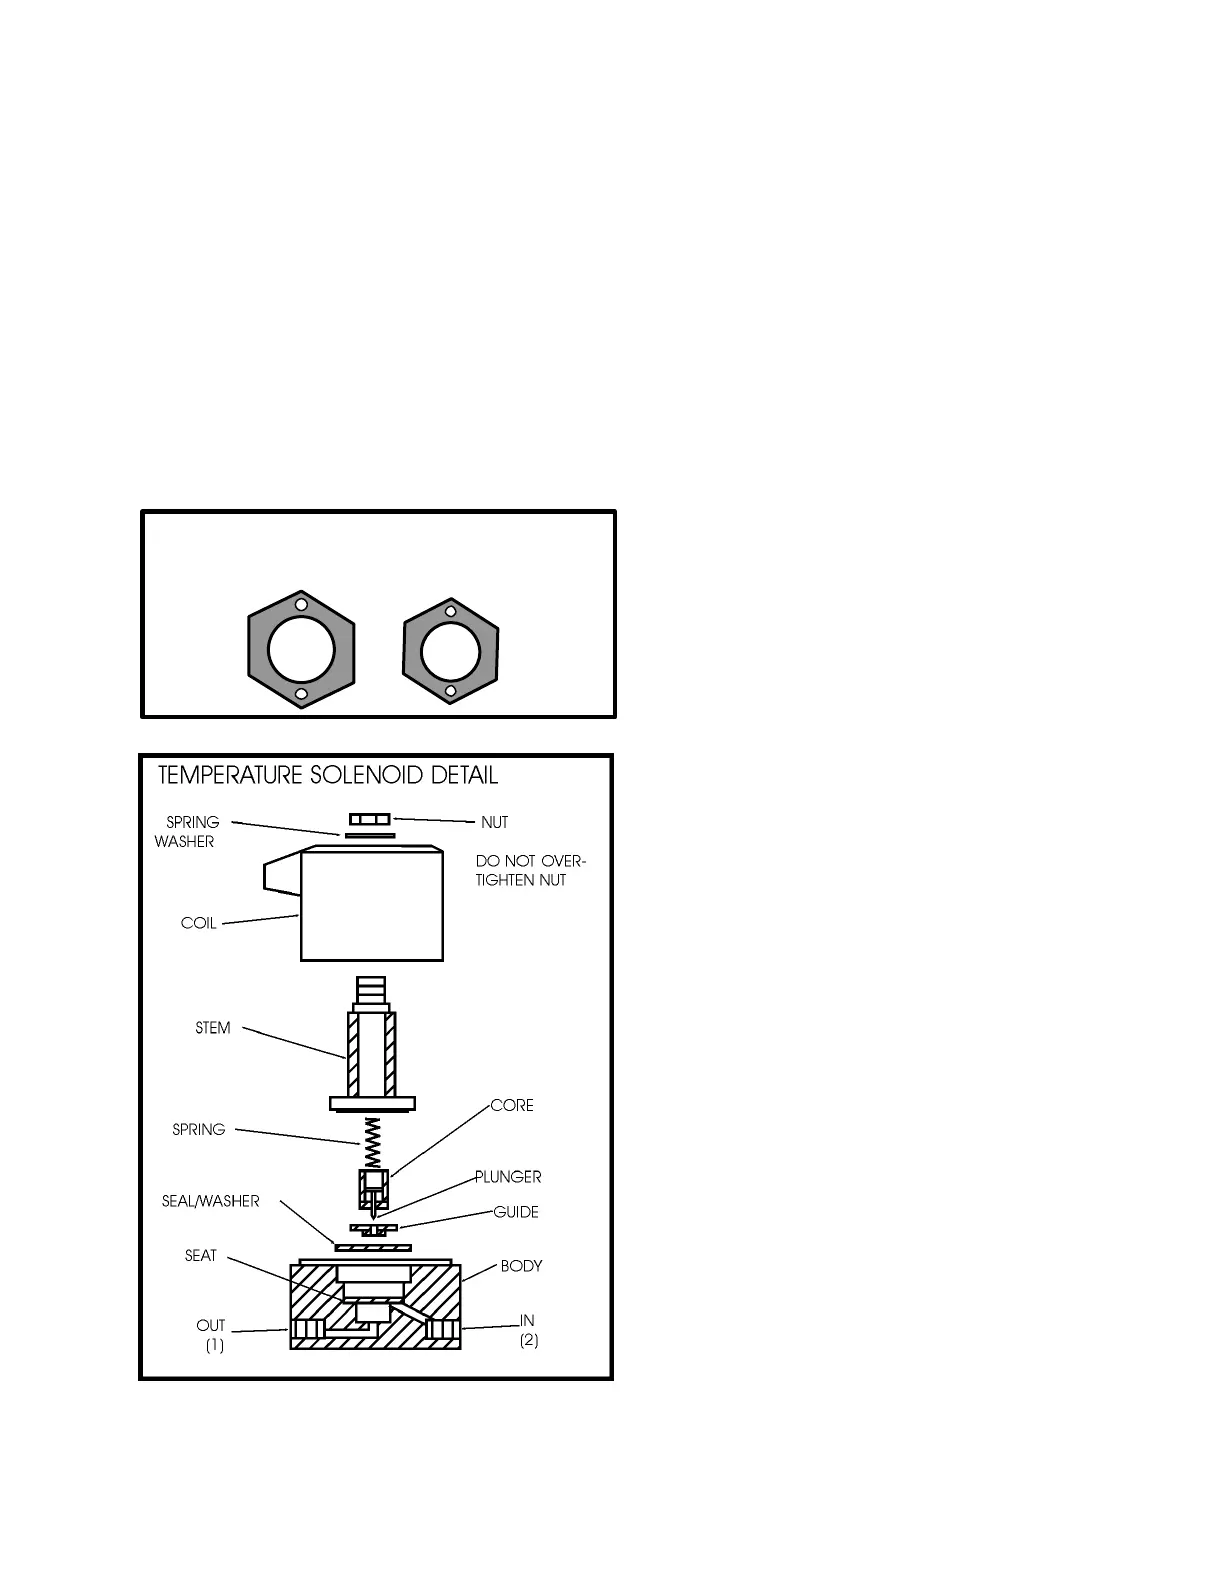
TEMPERATURE SOLENOID
The temperature solenoid may become seized due to
hard water deposits. Make certain that the core
moves freely in the stem. Also, the plunger must
move freely within the guide. Clean with #0000 steel
wool.
Check the seat to make sure that it is not distorted.
Clean the seat, using a 3/64” drill bit. ROTATE THE
DRILL BIT WITH YOUR FINGERS ONLY.
NOTE: DO NOT over-tighten nut when
re-assembling temperature solenoid. Over
tightening the nut will damage the coil.
TEMPERATURE CAPILLARY & PACKING
ASSEMBLY
INSTALLATION INSTRUCTIONS
1. Using thread sealant, thread the tapered end of
the union fitting into the thermostat manifold and
tighten.
2. Slide the jam nut over the capillary bulb with the
threaded end toward the end of the capillary bulb.
3. Insert the capillary bulb through the union fitting
and into the thermostat manifold.
4. Place the rubber seal onto the capillary tube with
the split facing 90° from the top (see the capillary
union detail).
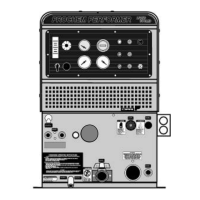
5. Fit the four brass disks onto the capillary tube,
with two of the brass disks on each side
of the rubber seal. Face the notch on one brass
disk toward the nearby brass disk to lock the
brass disks together. Then face the notches on
the brass disks 90° from the split in the rubber
seal.
TEMPERATURE SOLENOID SERVICING
OLD STYLE
SOLENOIDS