Procedure 2 – Lubricate Components after Cleaning
(with food grade lubricant)
Lubricate the shaft of the
beater bar and sealing
sleeve, then install the
sealing sleeve
Slide the O-rings into the
grooves on the piston and
lubricate
Place the door gasket of
dispensing door into the
groove on the back of the
dispensing door and
lubricate
Procedure 3 – Assemble Components after Cleaning
Beater Bar Installation
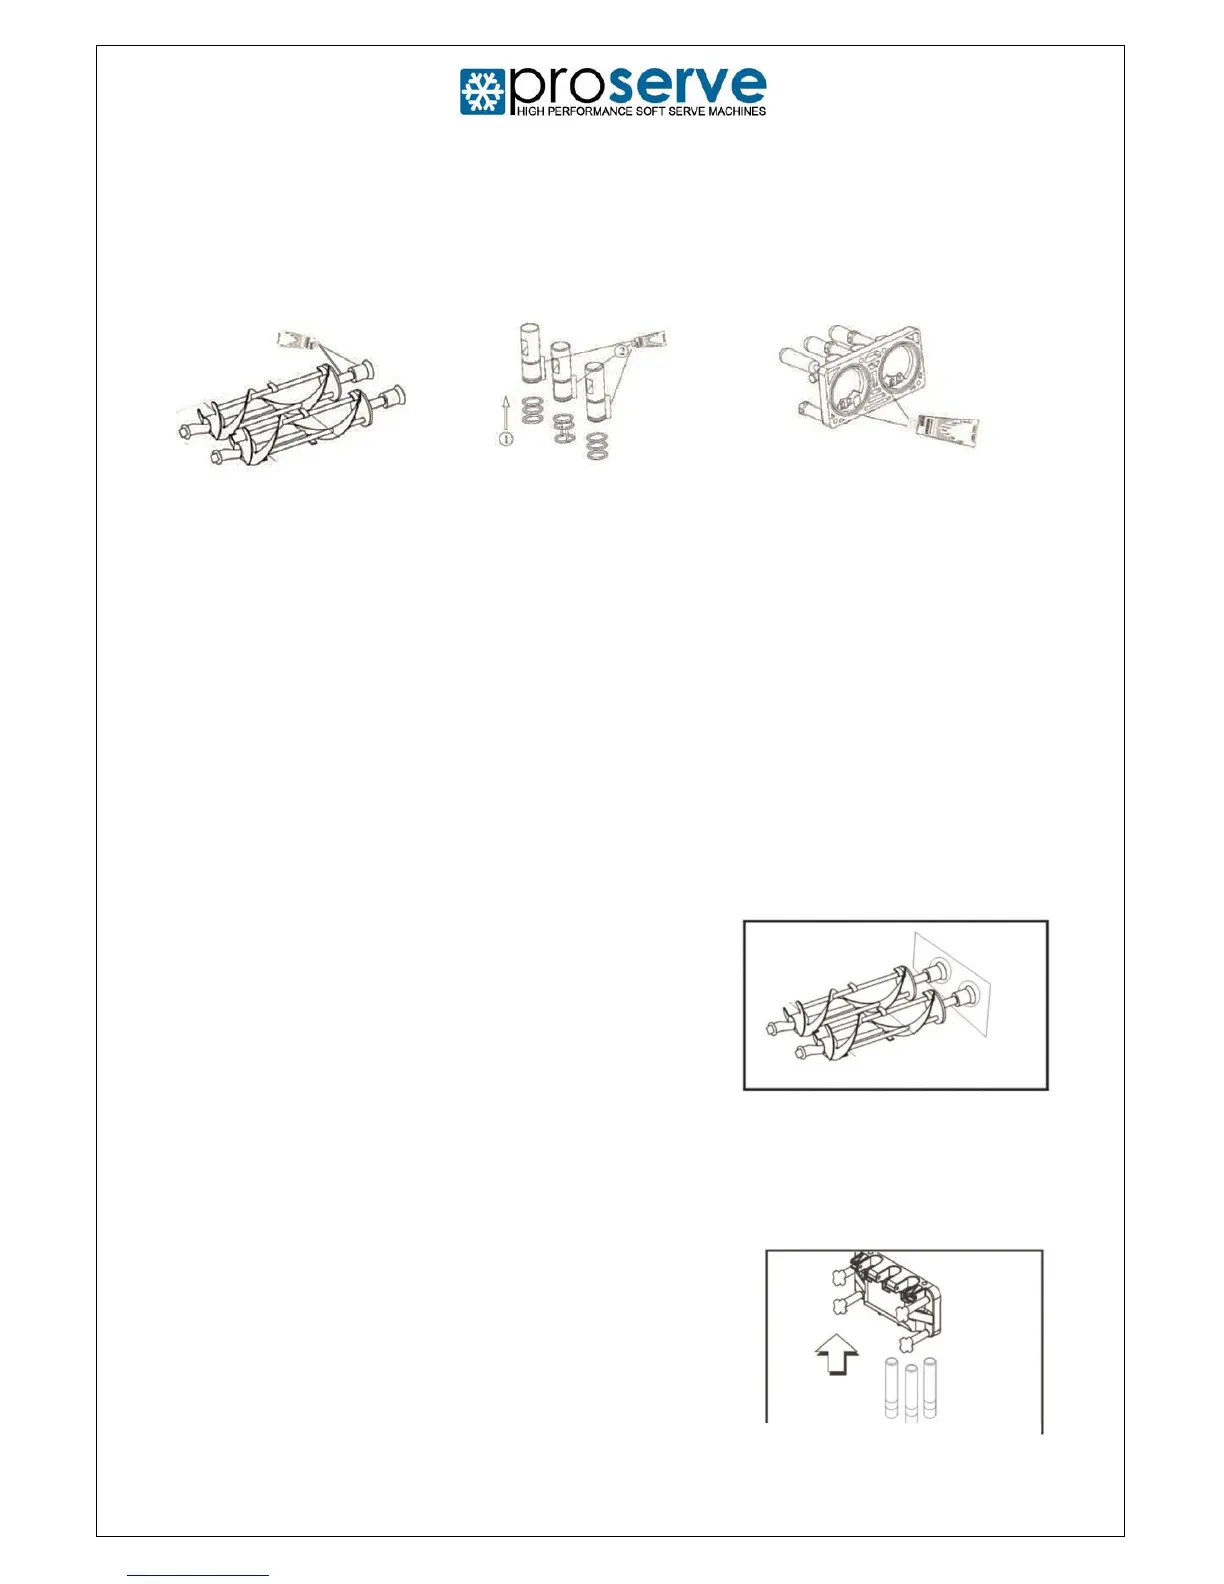
Ensure the machine is turned off. Assemble and lubricate the rear end of the beater with
the sealing sleeve, add the scraper blades and push it
forward into the freezing cylinder. Align the rear end of
the beater shaft with the square socket at the back of
the freezing cylinder. Rotate the beater slightly to
correctly locate the shaft into the socket and fully push
the beater into the cylinder (Diagram 12). The shaft will
spring back slightly due to the rubber bearing at the back
of the beater bar.
Drip Tray
Make sure this is fitted correctly beneath the dispensing door.
Piston Installation
Ensure the machine is turned off. First take a firm grip of
the dispenser door and insert/push up the lubricated
piston(s) with the groove for the handles facing outwards
(Diagram 13). Place the handle(s) into the groove of the
piston(s) and secure in place by inserting the fixed pin
through the holes of the dispensing door and handle(s).