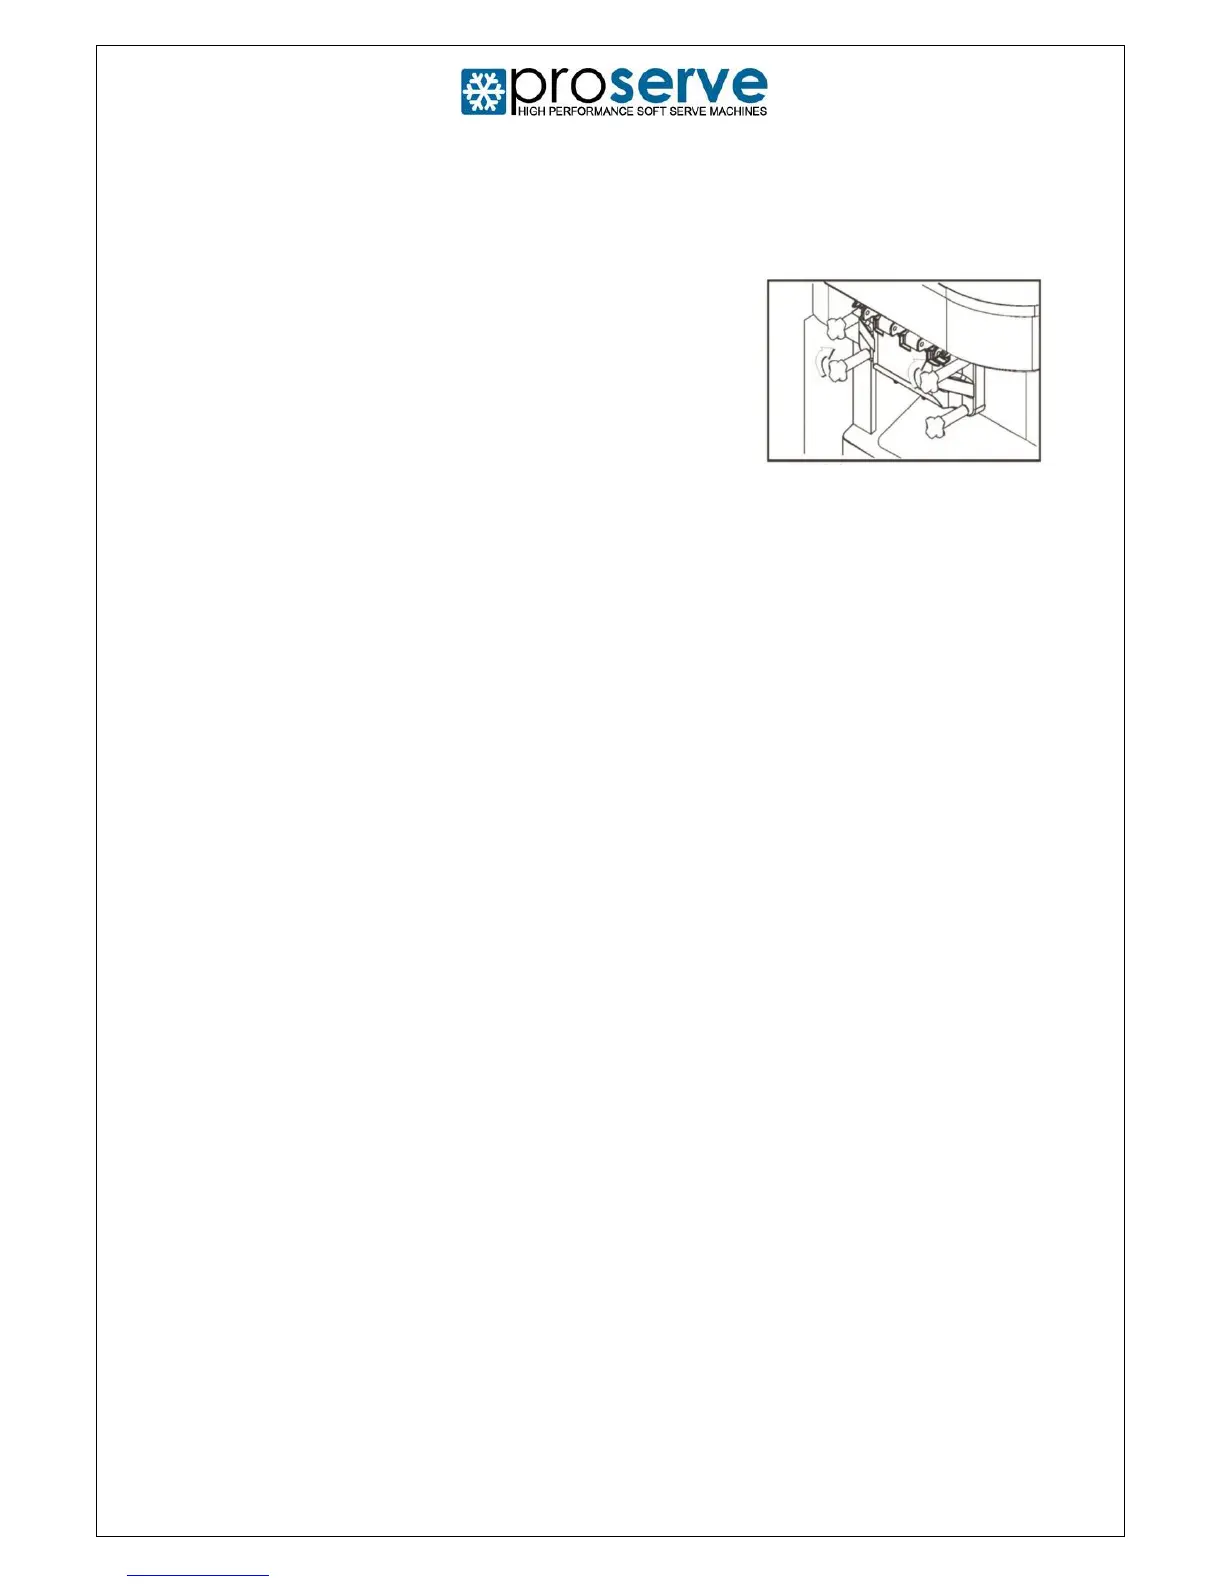
Dispensing Door Installation
Ensure the machine is turned off. Fit the dispensing door on to the front of the machine
and ensure the door gasket is firmly located against the front panel. Install the four
securing knobs ensuring they are evenly tightened (Diagram 14).
After the installation of the dispenser door check the
door gasket of the dispenser door is sealed against
the front panel of the machine and the piston(s) moves
freely up and down when the levers are operated.
Install the design caps to the base of the piston outlets
of the door and drip tray to the base of the front panel.
Hopper Air Inlet Valve
Once the hopper has been filled with the mix and the chamber has been primed/filled
with product, insert the ‘hopper valve’ into the hole in the base of the hopper. The valve
should be placed so that the side hole is at the base of the hopper.
Procedure 4 - Preparing the mix: Ice Cream and
Yogurt
For optimum life of the mix as well as for reasons of health and hygiene, the mix should
always be kept refrigerated prior to adding it to the hopper of the machine. Always refer
to the manufacturer’s mix label for shelf and product life once added to the machine.
Warning: Prior to adding the mix to the machine, please ensure the cylinder(s) and
hopper(s) are completely clean and dry.
Procedure 5 – Priming/filling the Machine with
Mix
Please ensure the following procedure is applied when priming/filling the machine for
the first time:
1. Remove the hopper valve and pour the prepared mix into the hopper (ideally chilled).
2. Ensure the mix fills the freezing cylinder by dispensing product through the
dispensing door, ensuring that the cylinder is filled and all air is removed.
3. Insert the hopper valve in to the hopper, as described in procedure 3.
4. Press the ‘FREEZE’ button to start freezing the product. At this time the beater
motor will start and the compressor will start after a short interval. The freezing cycle
will thicken the product and the machine will dispense warm/hot air from the side
vent of the cabinet.
5. It takes between 5-8 minutes for the viscosity (hardness) of the product to gradually