PRO-VISION® Video Systems
18 provisionusa.com
8. Attach the camera cover to the camera with the four (4) Allen head mounting screws. Leave the
screws slightly loose until the camera is aimed.
9. Power on the DVR unit and connect to the Wi-Fi to view the live camera image to properly aim it
on the view page. (See Viewing Cameras on a Smart Device for connection details)
10. After the camera is aimed, tighten the four (4) Allen head mounting screws to lock the camera
aim.
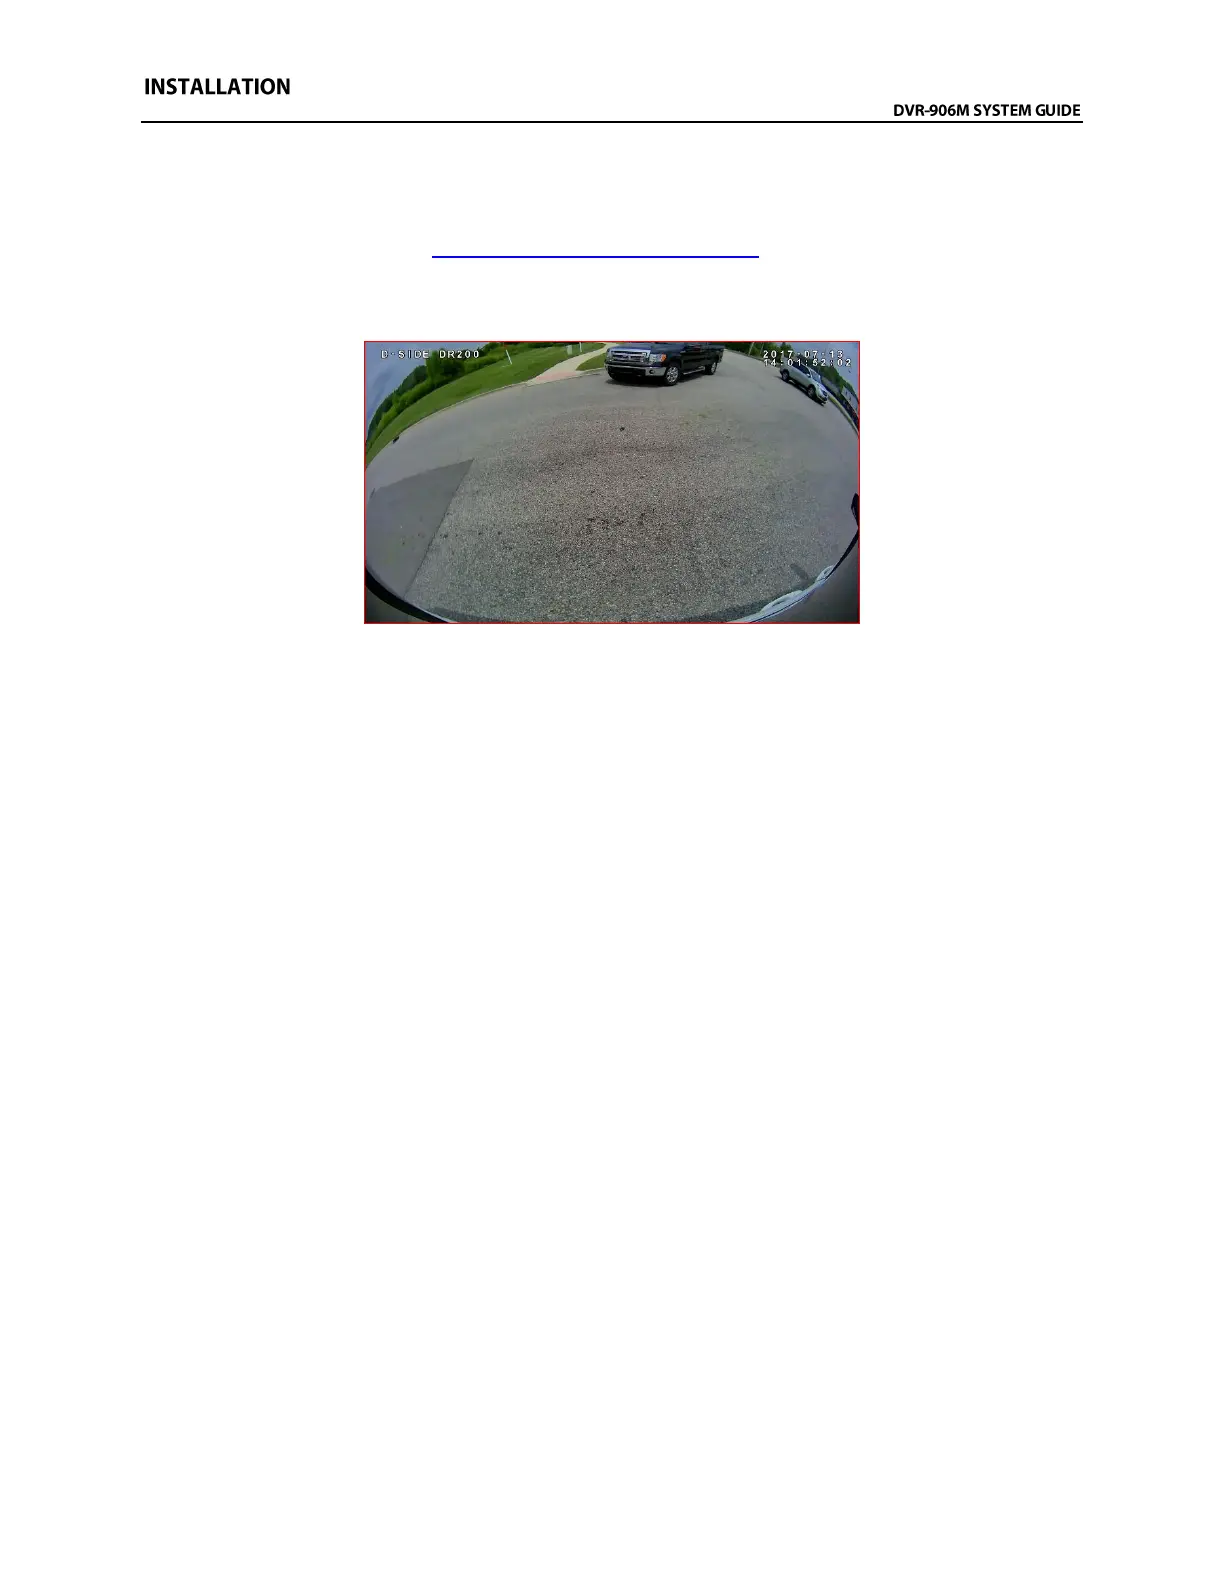
Example view of downward facing application on the driver’s side of delivery van