Version 1.0
Installation
19
19
3. INSTALLATION
Before installing, removing, inspecting, or performing any maintenance on the
hoist, the main switch must be unplugged, locked out, and tagged out. Do not use
this equipment in hazardous locations.
Installation Process:
• Electric wire rope hoists must be grounded properly.
• Lock-out, tag-out, and unplug the hoist before performing any service.
• Customer must provide power supply cable, fuses, and main disconnect switch.
• Check supply voltage is same as nameplate voltage on hoist.
• Ensure that the voltage does not vary by more than ±10% from nominal value.
• Do not use conductors smaller than those listed in this User Manual to supply power to hoist.
• Never bypass limit switches, remove limit switch stops, or alter limit switch devices.
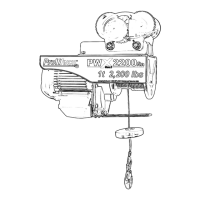
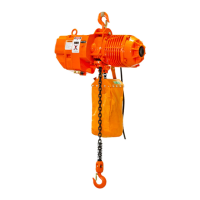
Hoist should be carefully inspected upon delivery for any damage that may have occurred during shipment or handling. Check
the hoist frame for: dents or cracks, external cords for damaged or cut insulation, control station for cut or damaged enclosure,
and wire rope for twists, loops or broken strings.
Check and document hoist characteristics:
a. Model number
b. Rated capacity (tonnage)
c. Lifting length of wire ropes (meter)
d. Power supply
e. Push button pendant assembly (2 button, 4 button or 6 button)
f. Specially ordered optional items
g. Beam width for trolley installation
3.1 Unpacking
 Loading...