Version 1.0 Version 1.0
Operation
26
26
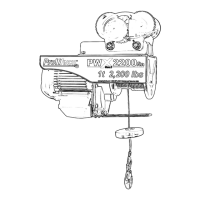
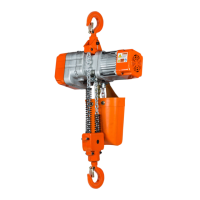
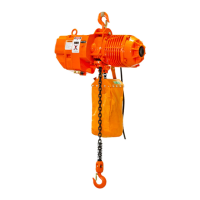
1. Plug in the unit and press the Switch (#43) toward the “down” position to lower the Hook (#34) to the load.
2. When connecting the Hook (#34) to the load, you must be sure that the connection point on the load is capable of holding the
weight of the entire load. If you are not sure, use a separate cable (not included) that is rated above maximum lift load capacity,
to surround the unit and tie it o securely. Then, attach the load is completely inside of the hook and safety tab on the Hook (#34)
and the load is centered under the hoist. The safety tab on the hook must latch or close over the connection point or cable or the
load may fall causing serious damage and injury.
3. Make sure no people or animals are near the immediate area. Never support a load over people or animals.
4. Standing clear, push the Switch (#43) toward the “lift” position. Slowly raise the load only enough to clear the oor or support
and check to be sure the load is securely fastened. Proceed only after you are ensured the load is secure and free of all
obstructions. If the Hoist refuses to lift the load you might have exceeded maximum lift capacity. If you are under the maximum
capacity and the Hoist stops on its own, release the lift switch and stay clear while the motor has sucient time to cool down.
Then, resume the process.
5. When you are ready to lower the load, press the Switch (#43) toward the “down” position.
6. When the load is completely on the ground, keeping clear of it, shake or move the load to make sure it is sitting rmly on the
ground. Then, remove the Hook (#34) from the load.
7. Push the Switch (#43) toward the “lift” position and bring the Stopper (#31) up to within a few inches of the Guard (#29).
8. When nished, unplug the unit.
 Loading...