42 43
You will need to add your DVR to the Device
List in order to connect.
Tap on the Device icon to open the Device
List.
PICTURE 5-3
PICTURE 5-4
PICTURE 5-5
To add a DVR to your list, tap the + (iOS)
or Add (Android) button in the upper right
corner.
Later, you can use this window to edit or
delete DVRs in your list by using the Edit
button on the upper left.
Clicking on the + or Add button opens
another window allowing you to enter
the DVRs IP address and other essential
information, such as the user name and
password. These are the same as you use to
log into the DVR.
It is recommended that you create two
“Devices” for each DVR. One should use the
local IP address for when you are accessing
the same network that the DVR is connected
to, while the other will use the WAN IP for
when you are connecting over the Internet.
PICTURE 5-6
Once you’ve added your DVR to the list, you
can tap on it to connect to it.
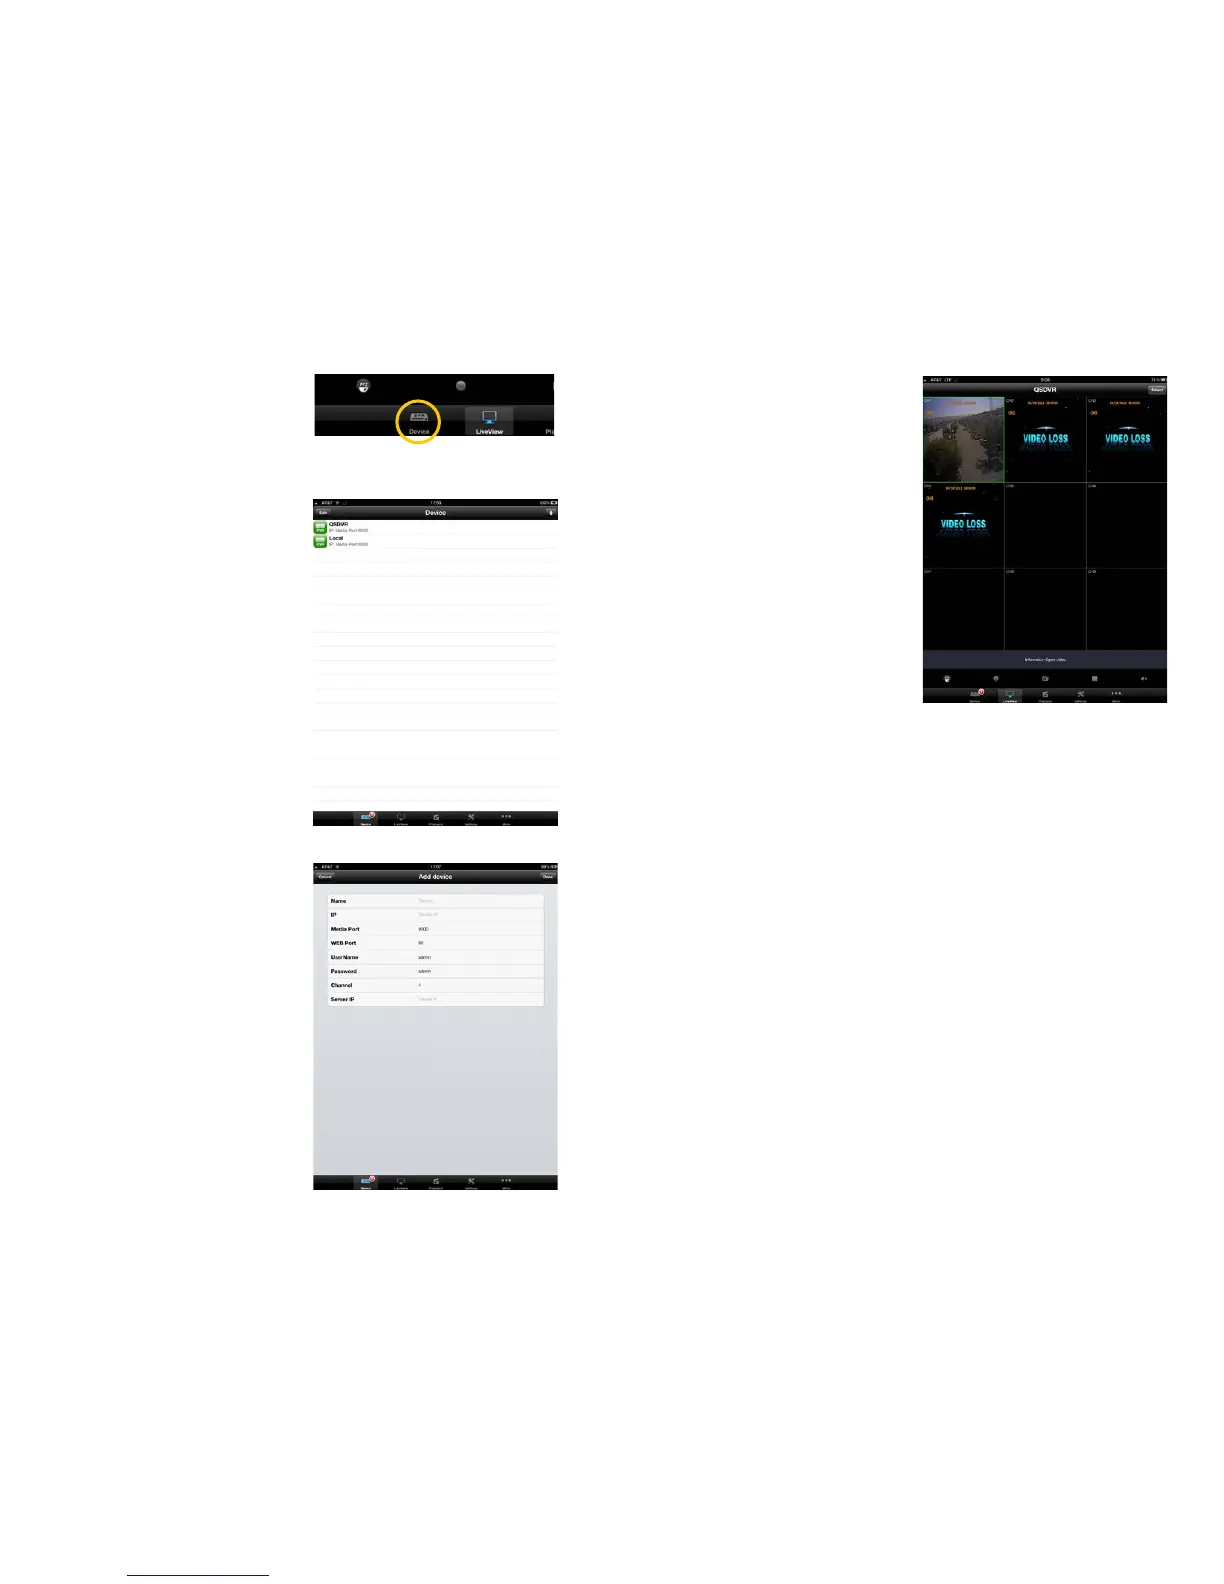
While in Live View, you may switch between
Devices by tapping the Select button in the
upper right corner. This will cause a list of
your available DVRs to pop up allowing you
to choose which system to access.
 Loading...