2. Installation and Conguration
This chapter provides specic hardware and rmware installation and conguration steps.
Hardware Installation
This section provides information on installing or replacing drives, memory modules, expansion cards,
redundant power supply units, system fans, handles, rail kits, and expansion units.
Drive Installation
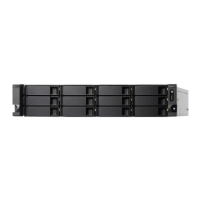
The TS-h987XU-RP is compatible with 3.5-inch hard drives and 2.5-inch solid-state drives.
Installing 3.5-inch Hard Drives on 3.5-inch Trays
For the list of compatible drive models, go to https://www.qnap.com/compatibility.
Warning
• Installing a drive deletes all data on the drive.
• Observe electrostatic discharge (ESD) procedures to avoid damage to components.
1. Power o the NAS.
2. Remove the drive tray.
a. Pull the handle to release the tray.
b. Pull the tray out.
3. Install a drive on the tray.
a. Place the drive on the tray so that the holes on the bottom of the drive are aligned with the holes
on the bottom of the tray.
TS-h987XU-RP User Guide
Installation and Conguration 12
 Loading...