a. Log on to QTS as administrator.
b. Go to Main Menu > Storage & Snapshots > Overview > System .
c. Verify that the expansion units are listed.
QTS Installation
The TS-i410X uses the QNAP QTS operating system. You can install QTS using any of the following methods.
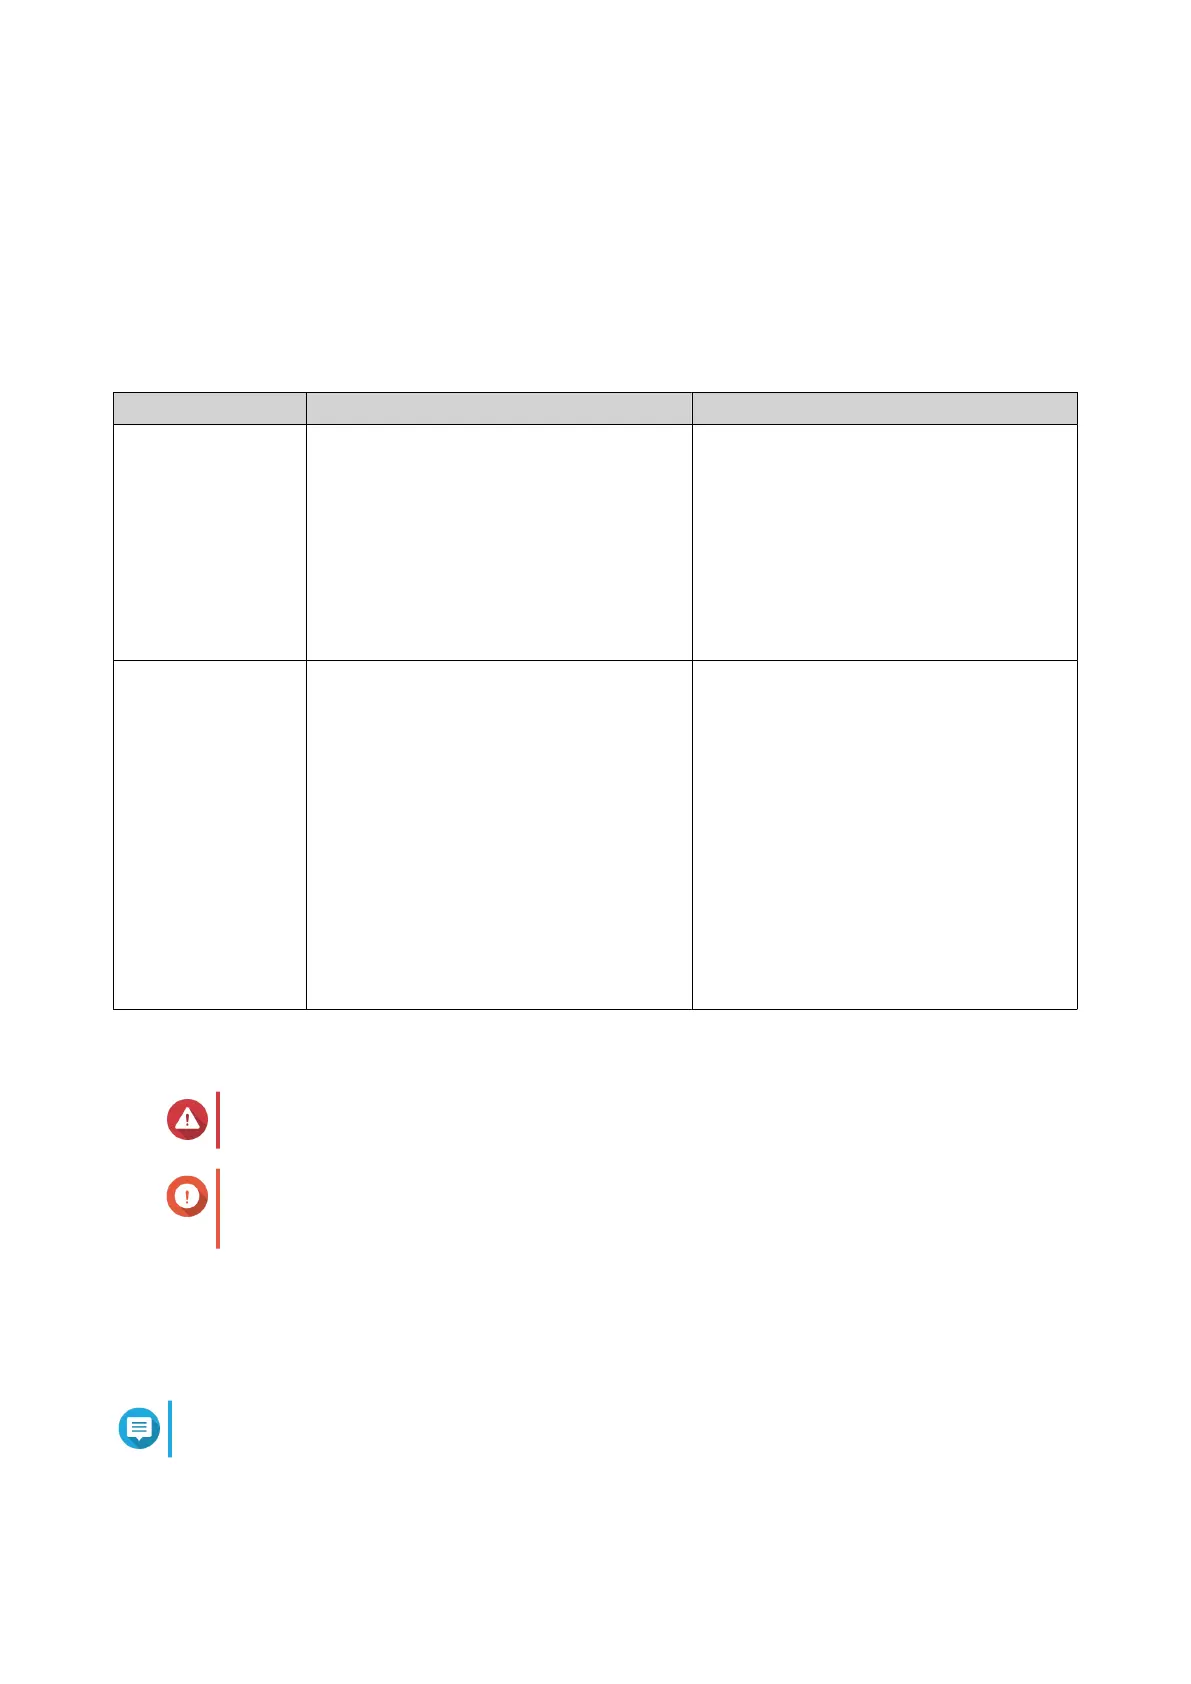
Method Description Requirements
Qnder Pro
installation
(Recommended)
If the NAS is connected to your local area
network, you can do the following:
• Locate the NAS using Qnder Pro.
• Complete the steps in the Smart
Installation Guide wizard.
For details, see Installing QTS Using
Qnder Pro.
• Computer
• Network cable
• Qnder Pro installer
Cloud installation If the NAS is connected to the internet,
you can do the following:
• Scan the QR code on the NAS.
• Log into your myQNAPcloud account.
• Use myQNAPcloud Link to remotely
access your NAS.
• Complete the steps in the Smart
Installation Guide wizard.
For details, see Installing QTS Using the
Cloud Key.
• Computer or mobile device
• Network cable
• myQNAPcloud account
• Cloud Key
Installing QTS Using Qnder Pro
Warning
Installing QTS deletes all data on the drives. Back up your data before proceeding.
Important
To protect your NAS from brute force attacks, create a new system administrator account
during QTS installation to disable the default "admin" account.
1. Power on the NAS.
2. Connect the NAS to your local area network.
3. Run Qnder Pro on a computer that is connected to the same local area network.
Note
To download Qnder Pro, go to https://www.qnap.com/utilities.
4. Click Next.
The QNAP Warranty Service page opens in the default web browser.
TS-i410X User Guide
Installation and Conguration 15

 Loading...