Installing Components in the Node
Quantum DXi4700 Capacity Upgrade Guide 16
Item Description
7 HDD Slot 7
8 HDD Slot 8
9 HDD Slot 9
10 HDD Slot 10
11 HDD Slot 11
To install the additional hard drives in the DXi4700 Node:
Caution: Use appropriate ESD precautions, including the use of a grounding strap, when performing
this procedure.
1. Remove the hard drive blank from each hard drive slot (slots 6–11):
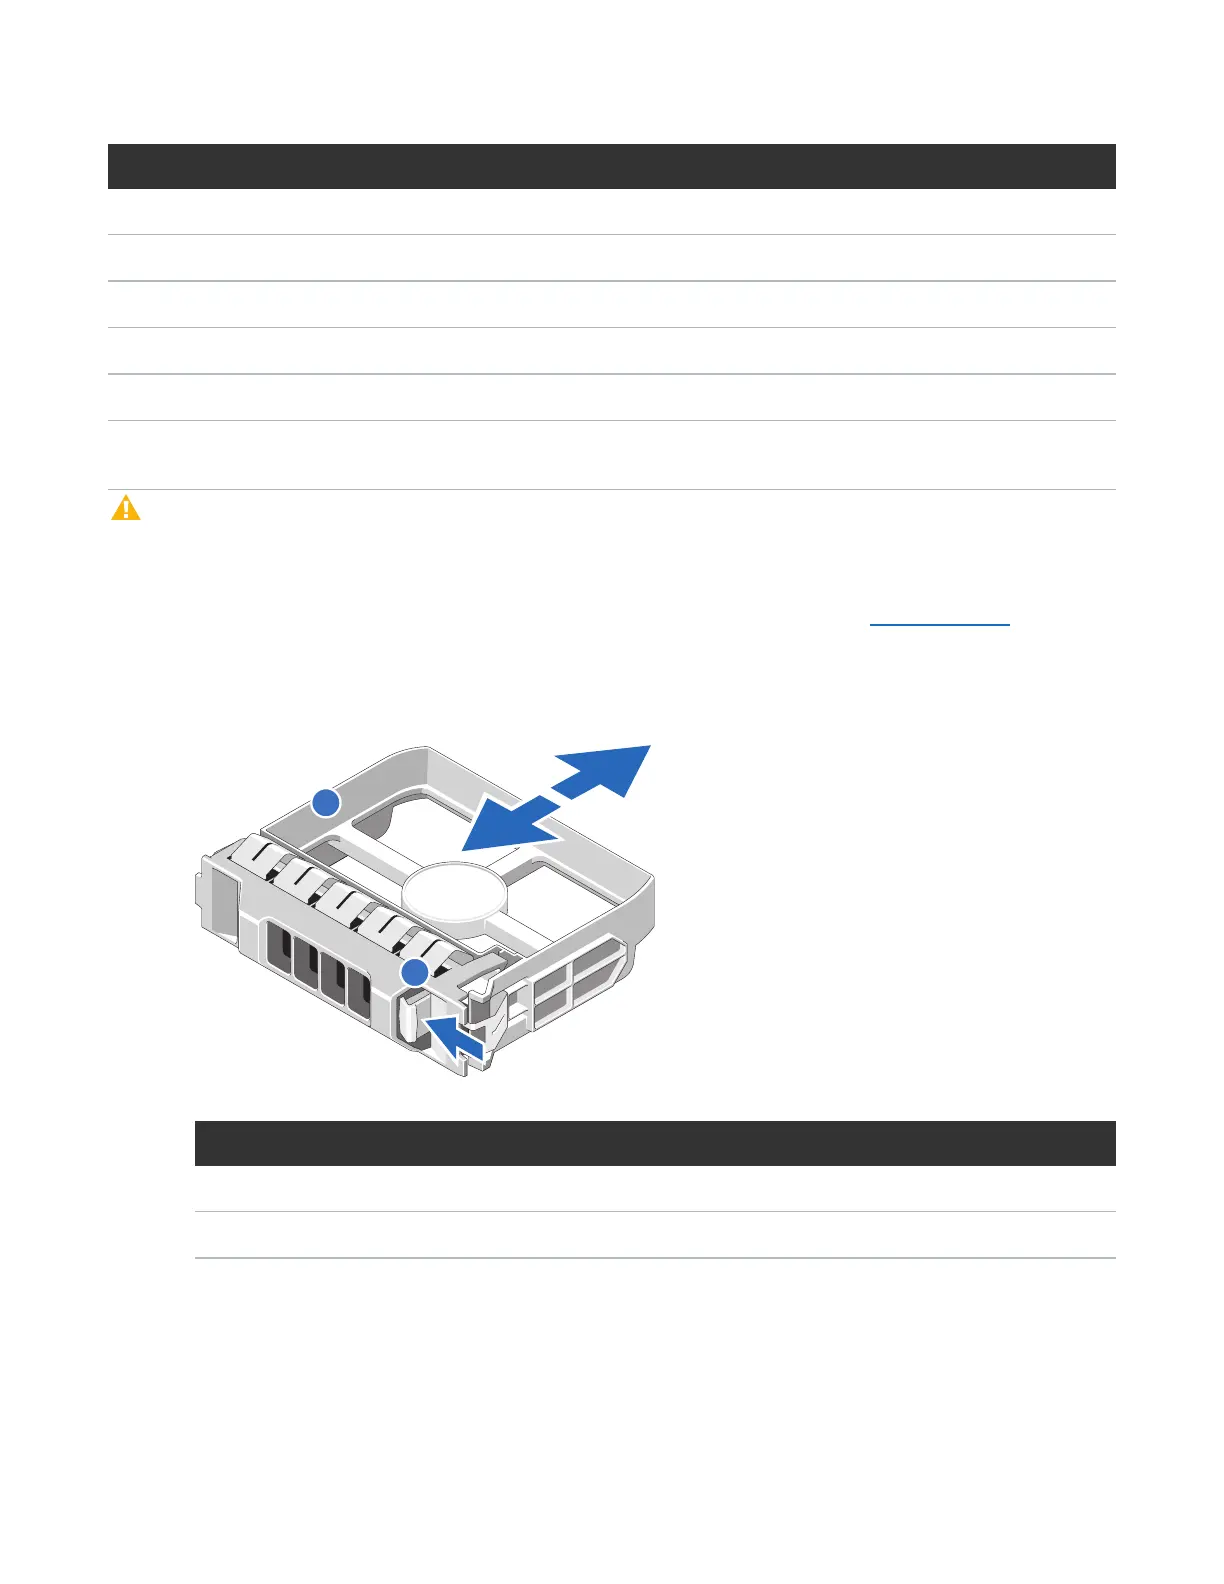
a. Grasp the front of the hard drive blank and press the release button (see Figure 9 below).
b. Slide the hard blank out until it is free of the hard drive slot.
Figure 9: Removing a Node Hard Drive Blank
Item Description
1 Hard drive blank
2 Release button
2. Install a hard drive in each hard drive slot (slots 6–11):

 Loading...


