Installing Components in the Node
Quantum DXi4700 Capacity Upgrade Guide 28
Caution: Use appropriate ESD precautions, including the use of a grounding strap, when performing
this procedure.
Caution: Handle the memory modules by the card edges and avoid touching the components on the
memory module.
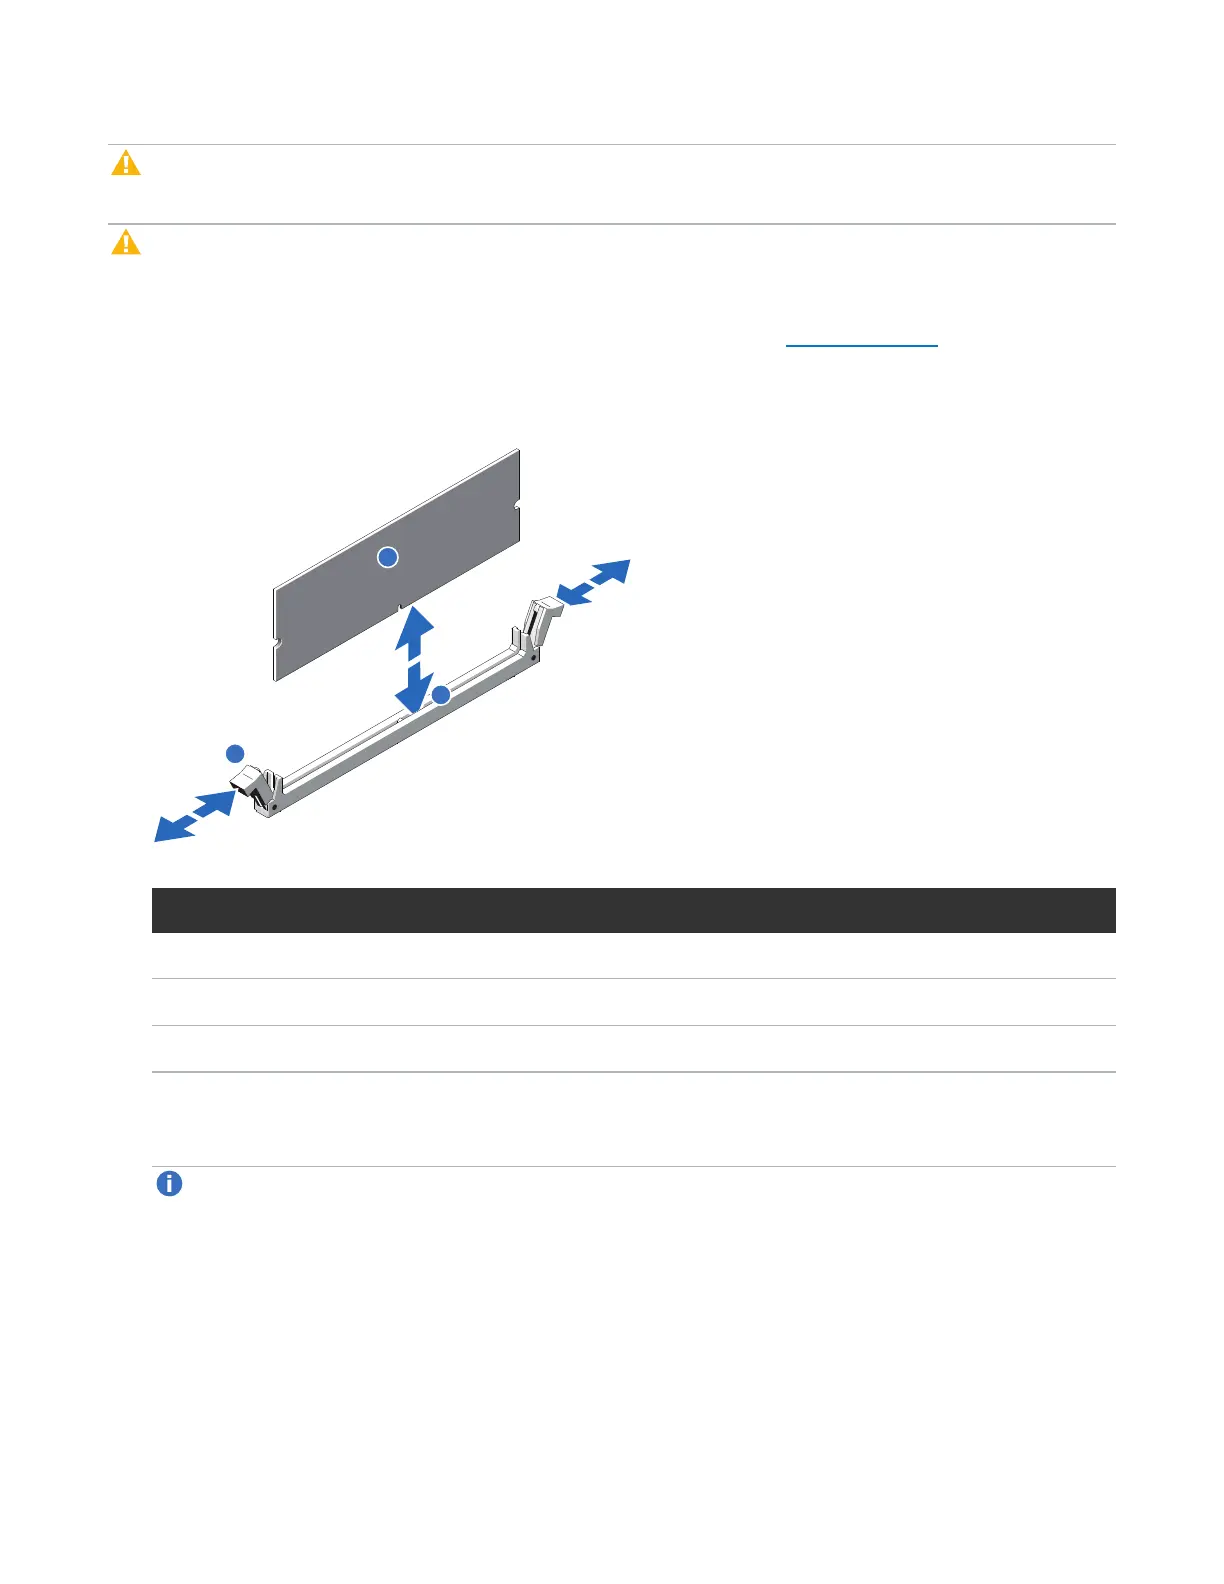
1. Remove the plastic memory blank from the socket by pressing down and out on the ejectors on each
end of the socket until the memory blank pops out of the socket (see Figure 18 below). (The plastic
memory blanks are recyclable.)
Figure 18: Installing a Memory Module
Item Description
1 Memory module
2 Ejector latch
3 Socket alignment tool
2. Align the memory module’s edge connector with the alignment key of the memory module socket, and
insert the memory module in the socket.
Note: The memory module socket has an alignment key that allows you to install the memory
module in the socket in only one way.
3. Press down on the memory module with your thumbs until the ejector latches snap into a locked
position.
4. Repeat steps 1–3 for each memory module.

 Loading...


